User Registration Guide
Setting Up Your PipeOps Account
Welcome to PipeOps! This guide walks you through creating an account and completing the onboarding questions that help personalize your workspace.
Step 1: Visit the Home Page
Open your preferred web browser and go to the PipeOps homepage: https://pipeops.io.
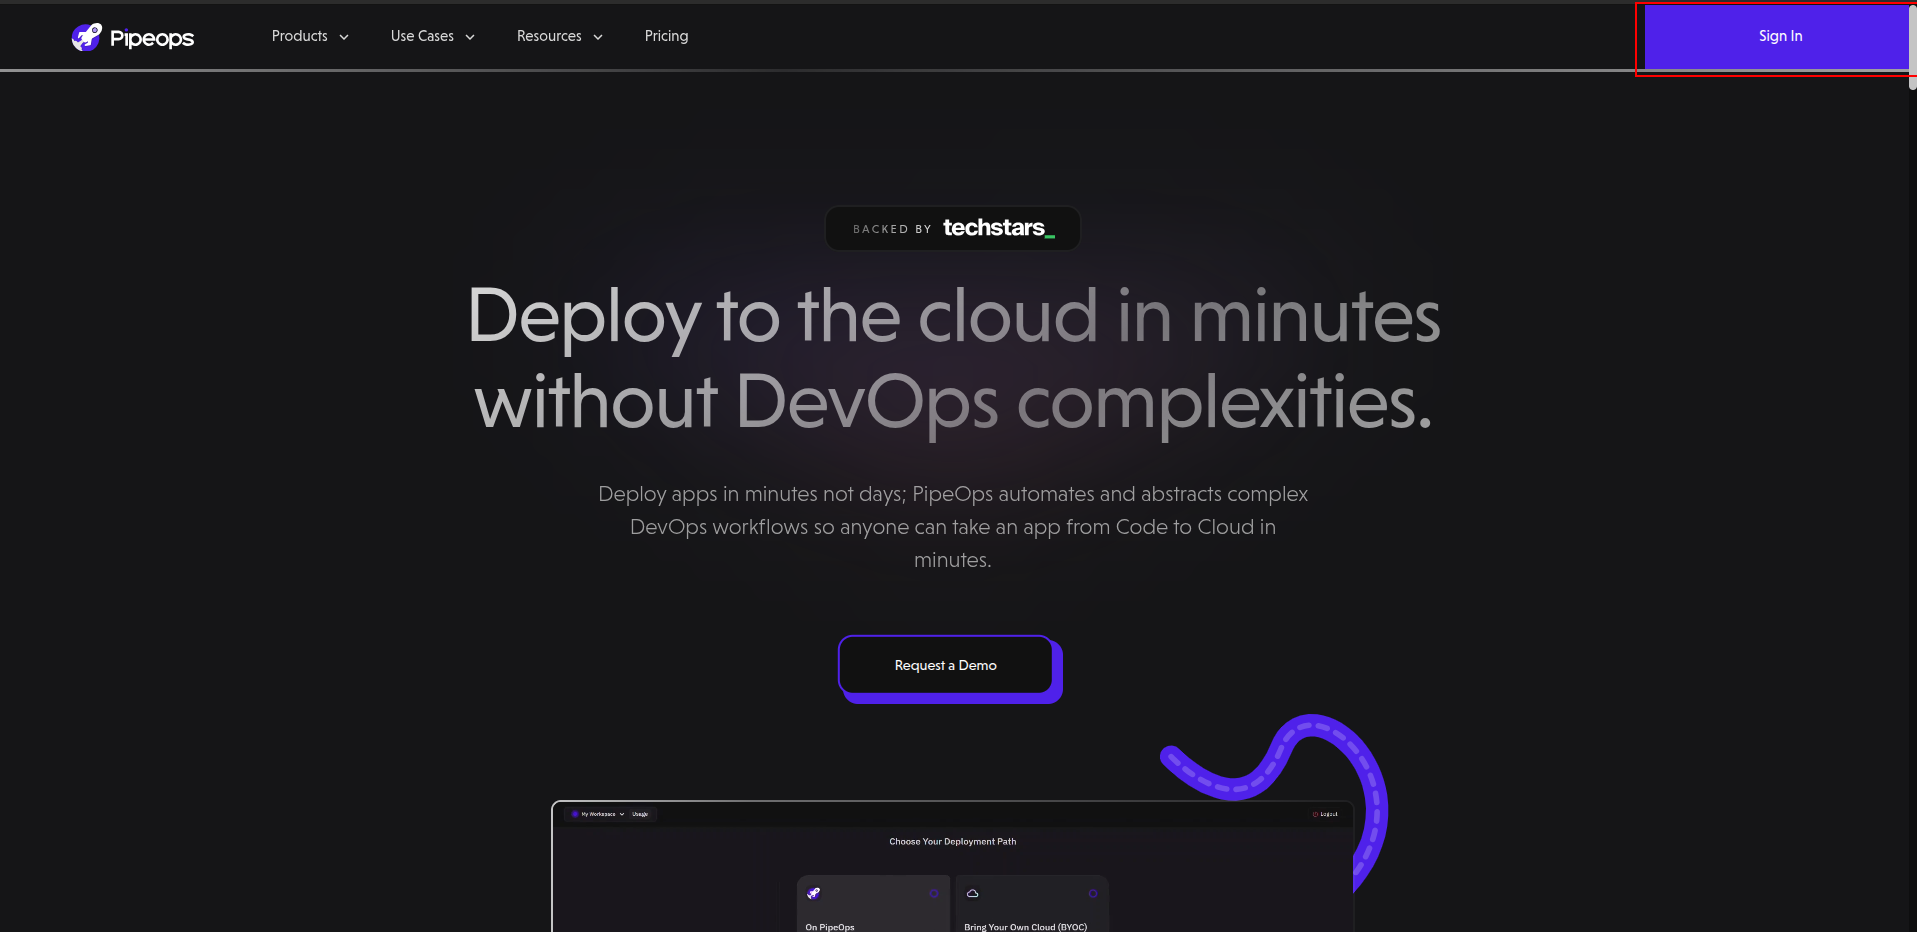
Step 2: Visit the Registration Page
Click Sign In in the top navigation. The Sign In page also handles new account creation.
Step 3: Sign Up Options
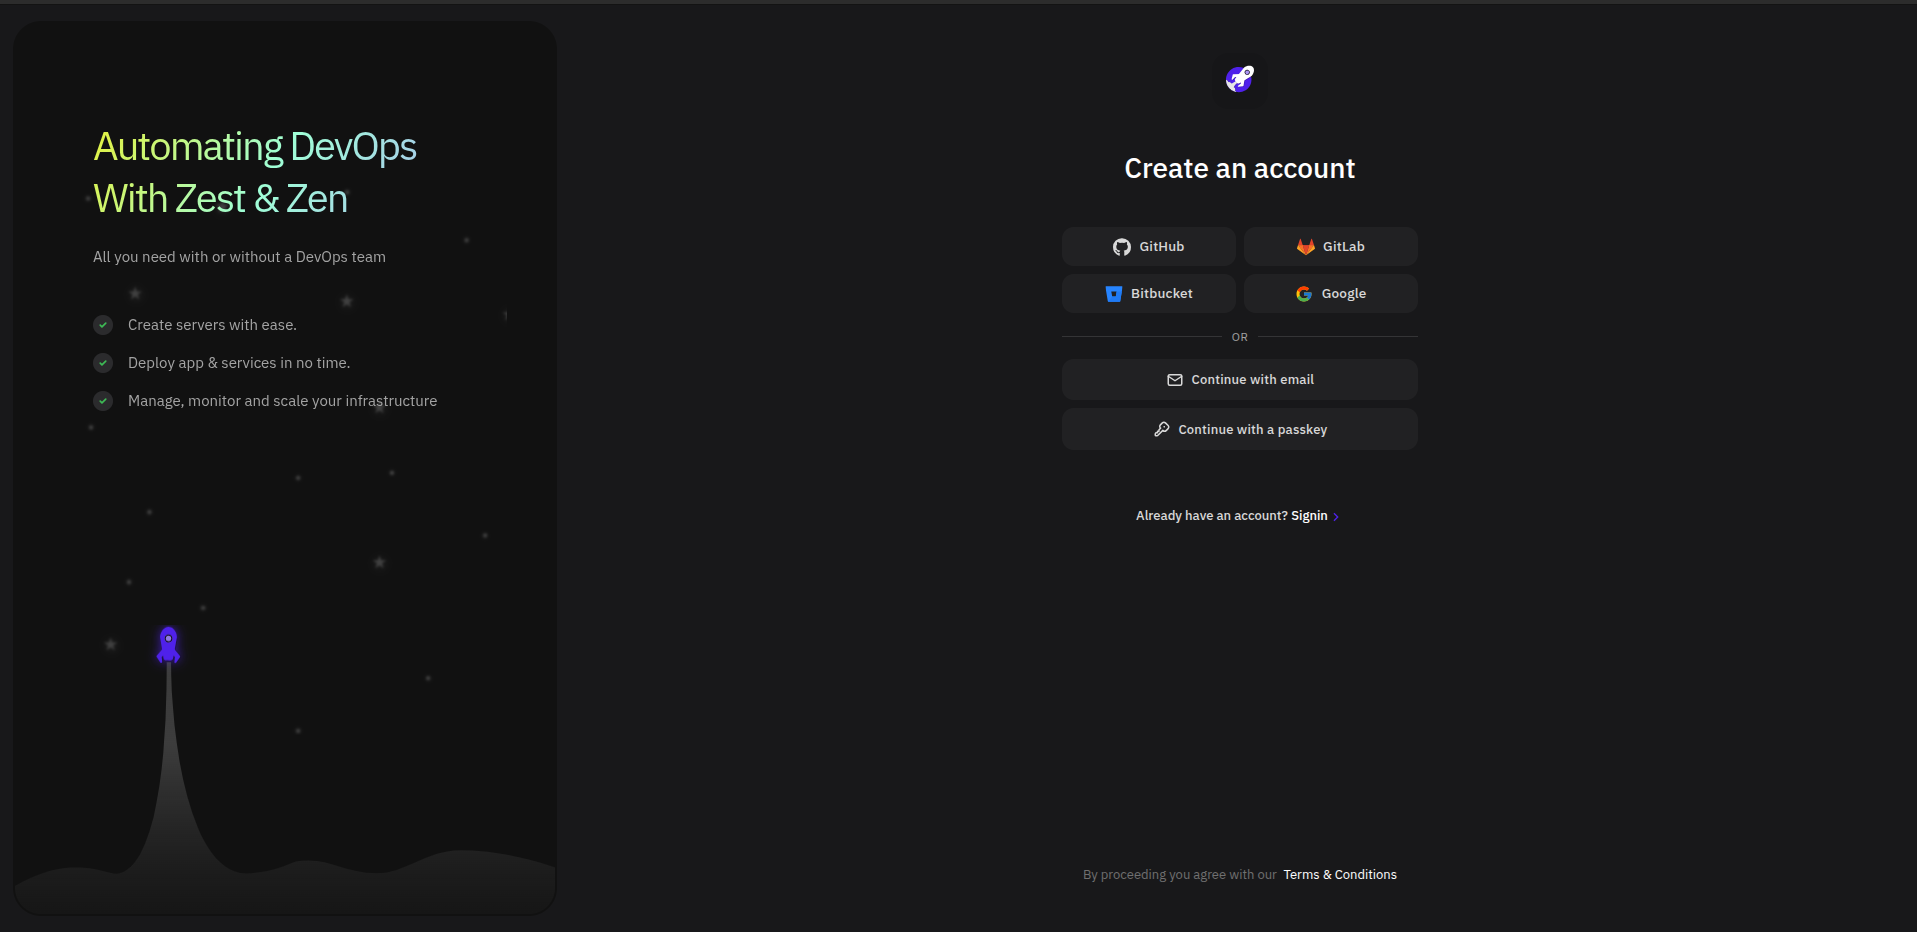
On the Create an account page, choose how you want to sign up. You can create your account using:
- GitHub
- GitLab
- Bitbucket
- Microsoft
- Passkey
If you choose a provider such as GitHub, GitLab, Bitbucket, Google, or Microsoft, follow the authorization prompts to continue. To register with your email address, click Continue with email.
To register with a passkey, click Continue with a passkey and follow the prompts from your browser or device.
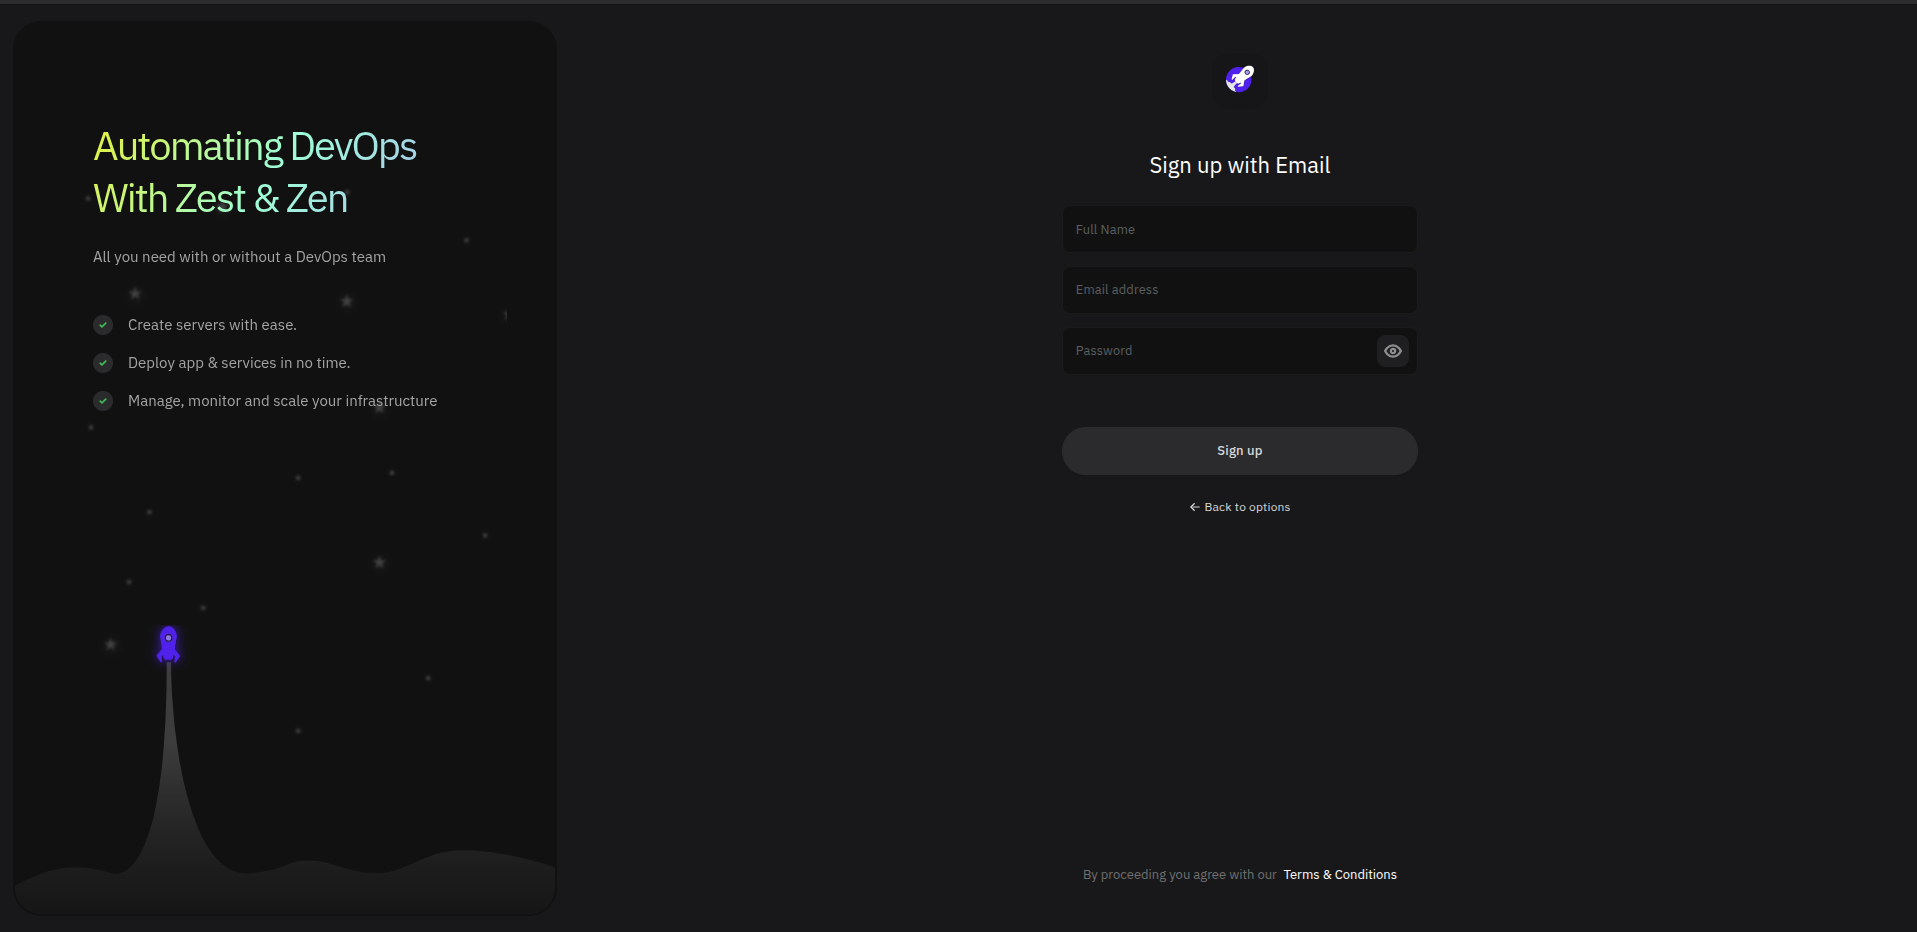
Step 4: Sign Up With Email
Enter your full name, email address, and password, then click Sign up.
Use an email address you can access, as PipeOps sends a verification code to complete registration.
Your password must meet these requirements:
- 12 or more characters
- No spaces
- ASCII characters only
- At least one lowercase letter
- At least one uppercase letter
- At least one number
- At least one special character
- Must not be common
- No sequential characters
- No two consecutive identical characters
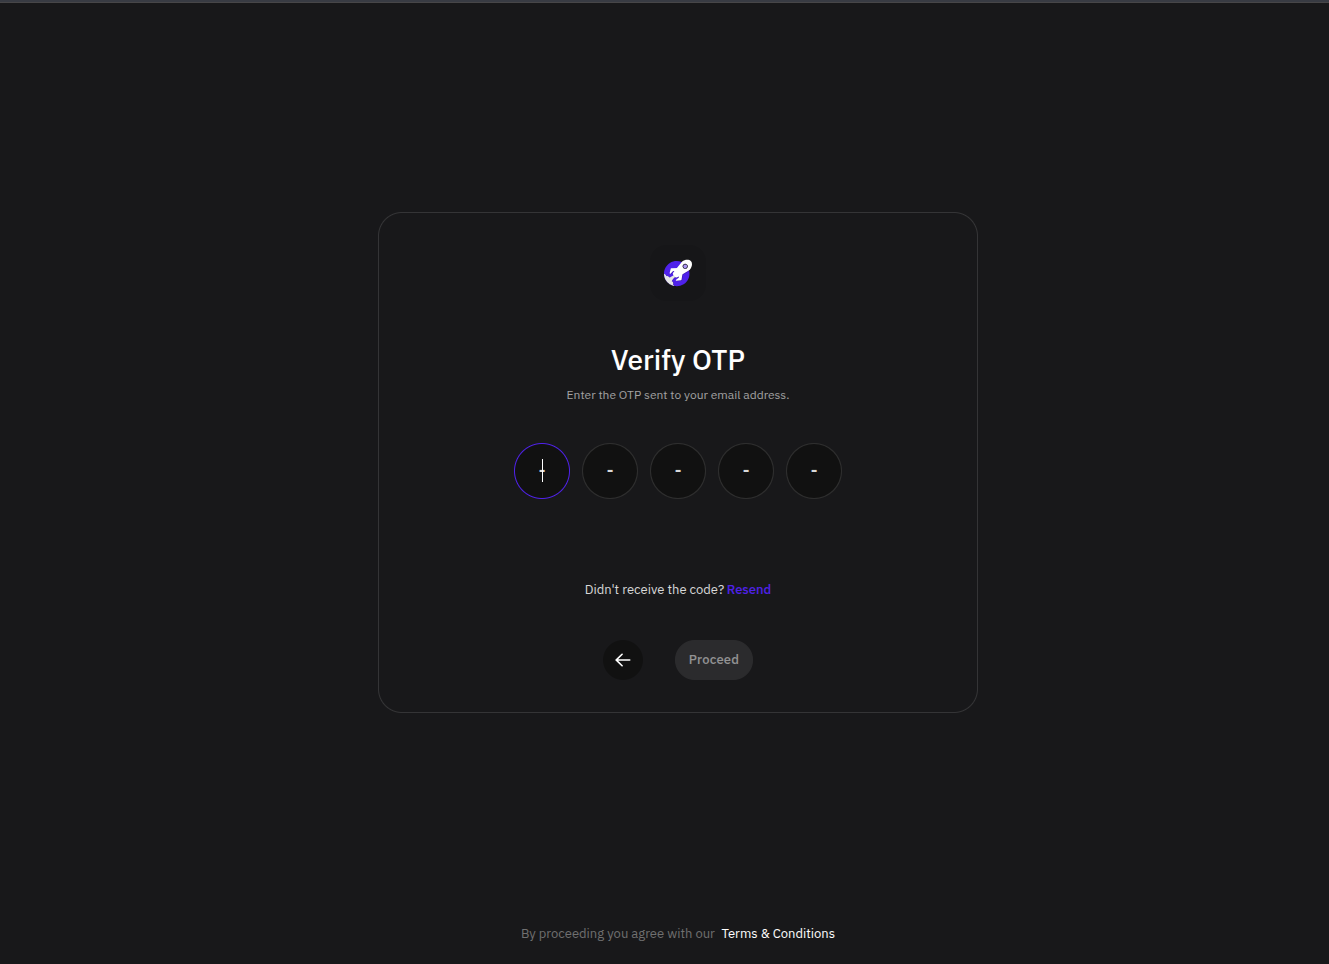
Step 5: Verify Your Email Address
After signing up with email, PipeOps displays the Verify OTP page. Check your inbox for the OTP sent to your email address, enter the code, and click Proceed.
The OTP expires after 5 minutes. If you do not receive the code or it expires, click Resend to request for a new code.
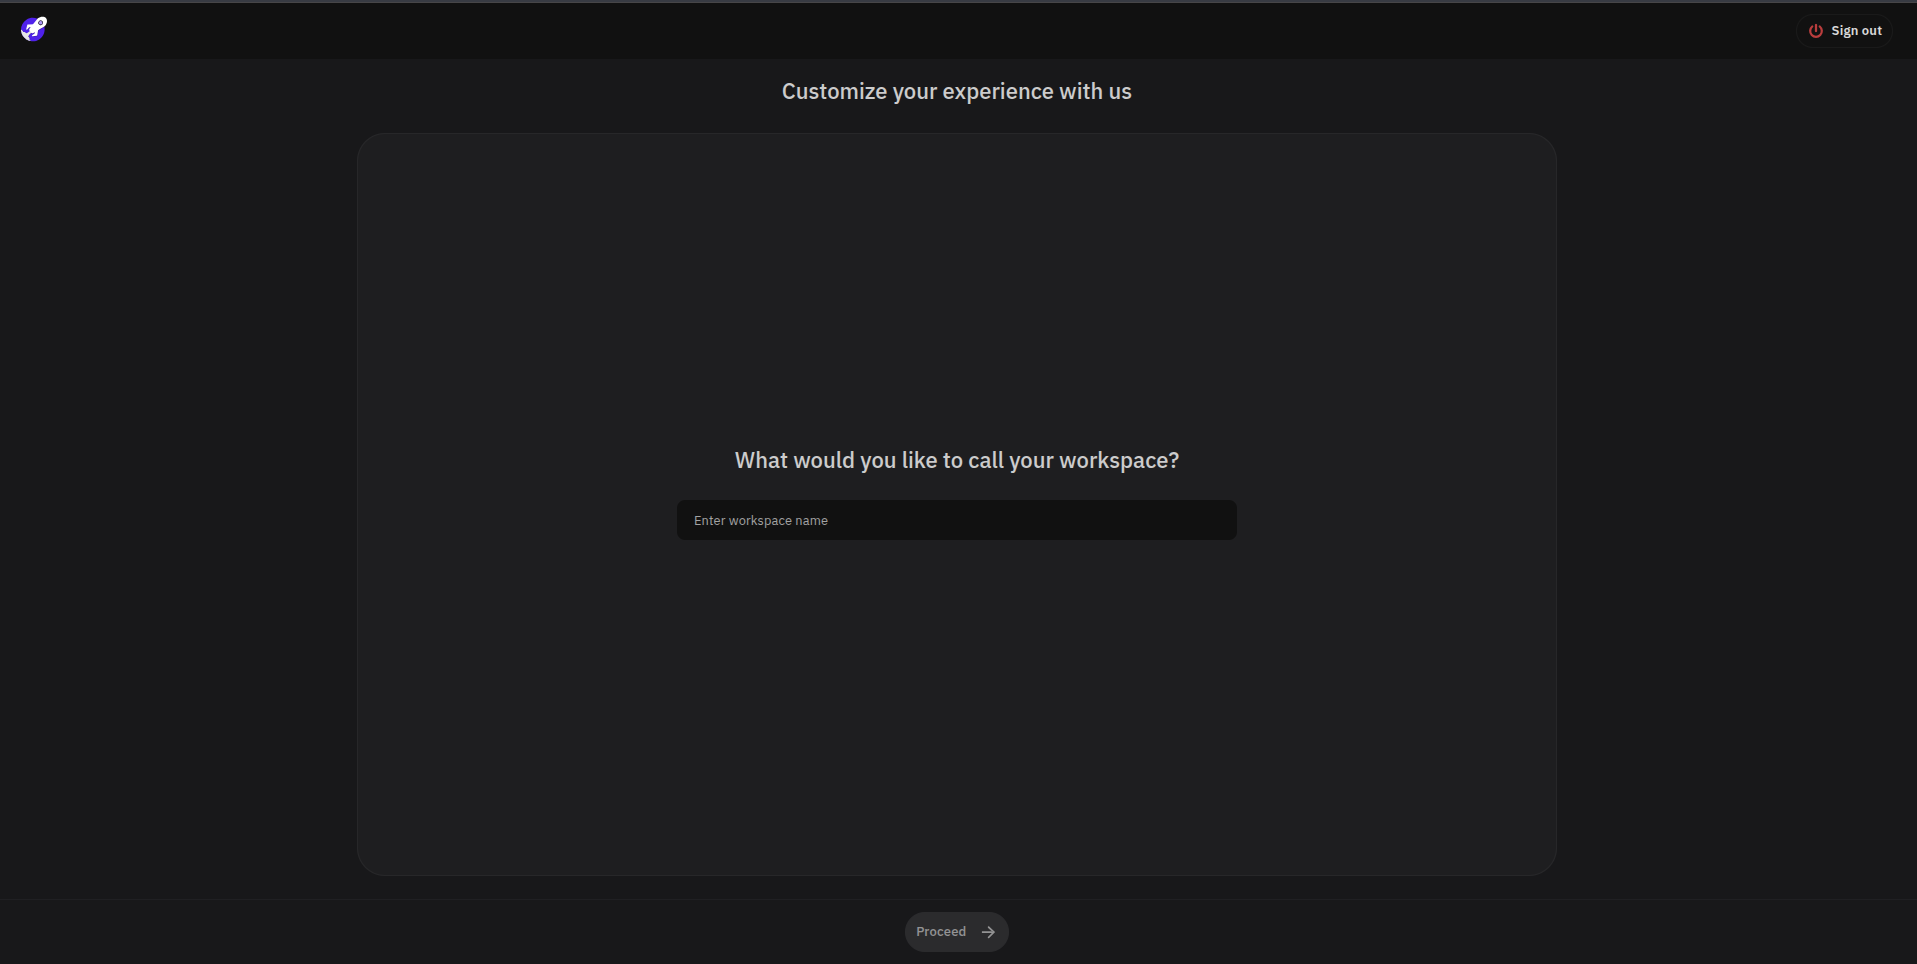
Step 6: Customize Your Workspace
After verification, PipeOps asks a few quick questions to customize your experience.
First, enter a workspace name. This name helps you identify and organize your projects in PipeOps.
Next, answer the onboarding questions:
-
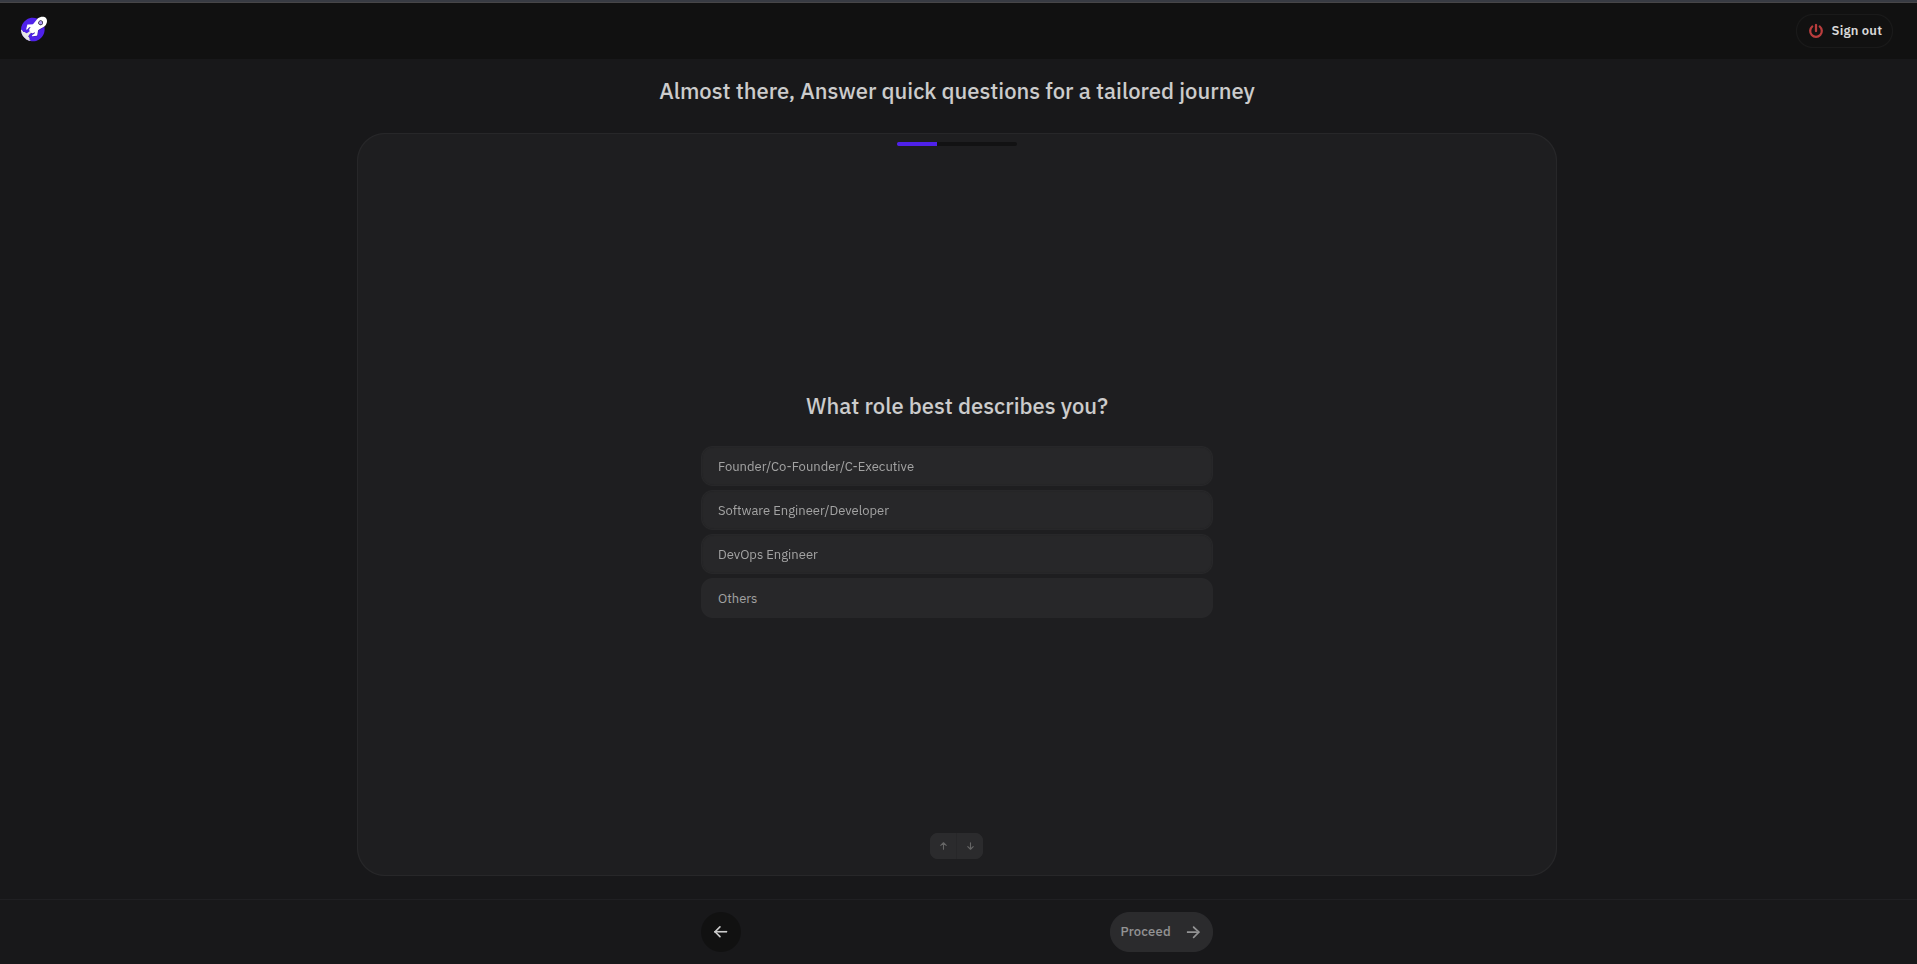
What role best describes you?
Choose the option that best matches your role, such as Founder/Co-Founder/C-Executive, Software Engineer/Developer, DevOps Engineer, or Others.
-
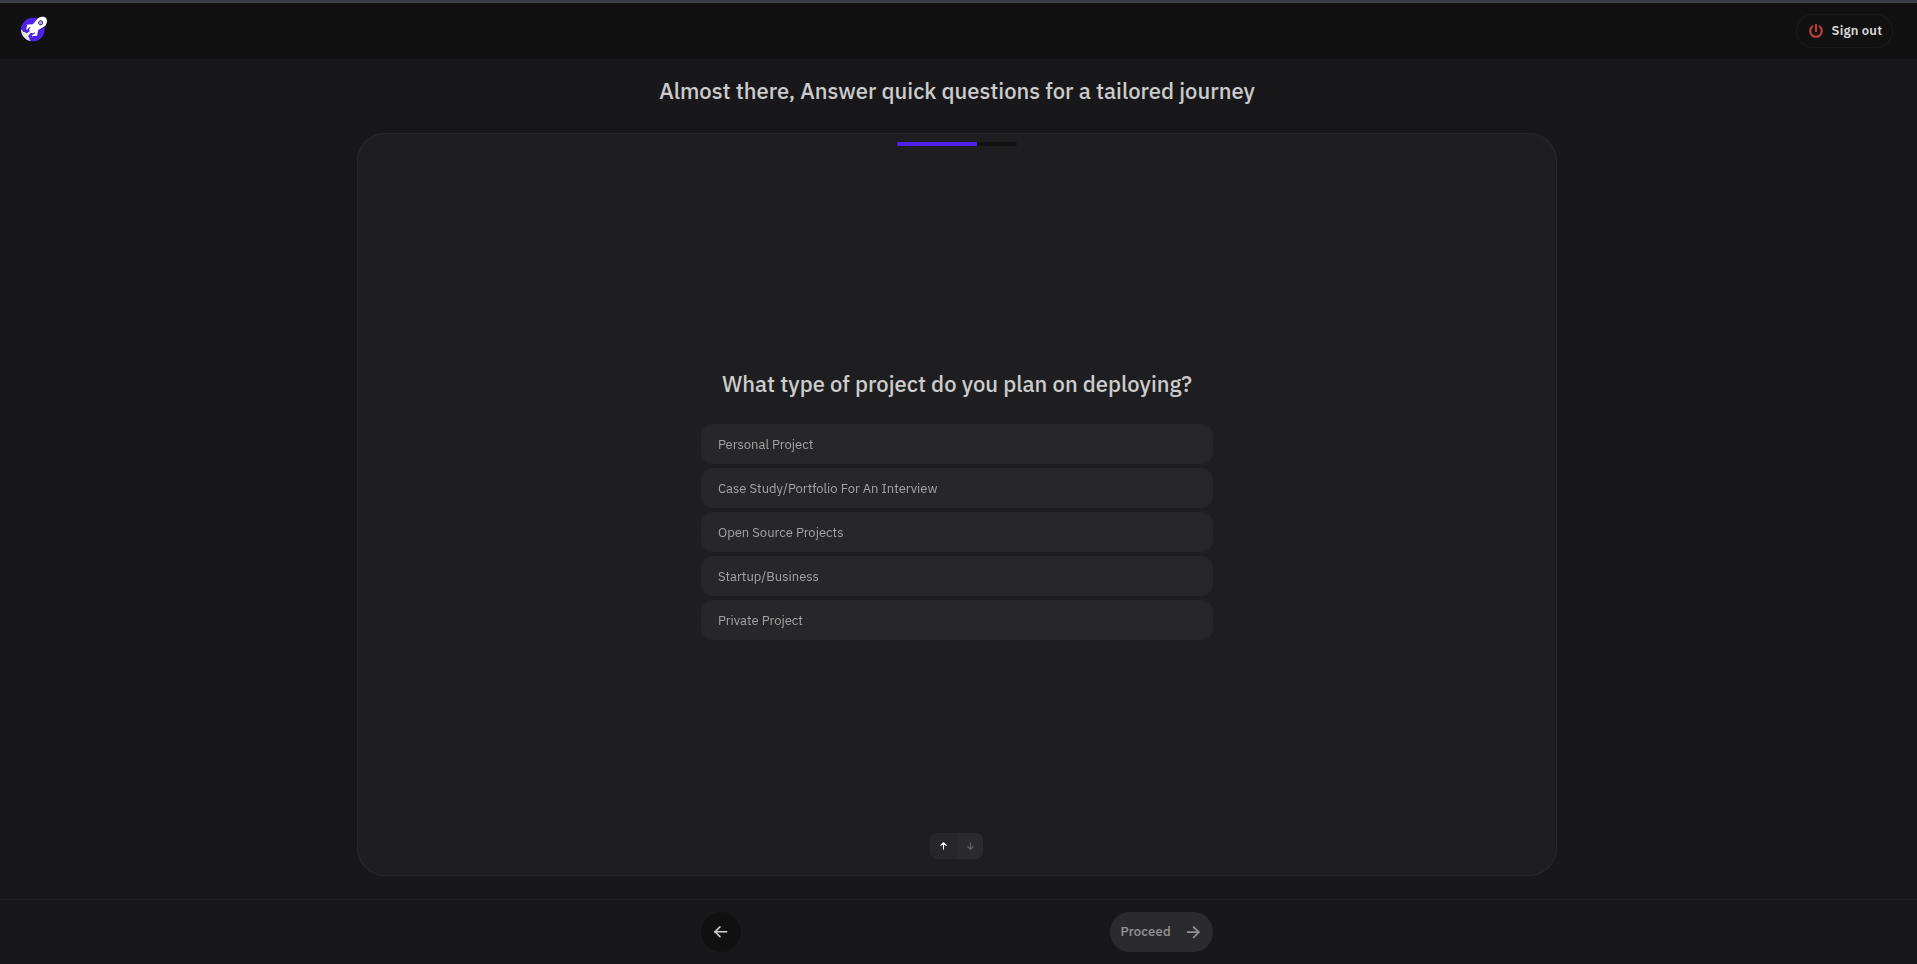
What type of project do you plan on deploying?
Select the project type that best describes what you want to deploy, such as a personal project, open source project, startup/business project, private project, or case study/portfolio project.
-
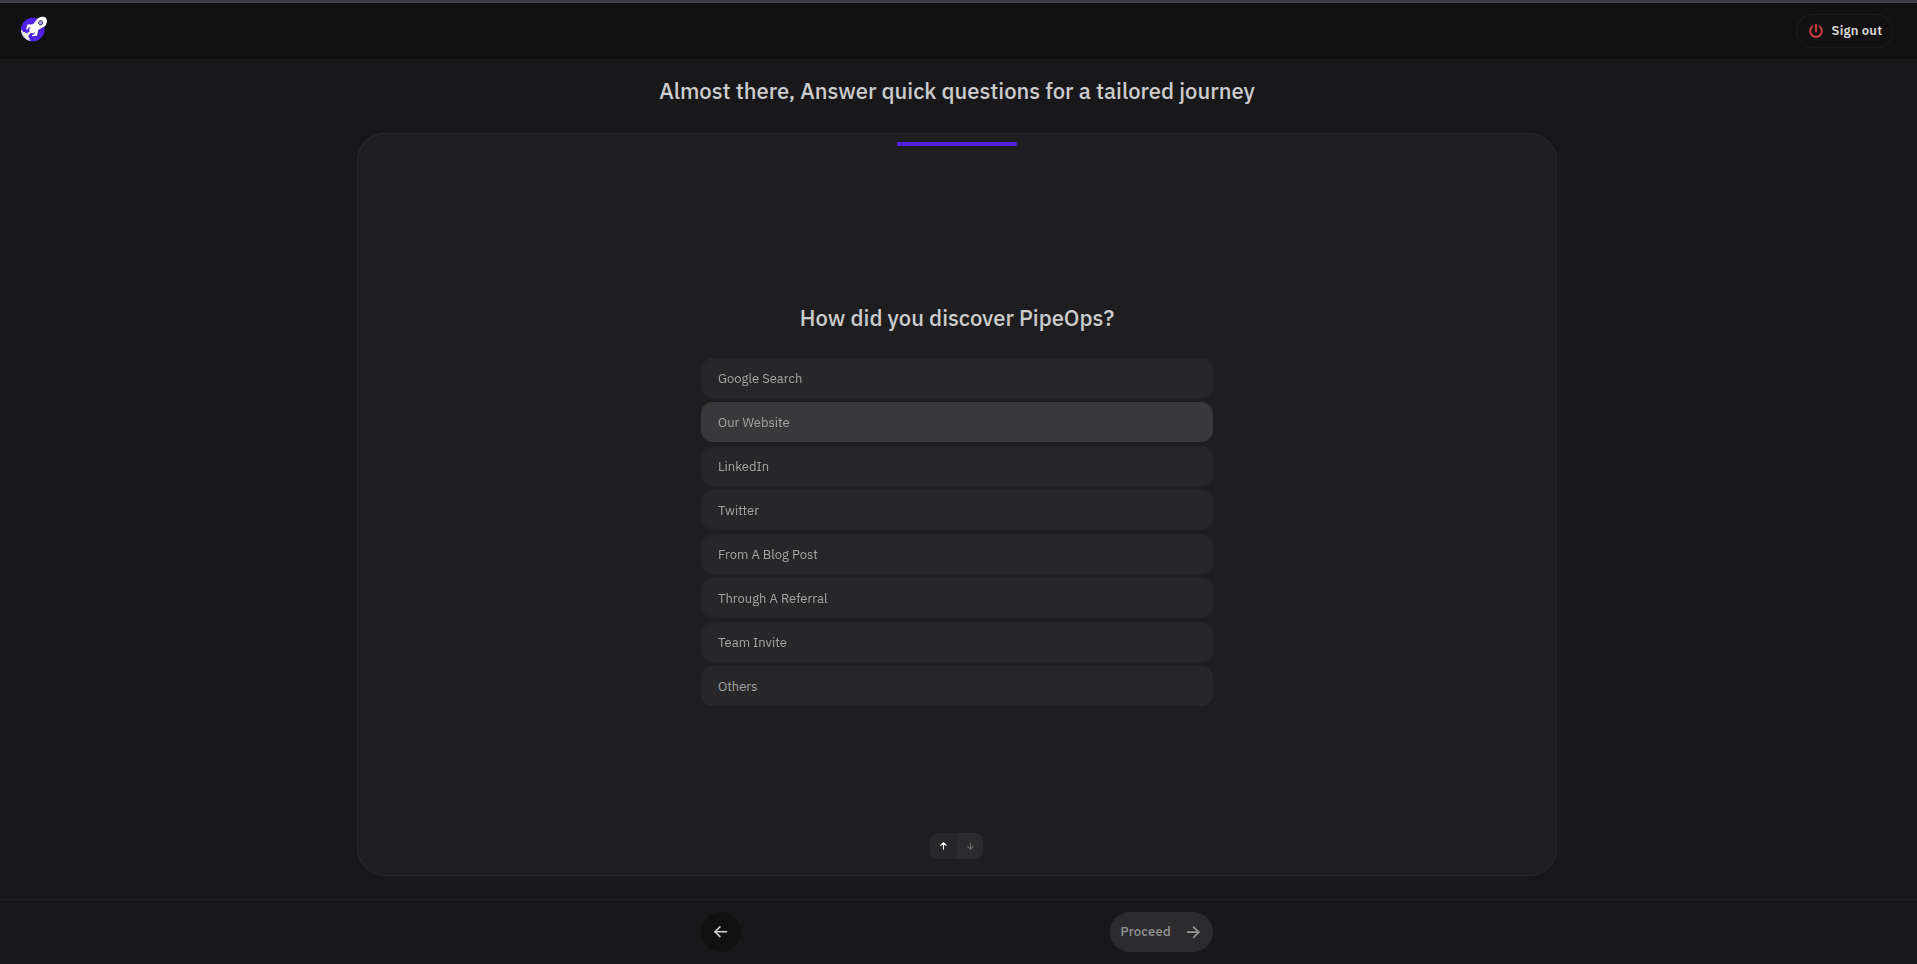
How did you discover PipeOps?
Choose how you found PipeOps, such as Google Search, the PipeOps website, LinkedIn, Twitter, a blog post, a referral, a team invite, or Others.
Step 7: Complete Registration
After entering your workspace name and answering the onboarding questions, click Proceed to complete registration.
Next, choose where you want to deploy: