On PipeOps
In this section, we'll guide you through setting up your PipeOps account using one of PipeOps' own servers. Follow these steps to configure your server and seamlessly deploy your applications.
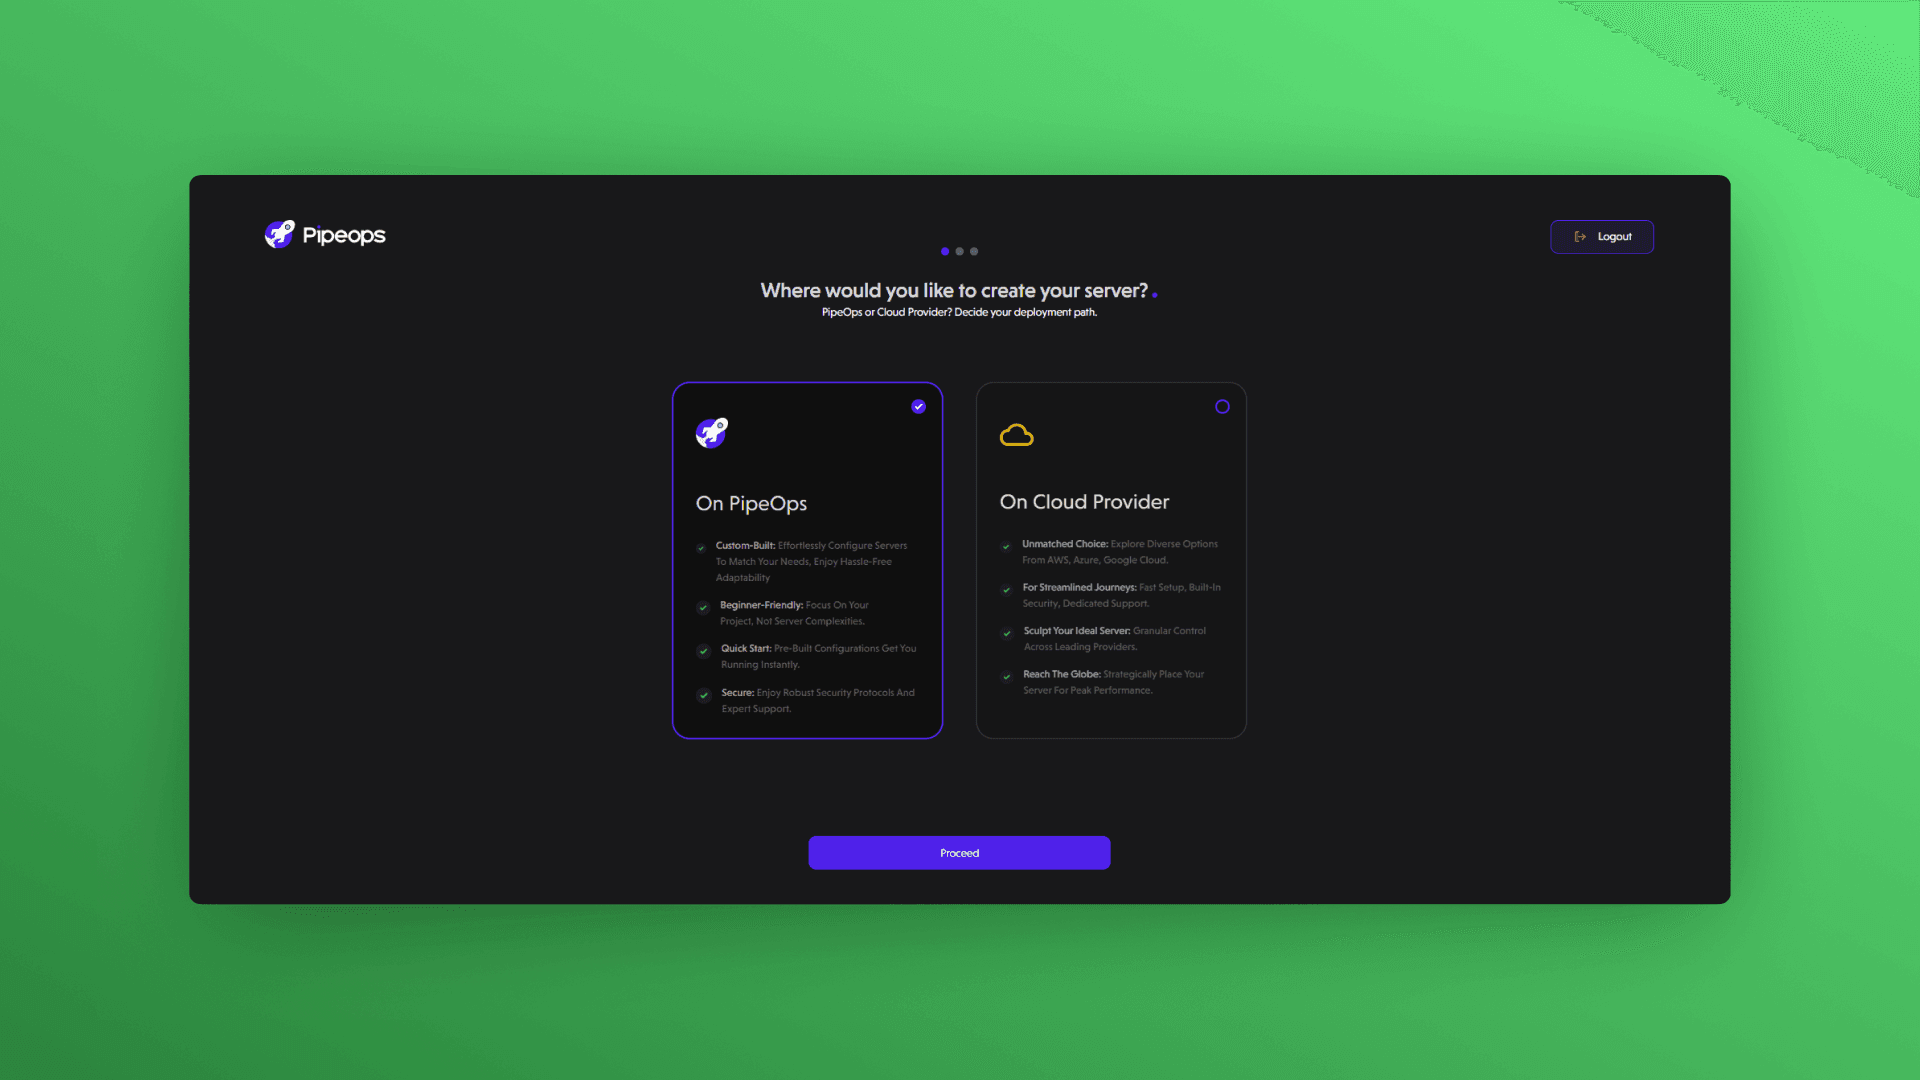
Step 1: Select Your Server Hosting Platform
Whether you are just continuing your account creation process or just trying to deploy an extra server, The below guide still applies to both cases. After choosing to proceed from the previous step, you will be brought to this page.
- You'll be prompted to choose where you want to create your server.
- Select "On PipeOps" as your server creation method.
Step 2: Decide On The Physical Location Of Your Server
You'll then be directed to:
- Select your server location. We've implemented a geo-location pricing model to ensure you're billed in your local currency, shielding you from exchange rate fluctuations.
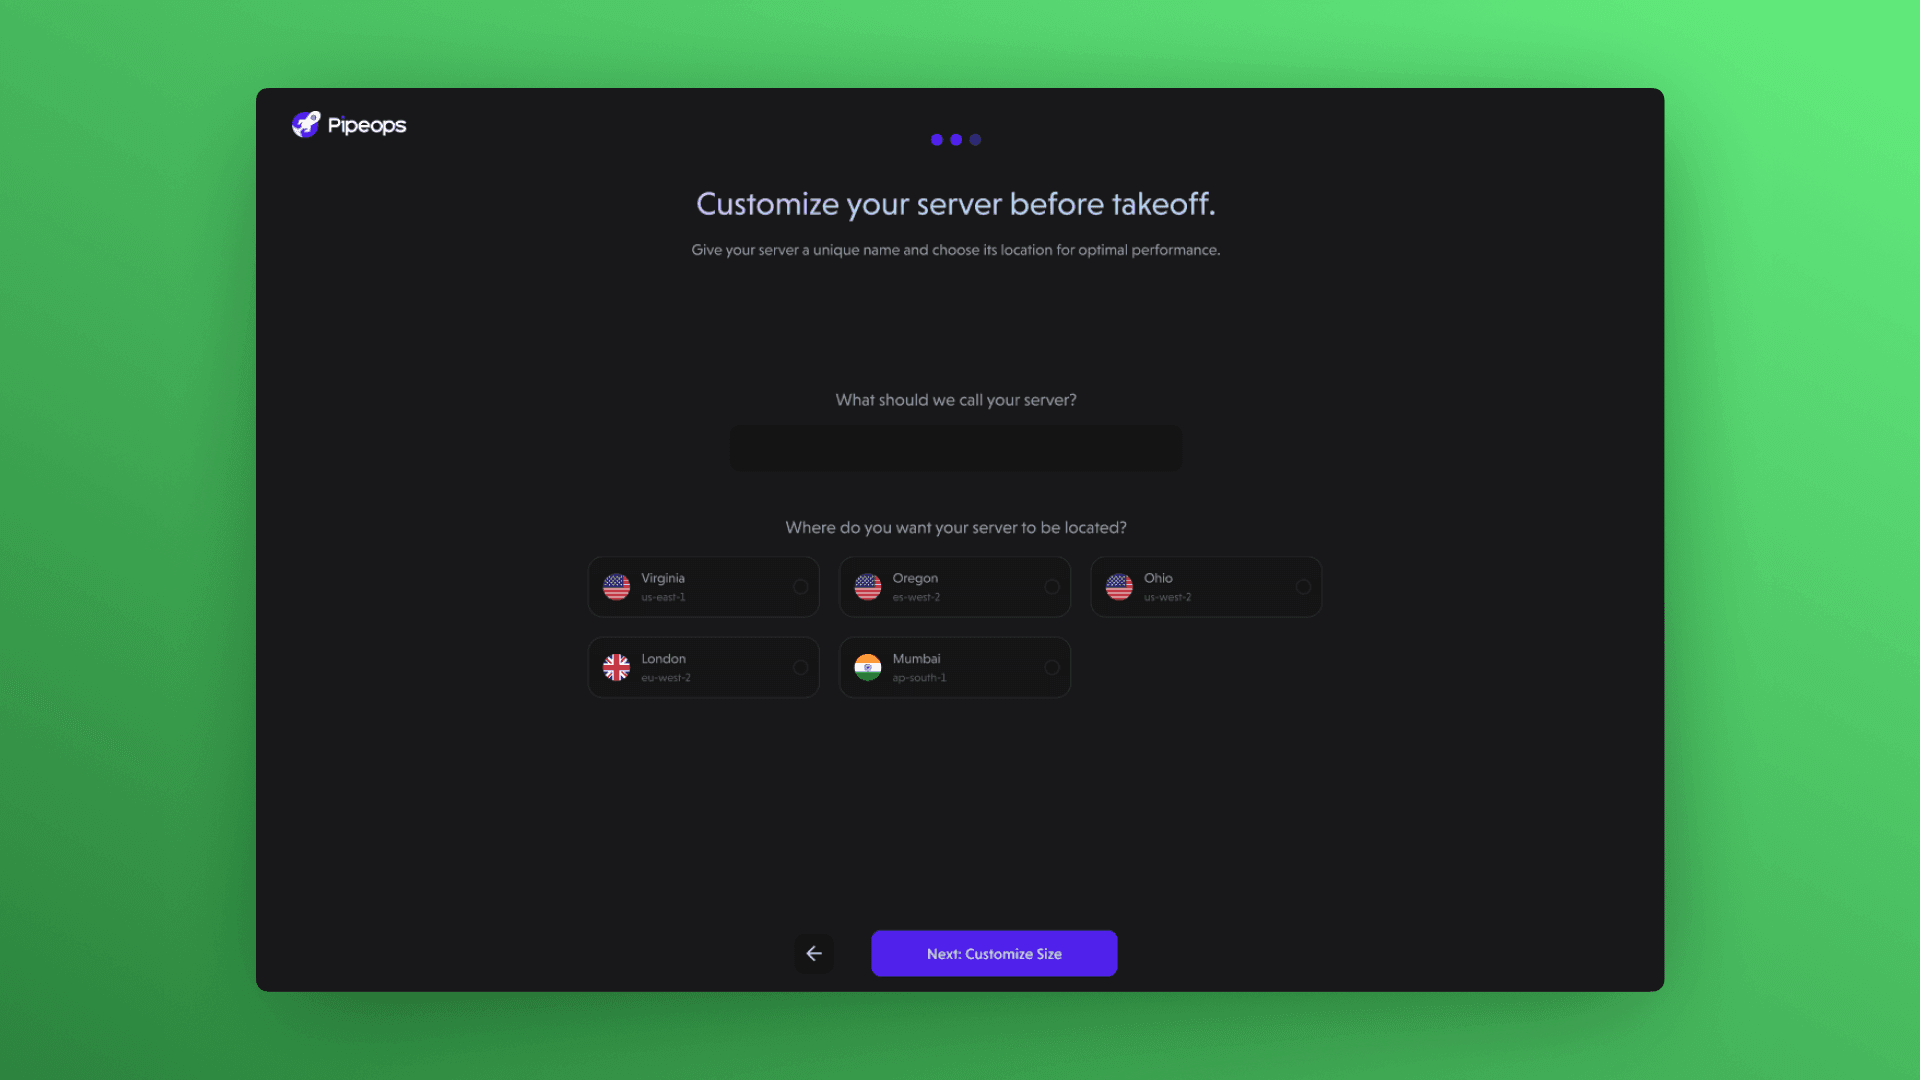
Step 3: Customize Your Server
After selecting the location for your server, it's time to tailor it to your specific needs. Customize your server based on these three key metrics:
-
VCPU (Virtual Central Processing Unit):
- Choose the number of virtual CPUs to allocate to your server. This determines the processing power available for running your applications and handling tasks.
-
Memory:
- Select the amount of memory (RAM) to allocate to your server. Memory is crucial for storing and accessing data while your applications are running. Choose a suitable amount based on the requirements of your applications and workload.
-
Storage:
- Determine the storage capacity for your server, which includes both the operating system and data storage. Consider the size of your applications and the amount of data they generate to ensure you have adequate storage space. You can also choose between different storage types, such as solid-state drives (SSD) or hard disk drives (HDD), depending on performance and cost considerations.
You can choose between the Nova Sapa, Nova Pro, Nova Duo and Nova Chrono server instances. Each instance comes with varying amounts of VCPU, Memory and storage.

By customizing these aspects of your server, you can optimize its performance and resource allocation to meet the specific demands of your applications and workload.
Once you've decided on your desired server instance, PipeOps will automatically check if your credit balance covers the cost.
if you don't have enough credits for your desired server instance, you'll be directed to a payment portal where you can make the necessary payment to access seamless deployments with PipeOps.

However, if your credits are sufficient, the transaction will be deducted from your credit balance without any additional charges.
Step 4: Payment Completion
After successfully making payment for your server, you'll receive a confirmation stating "Congratulations! Your subscription is active." Click on the Done button to proceed to the next steps in the setup process.
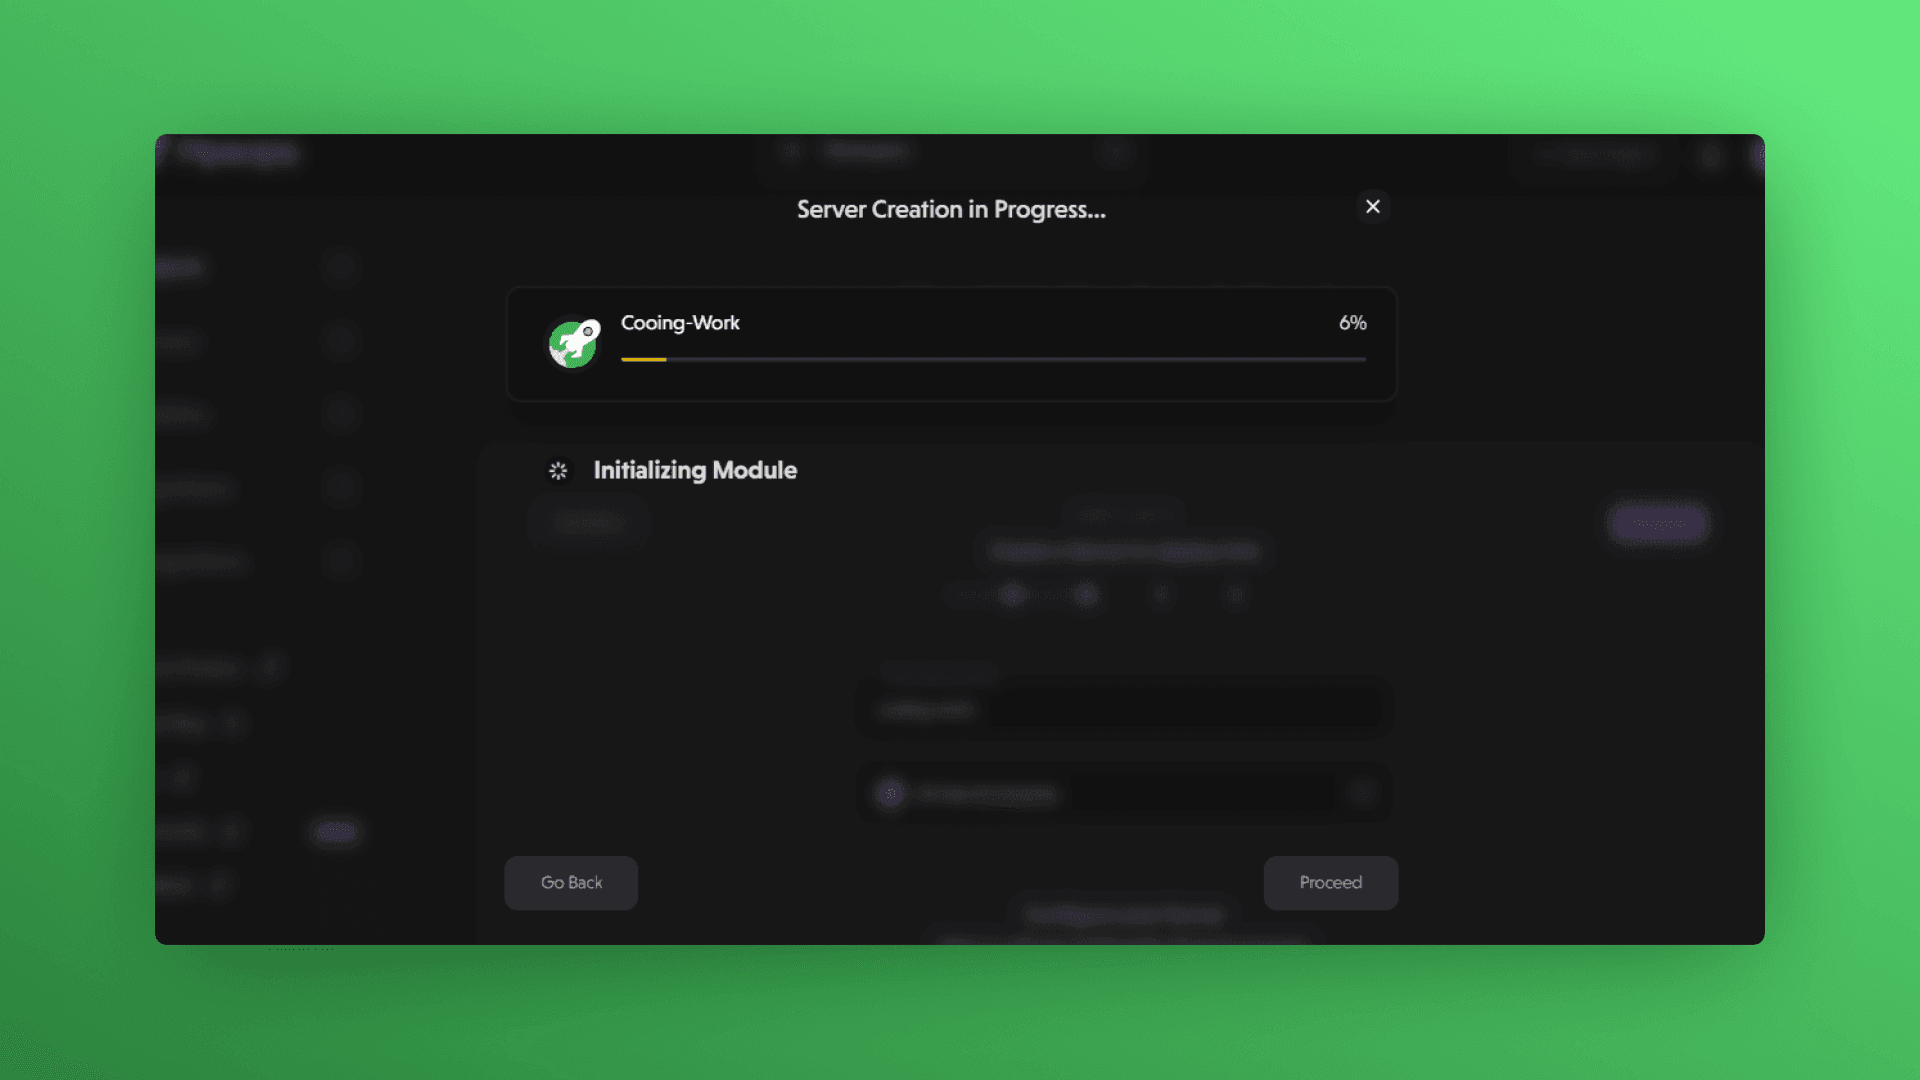
Step 5: Server Creation in Progress
In this next step, the platform will display the progress of your server creation on the screen.
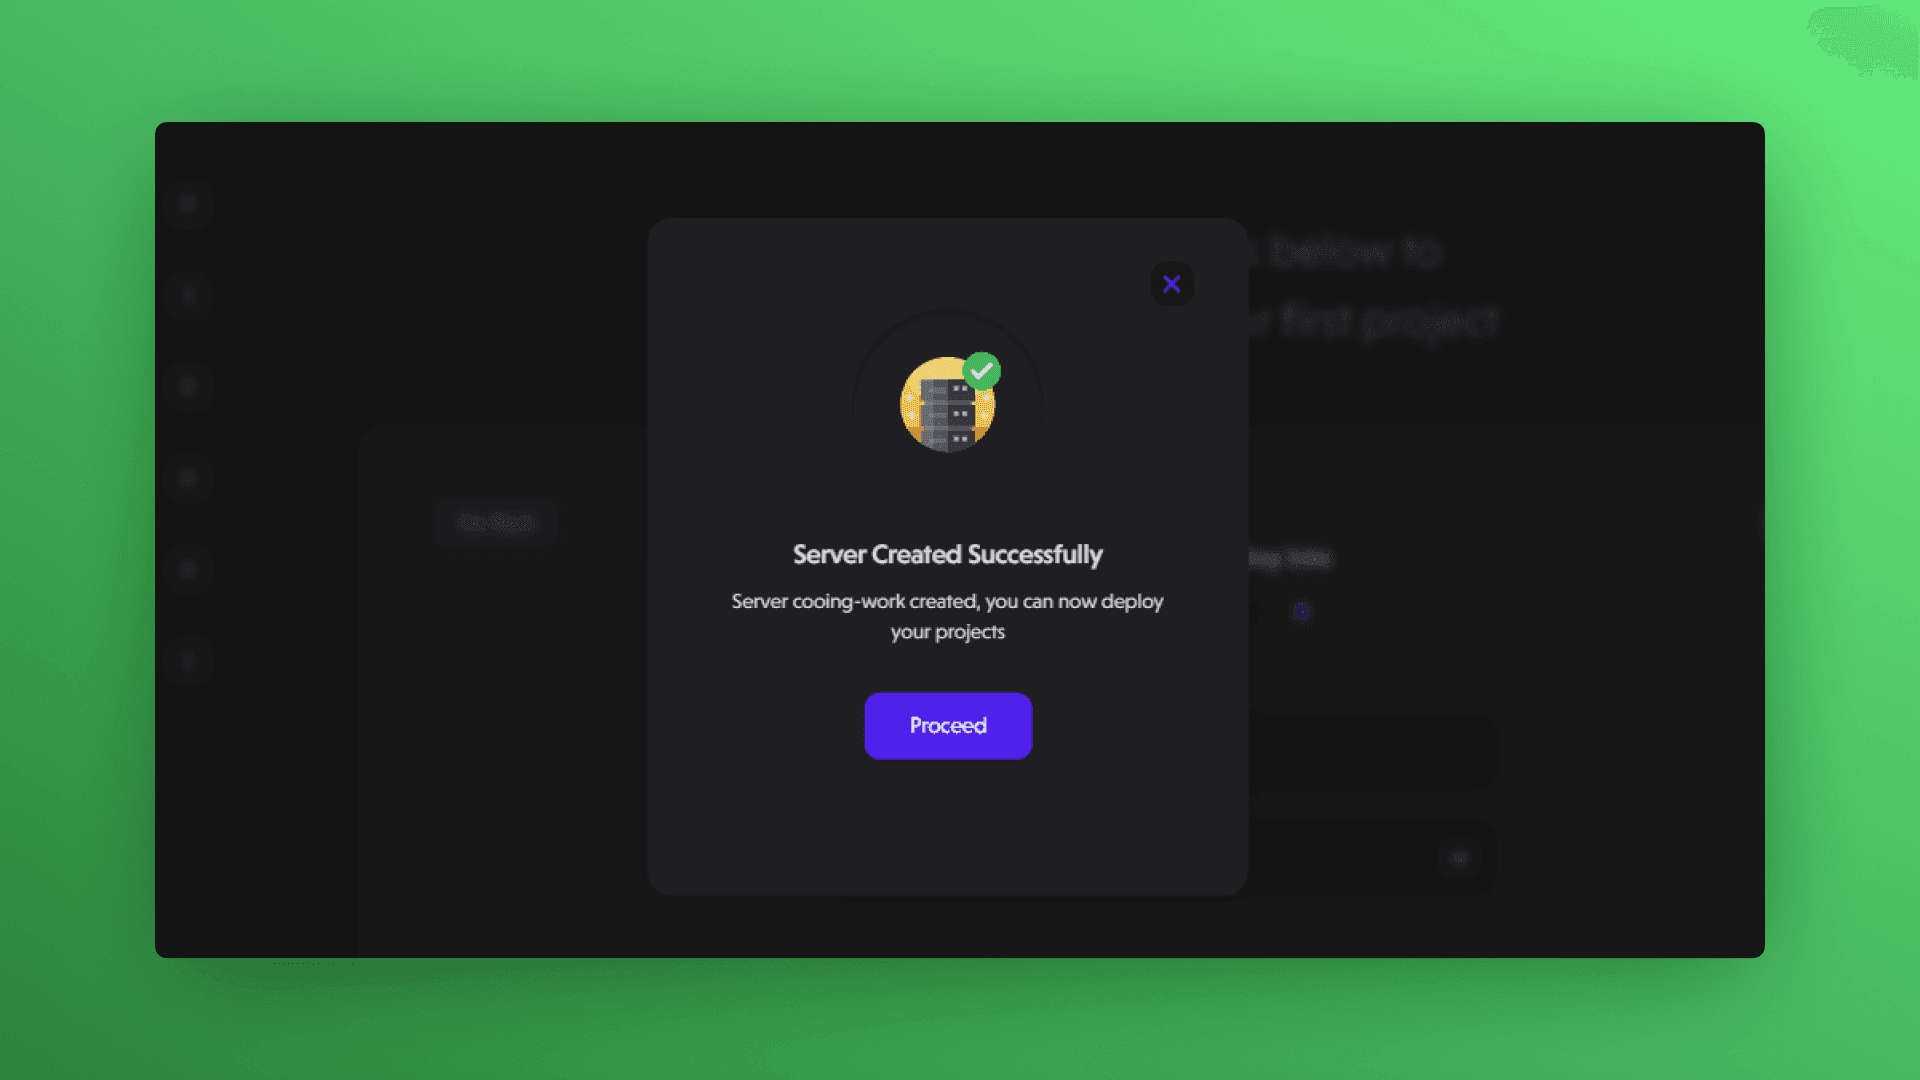
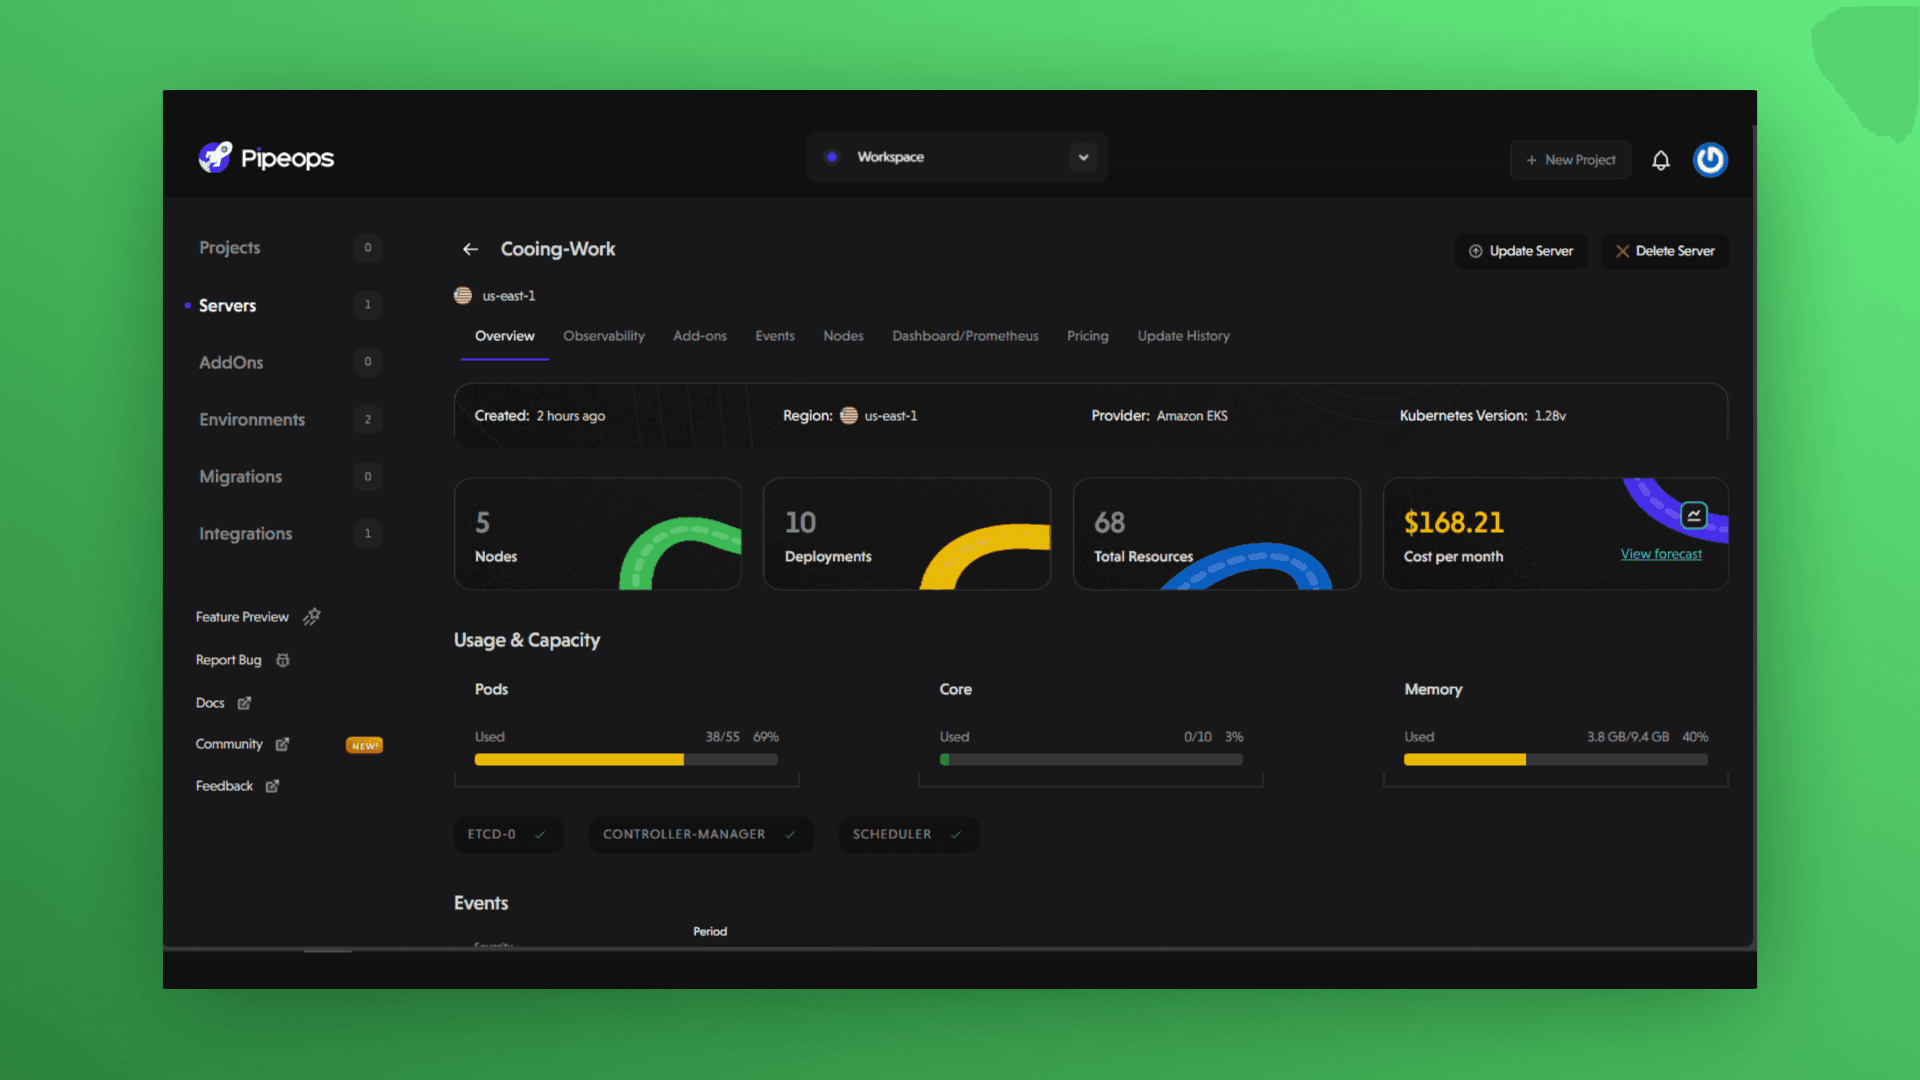
Step 6: Server Creation Complete
- After the server creation is complete, a confirmation message will appear.
- Click Proceed to get to the server overview page of the server you just created.
Step 7: Proceed to project deployment
After successfully creating a server, you can now proceed to deploy your applications into that server. See the project deployment guide for a comprehensive guide to getting your applications up and running with PipeOps.