On Cloud Provider
In this section, we will show how you can set up your PipeOps account using your cloud Provider. Follow these steps to set up your account and seamlessly deploy your applications on AWS.
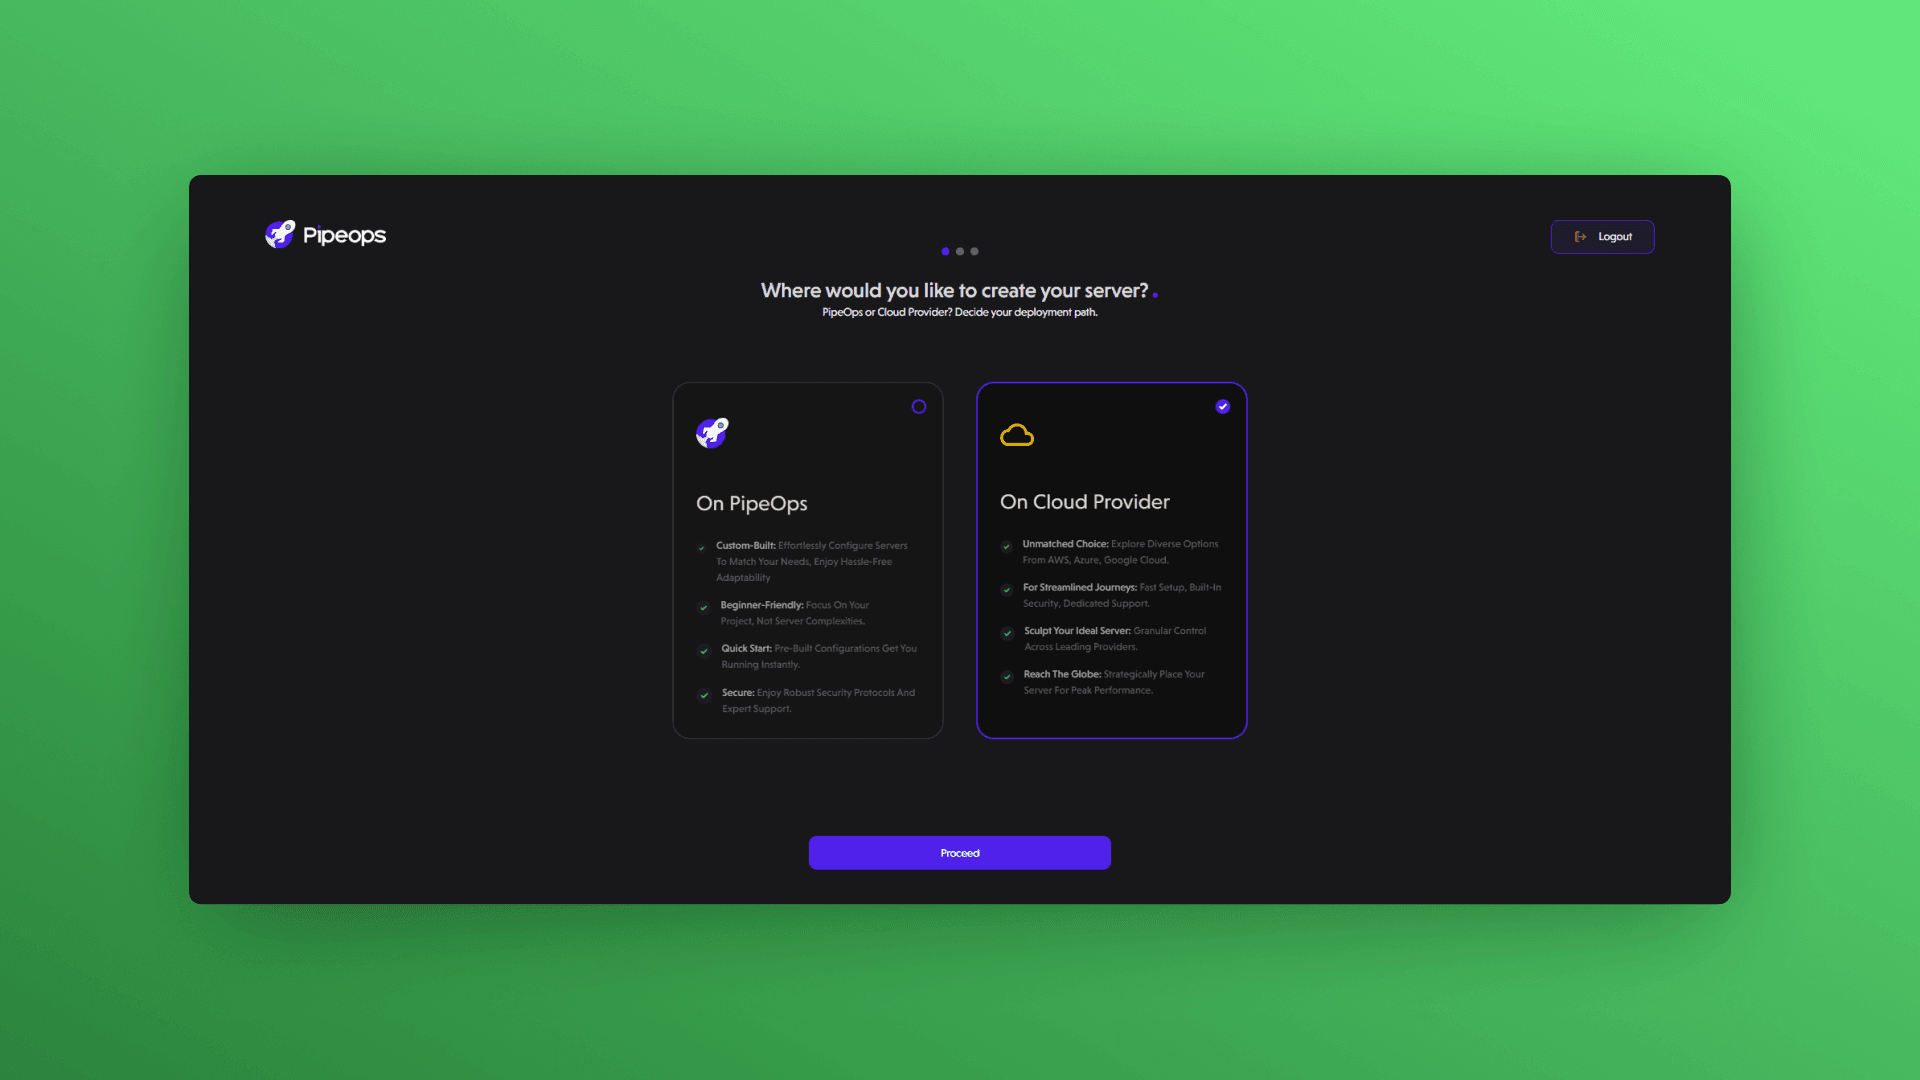
Step 1: Select Your Server Hosting Platform
Whether you are just continuing your account creation process or just trying to deploy an extra server, The below guide still applies to both cases. After choosing to proceed from the previous step, you will be brought to this page.
- You'll be prompted to choose where you want to create your server.
- Select "On Cloud Provider" as your server creation method.
Step 2: Choose Your Cloud Server Management Level
Here you can configure your PipeOps account plan. this will determine the number of environments, servers, team seats and deployment that would be available to you. You can select either the StartUp, Growth or Enterprise plan.
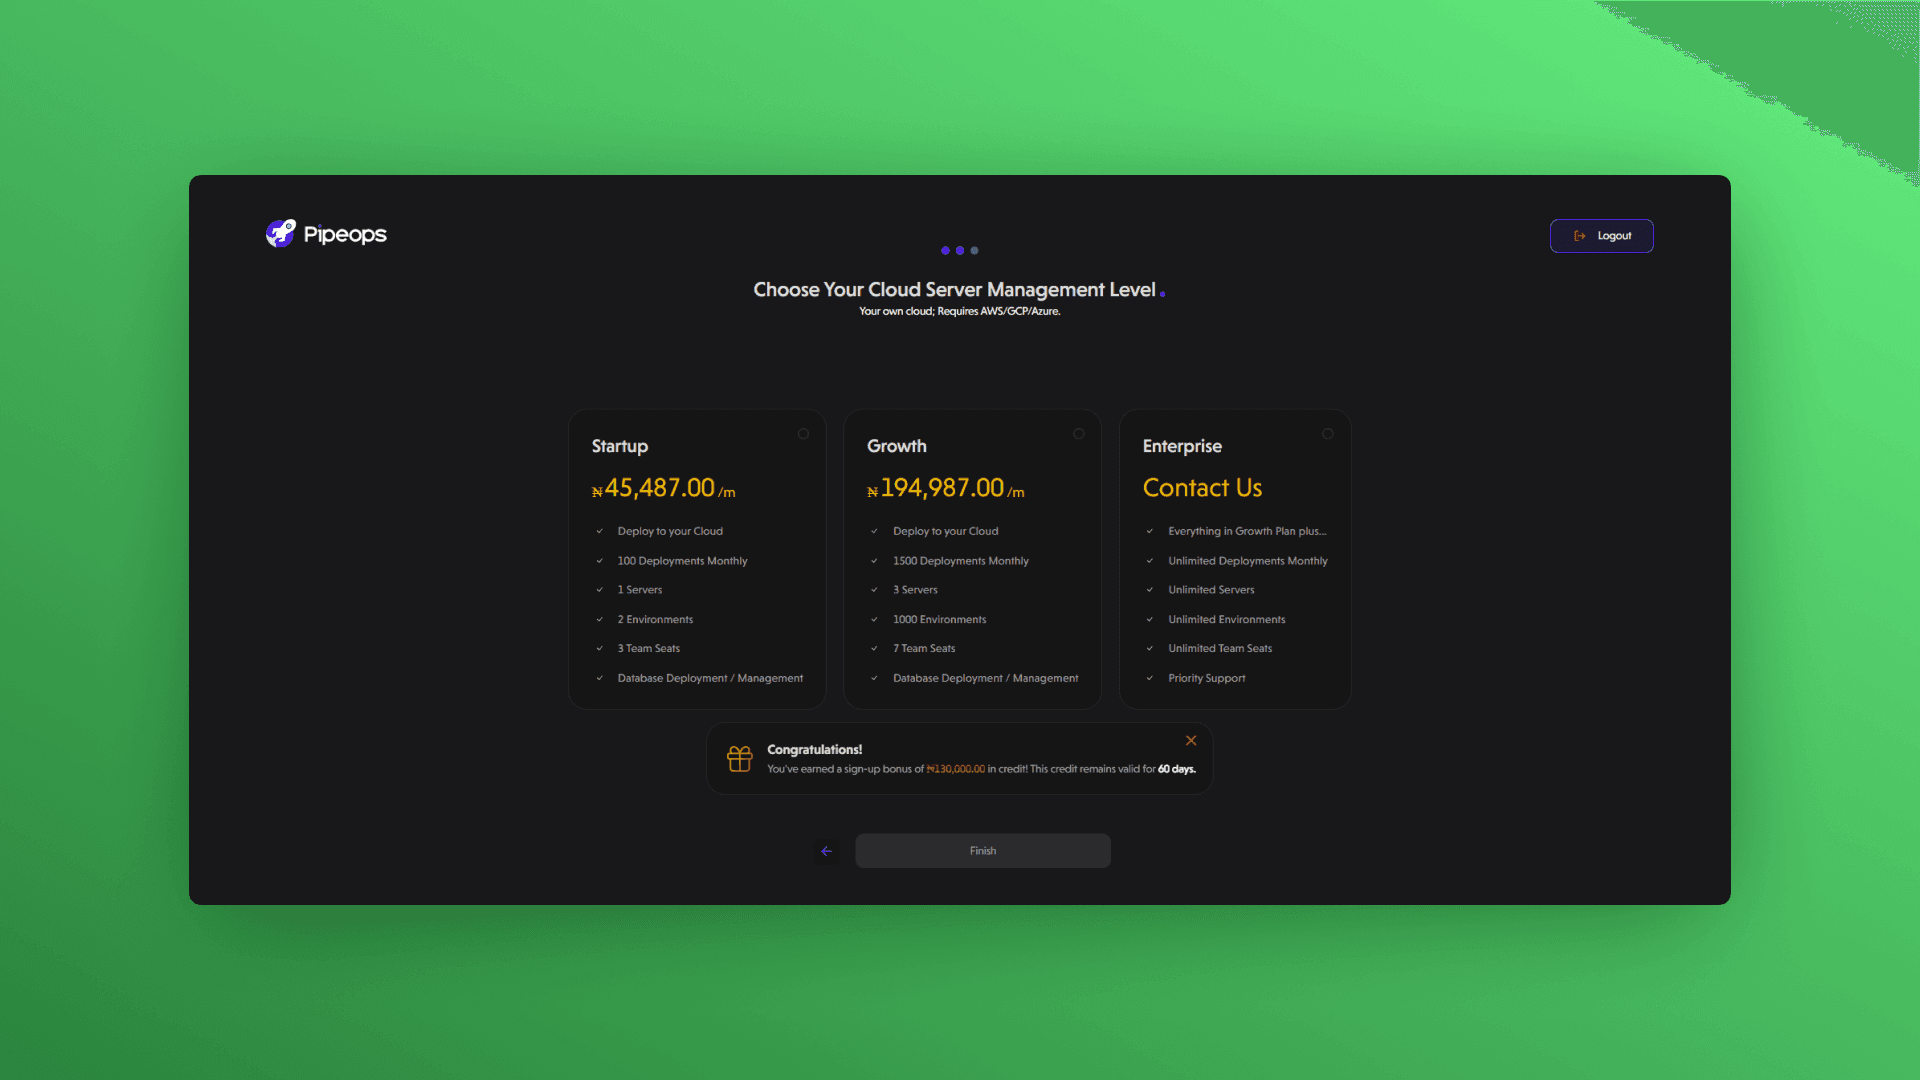
Once you've selected your desired plan, PipeOps will automatically check if your credit balance covers the cost. If you don't have enough credits for your desired plan, you'll be directed to a payment portal where you can make the necessary payment to access seamless deployments with PipeOps.

However, if your credits are sufficient, the transaction will be deducted from your credit balance without any additional charges.
Step 3: Payment Completion
After successfully subscribing to a plan, you'll receive a confirmation stating "Congratulations! Your subscription is active." Click on the Done button to proceed to the next steps in the setup process.
Step 4: AWS Account
If you have your AWS account linked already, proceed directly to creating your server.
If your AWS account is not linked yet, see the Server Provisioning page to make the necessary connections and come back here to continue on your server creation journey.
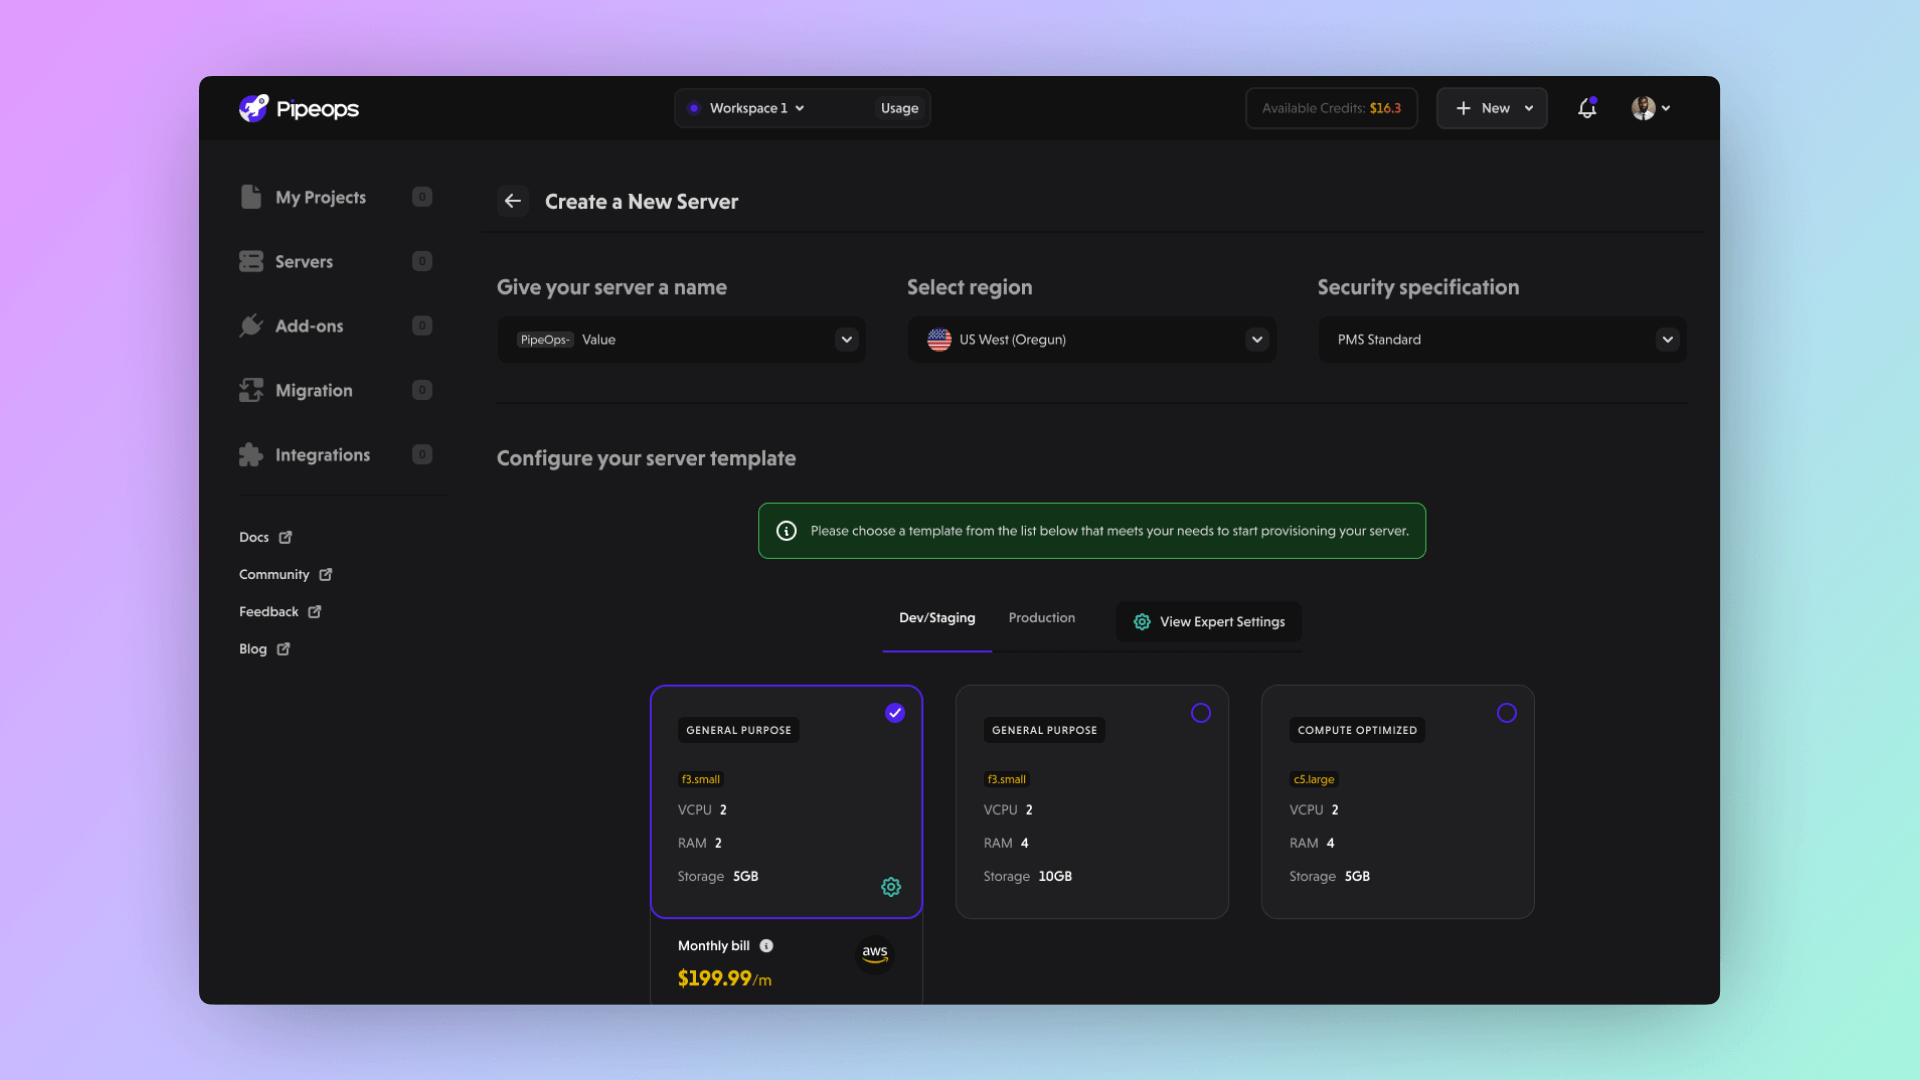
You can create your server for development, staging, or production environments. Each environment has different EC2 instance types and associated prices for the provisioned EKS server.
- Choose the deployment environment: Dev, Stage, or Prod.
- Choose your preferred server type
- Select your preferred AWS region for deployment.
- Click Proceed to move to the next step.
Step 5: Confirm Server Configuration
- A modal will appear, summarizing your server configuration settings.
- Review the details carefully to ensure accuracy.
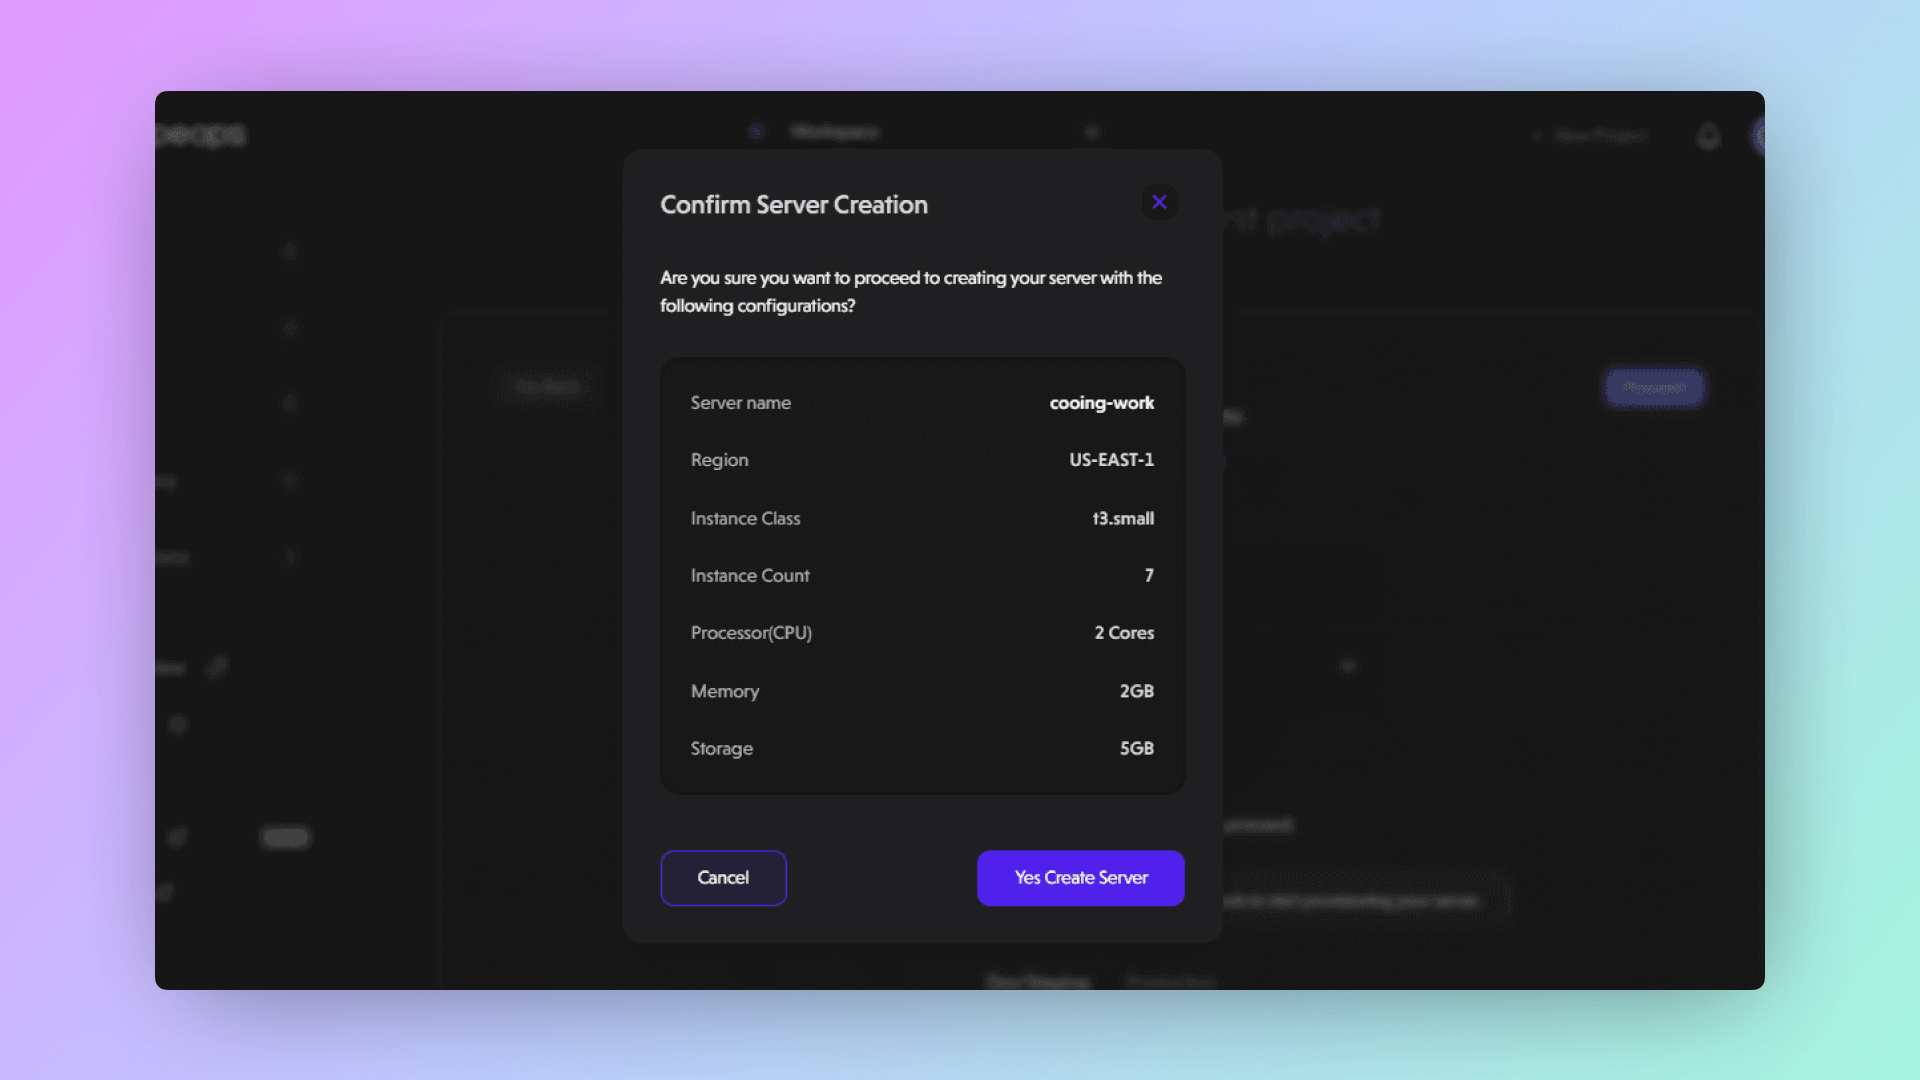
- Click Yes Create Server to proceed with creating your server.
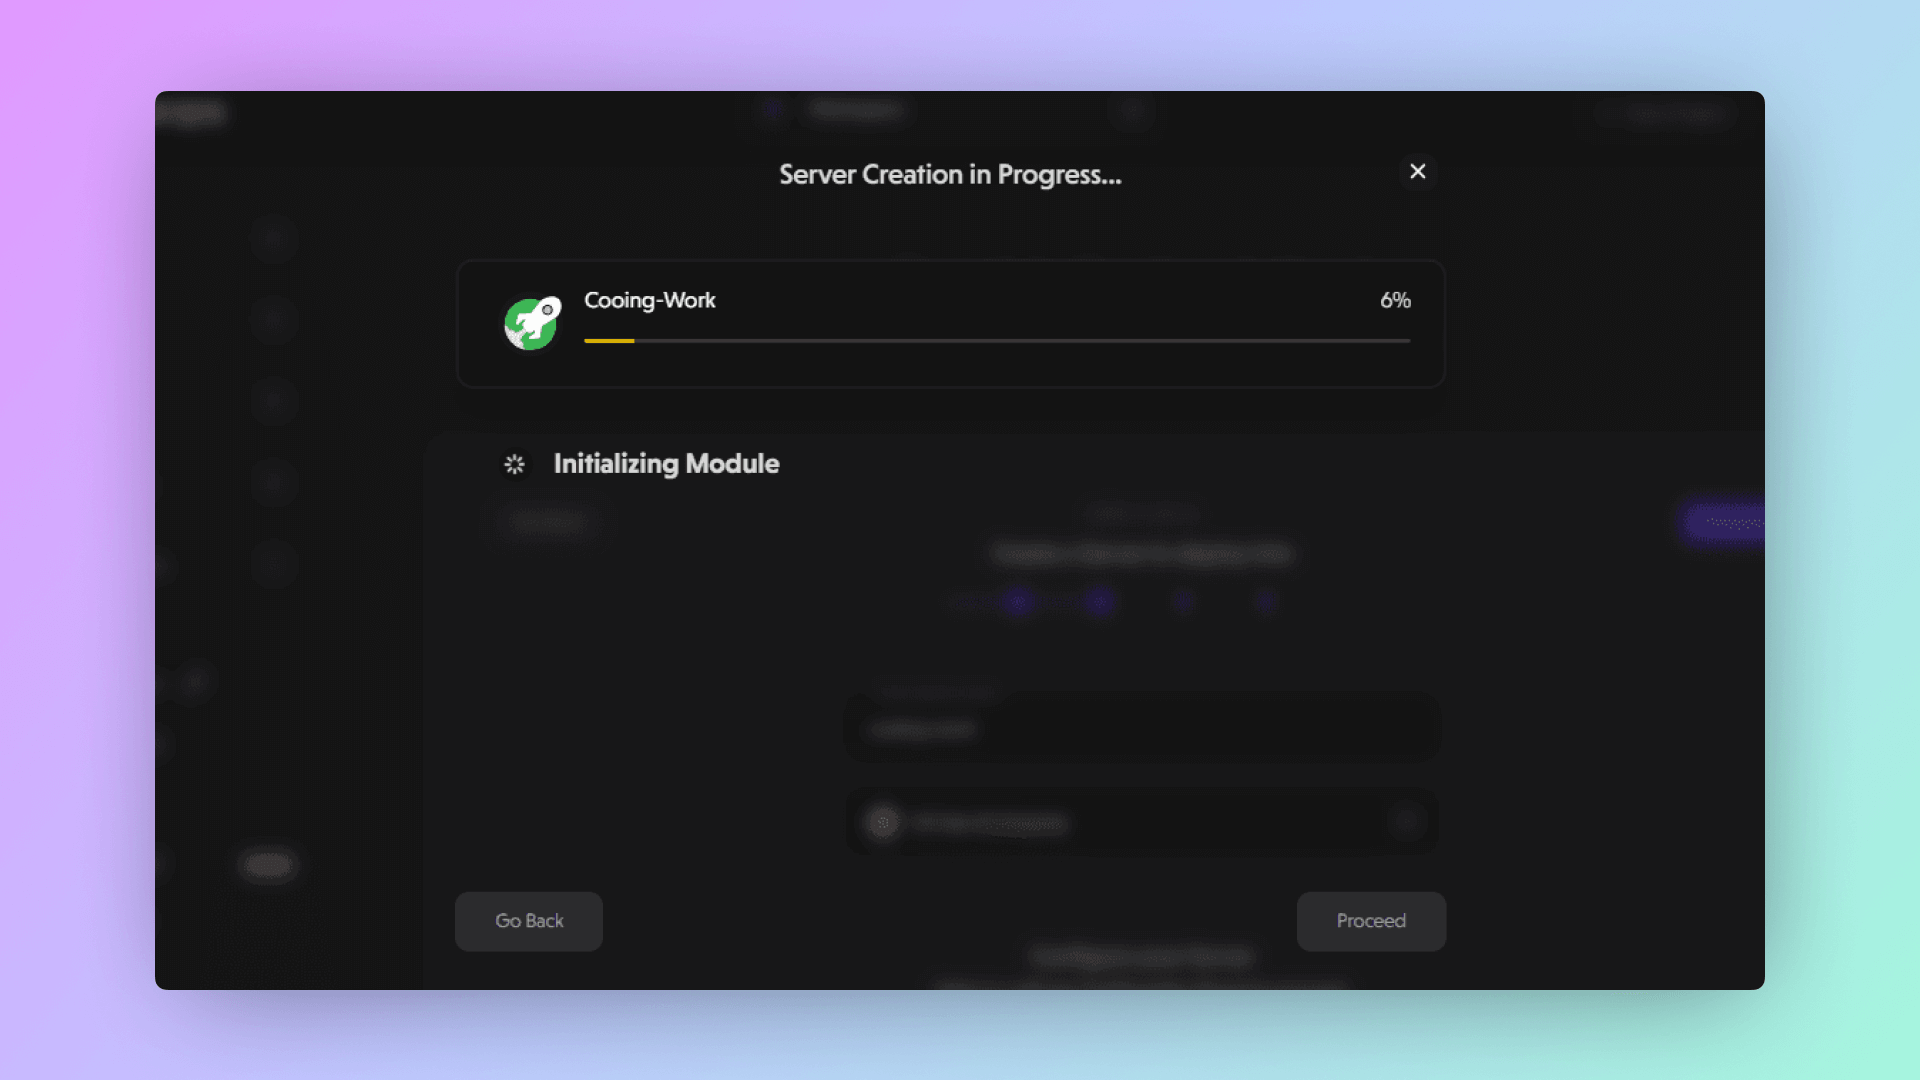
Step 6: Server creation in progress
After reviewing your server details on the confirmation modal and choose to proceed, another modal will appear showing your server creation progress in realtime.
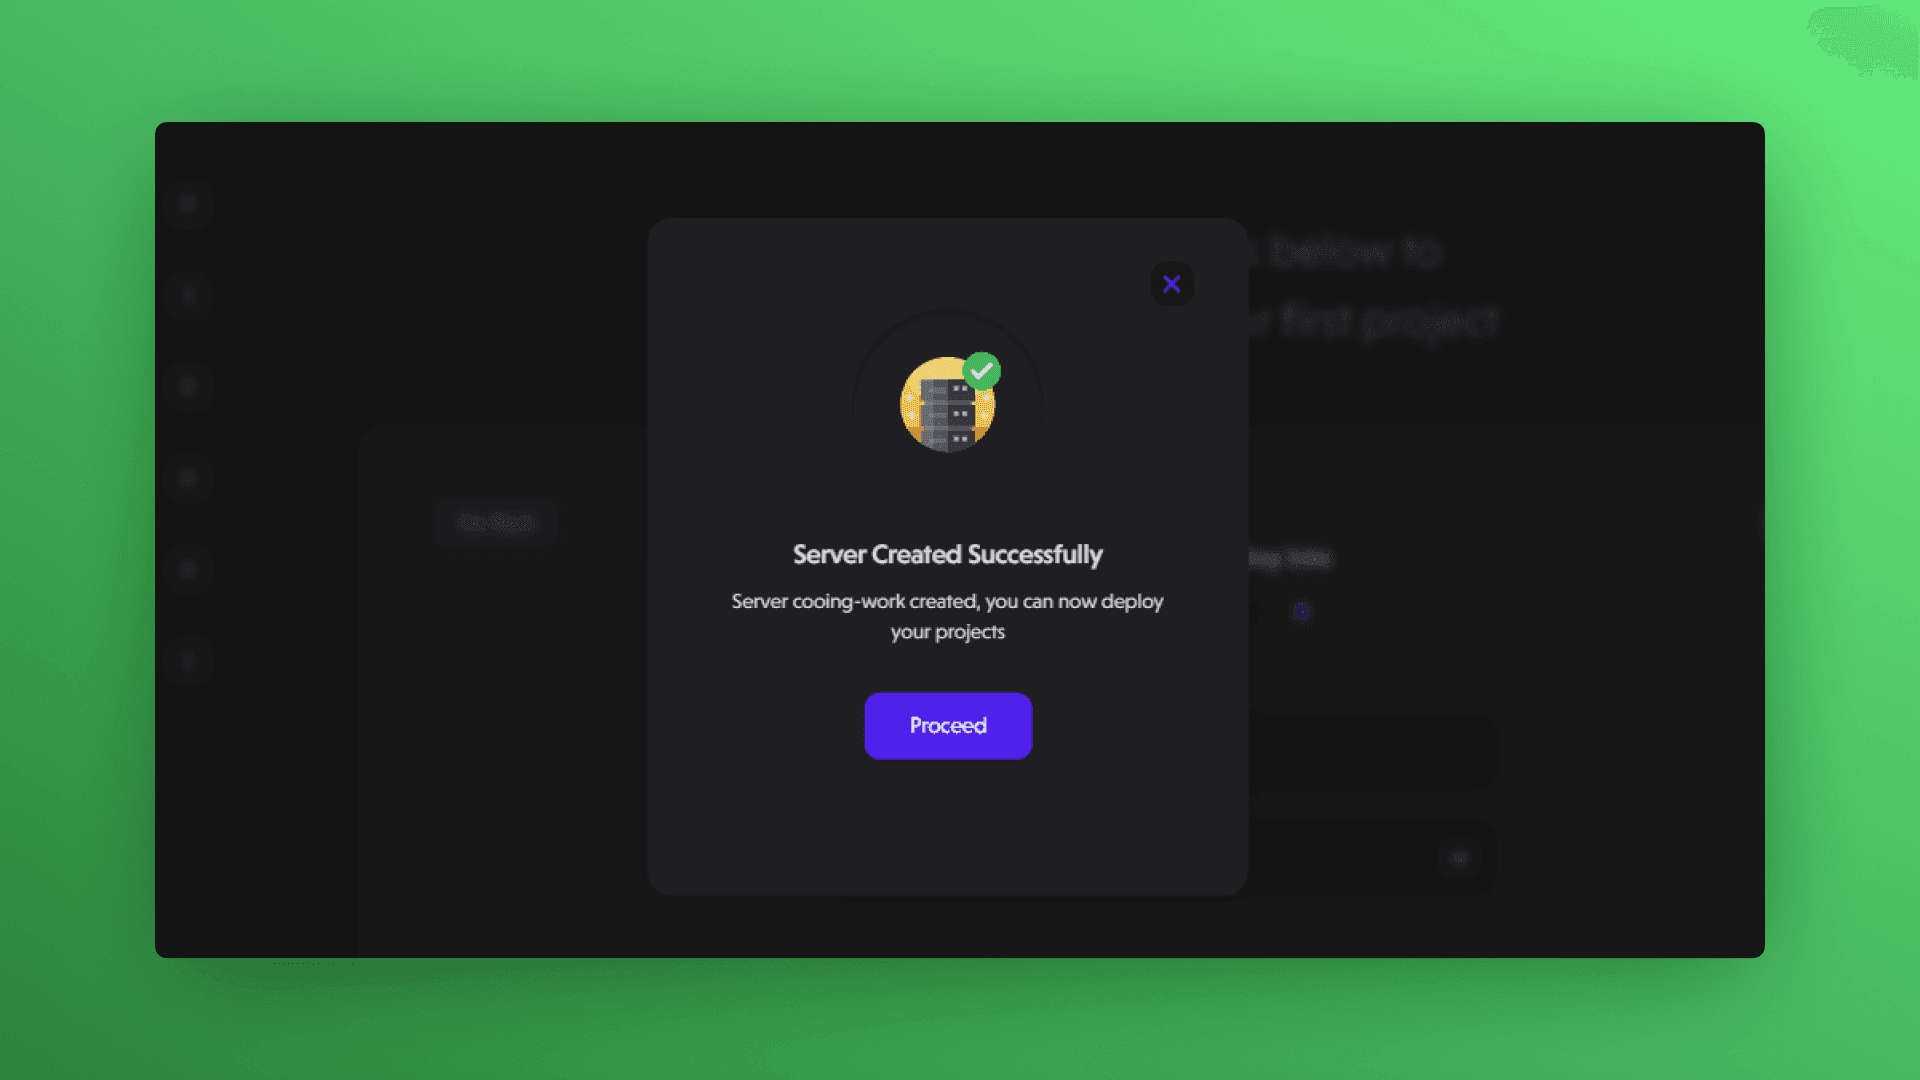
Step 7: Server Creation Complete
- After the server creation is complete, a confirmation message will appear.
- Click Proceed to get to the server overview page of the server you just created.
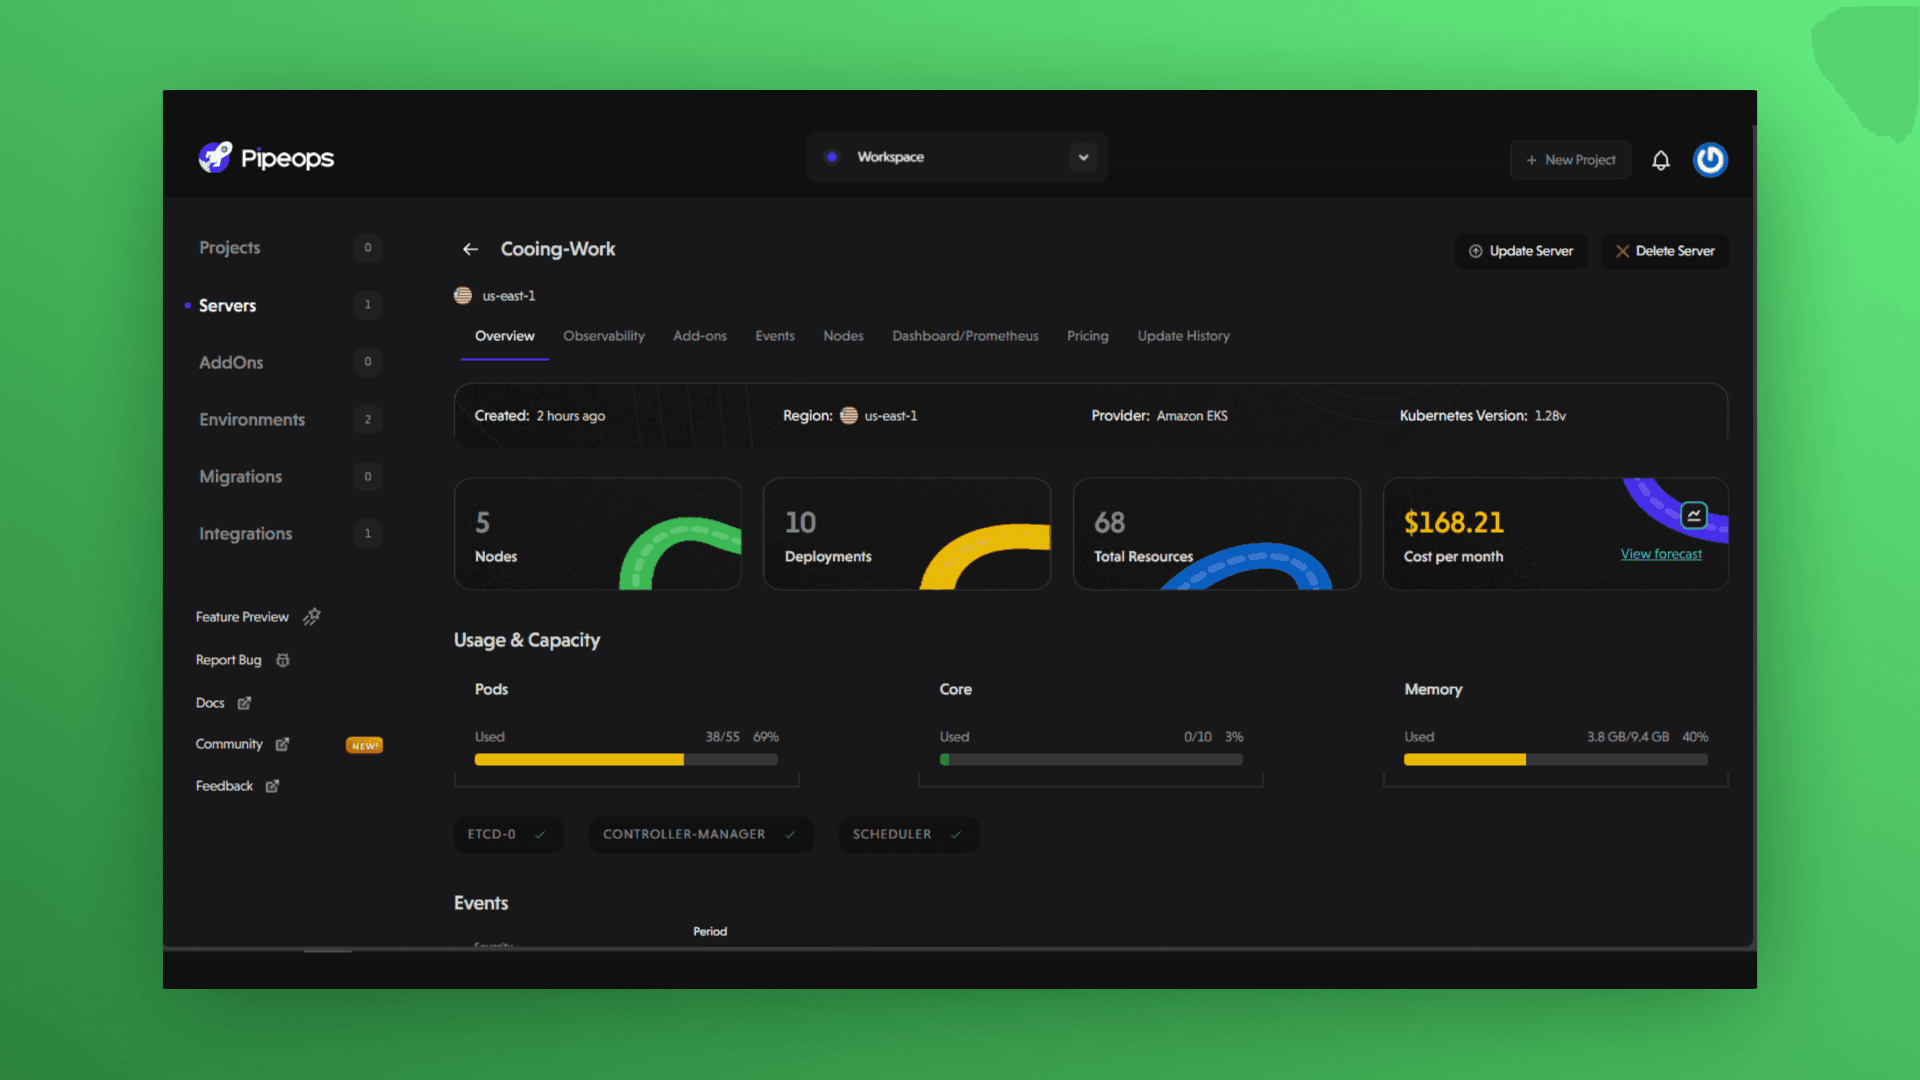
Step 8: Proceed to project deployment
After successfully creating a server, you can now proceed to deploy your applications into that server. See the project deployment guide for a comprehensive guide to getting your applications up and running with PipeOps.