Server Provisioning
Servers in PipeOps are the infrastructure layer your projects run on. PipeOps gives you three ways to provision a server depending on how much control you want over the underlying infrastructure.
Navigate to Server Creation
- Log in to your PipeOps dashboard.
- Create a new server using one of the following methods:
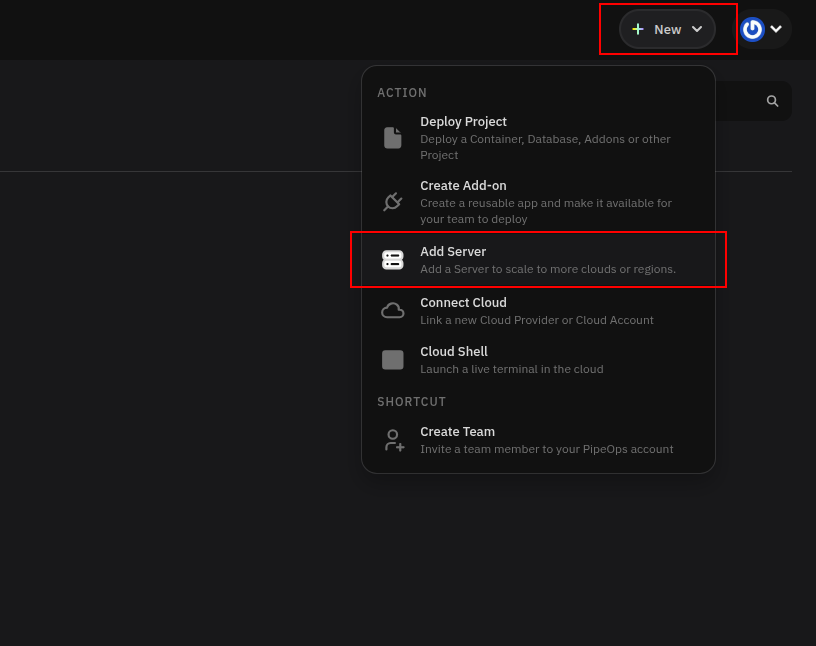
- Click + New in the top-right corner and select Add Server from the dropdown.
- Click Servers in the left sidebar to open the Servers list, then click + Create new Server in the top-right corner.
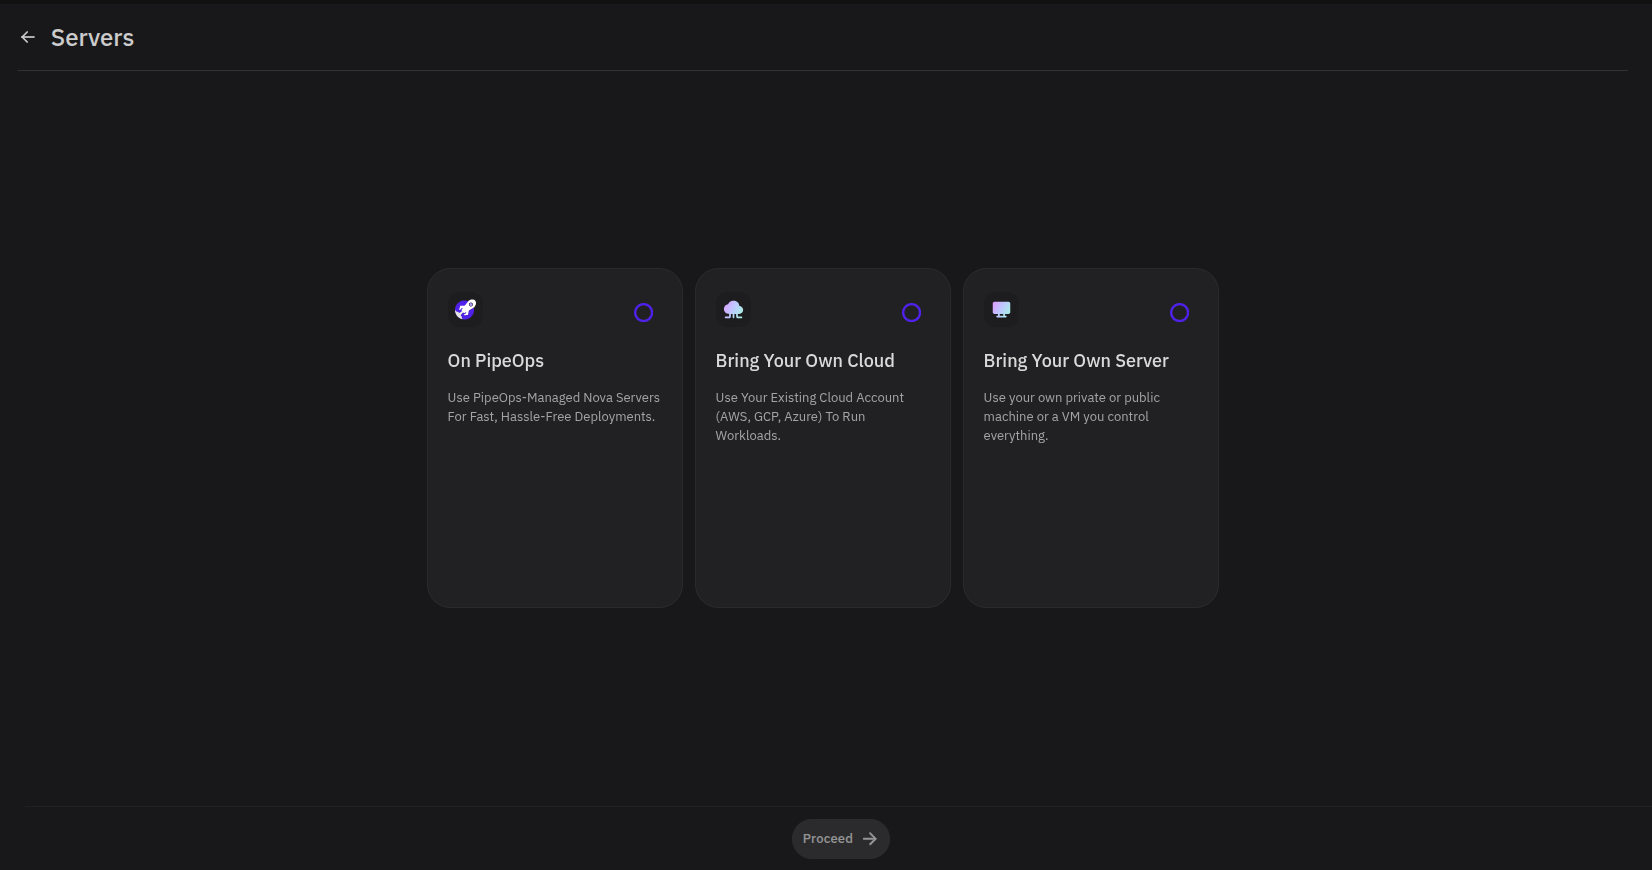
Select a Hosting Method
Select how you want to provision your server.
| Option | Description |
|---|---|
| On PipeOps | Provision servers managed by PipeOps (Nova), hosted on Digital Ocean, AWS, Google Cloud, or Azure. No cloud account required. |
| Bring Your Own Cloud | Provision a server on your existing cloud account by connecting PipeOps to your preferred cloud provider. |
| Bring Your Own Server | Connect your own private or public machine, or a VM you control, directly to PipeOps. |
Select your preferred option and click Proceed.
Provisioning on PipeOps (Nova)
Step 1: Choose a Provider and Region
Select your preferred cloud provider and deployment region. Once you select a region, PipeOps displays the per-hour resource rates for that region:
-
Provider — Choose from Azure or Google Cloud.
-
Region — Select the geographic location for your server. PipeOps uses geo-location pricing to bill you in your local currency, protecting you from exchange rate fluctuations.
-
Per-hour rates — CPU, Memory, and Storage rates are shown for the selected region so you can estimate your usage costs before proceeding.
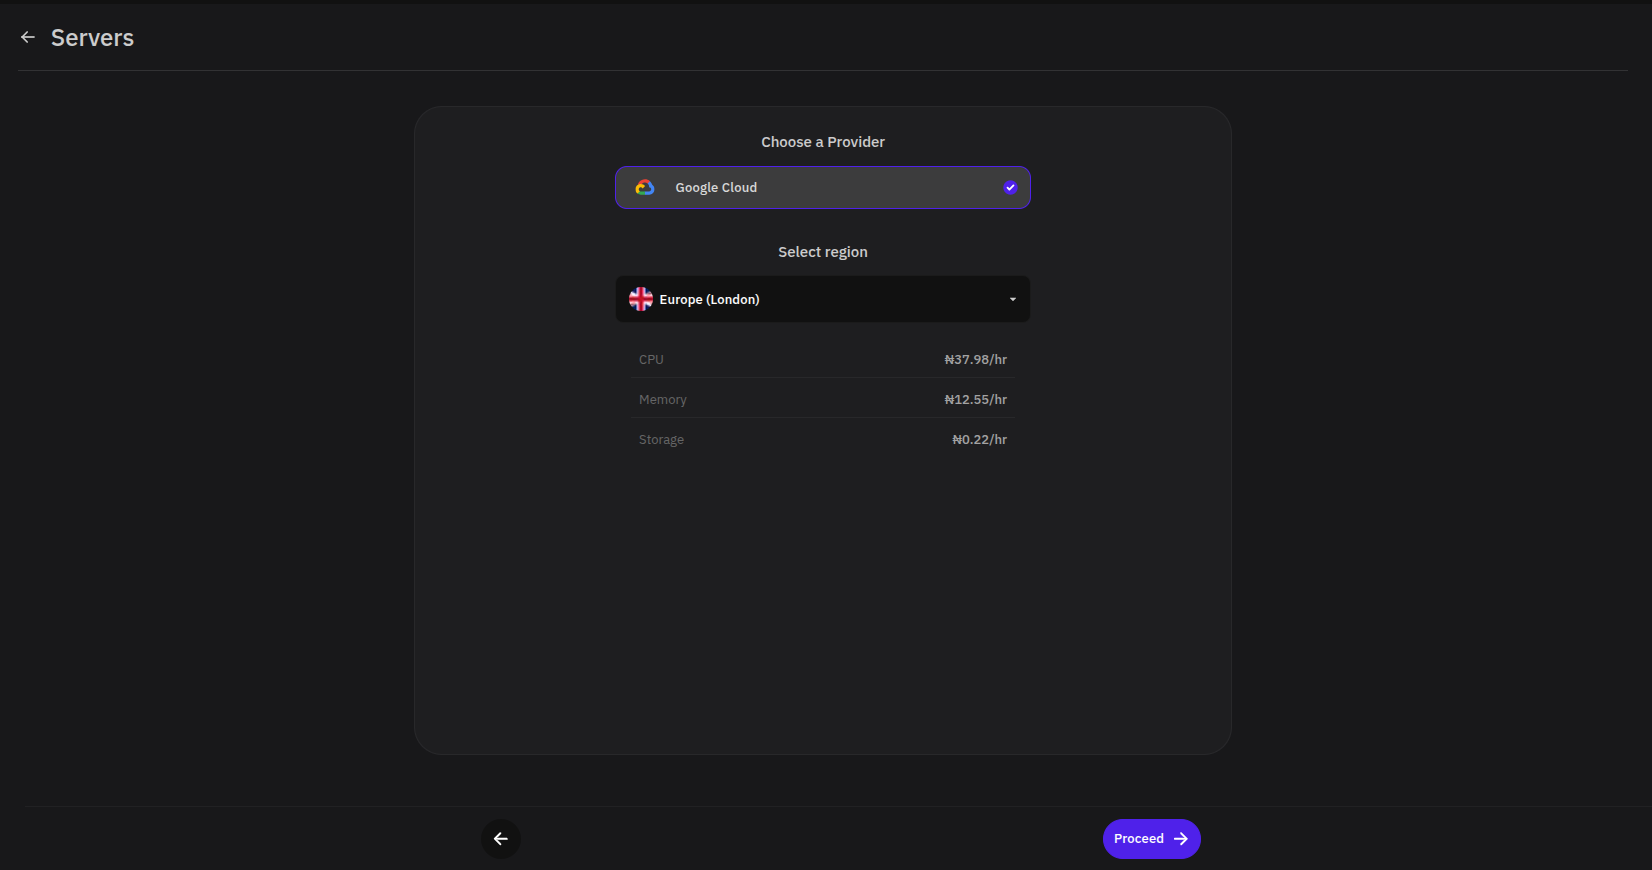
Click Proceed to create the server.
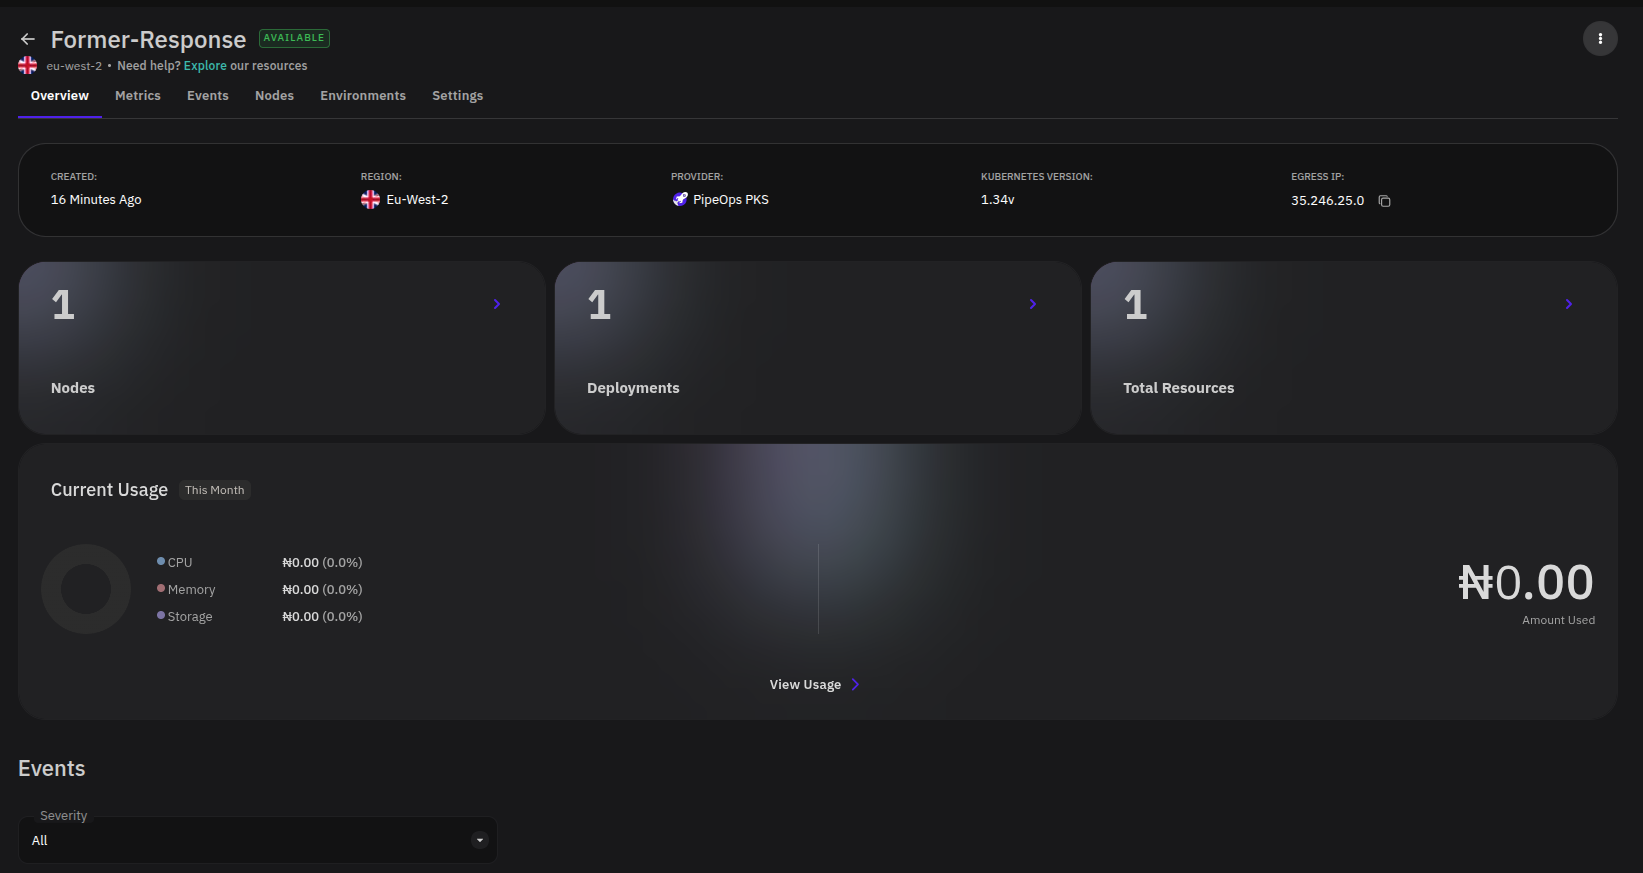
Step 2: View Your Server
Once provisioning is complete, your server will appear on the Servers list and is ready for project deployments. Click the server to open its overview page.
From the server overview, you can monitor activity across the following tabs:
| Tab | Description |
|---|---|
| Overview | Nodes, deployments, current resource usage, and events. |
| Metrics | CPU, memory, and storage usage over time. |
| Events | Infrastructure-level events for the server. |
| Nodes | Node-level details and status. |
| Environments | Environments configured on this server. |
| Settings | Server configuration and management options. |
Provisioning with Bring Your Own Cloud (BYOC)
Step 1: Connect Your Cloud Account
Select your cloud provider from the list — Google Cloud Platform, Amazon Web Services, Digital Ocean, or Azure — and click Connect to link your account.
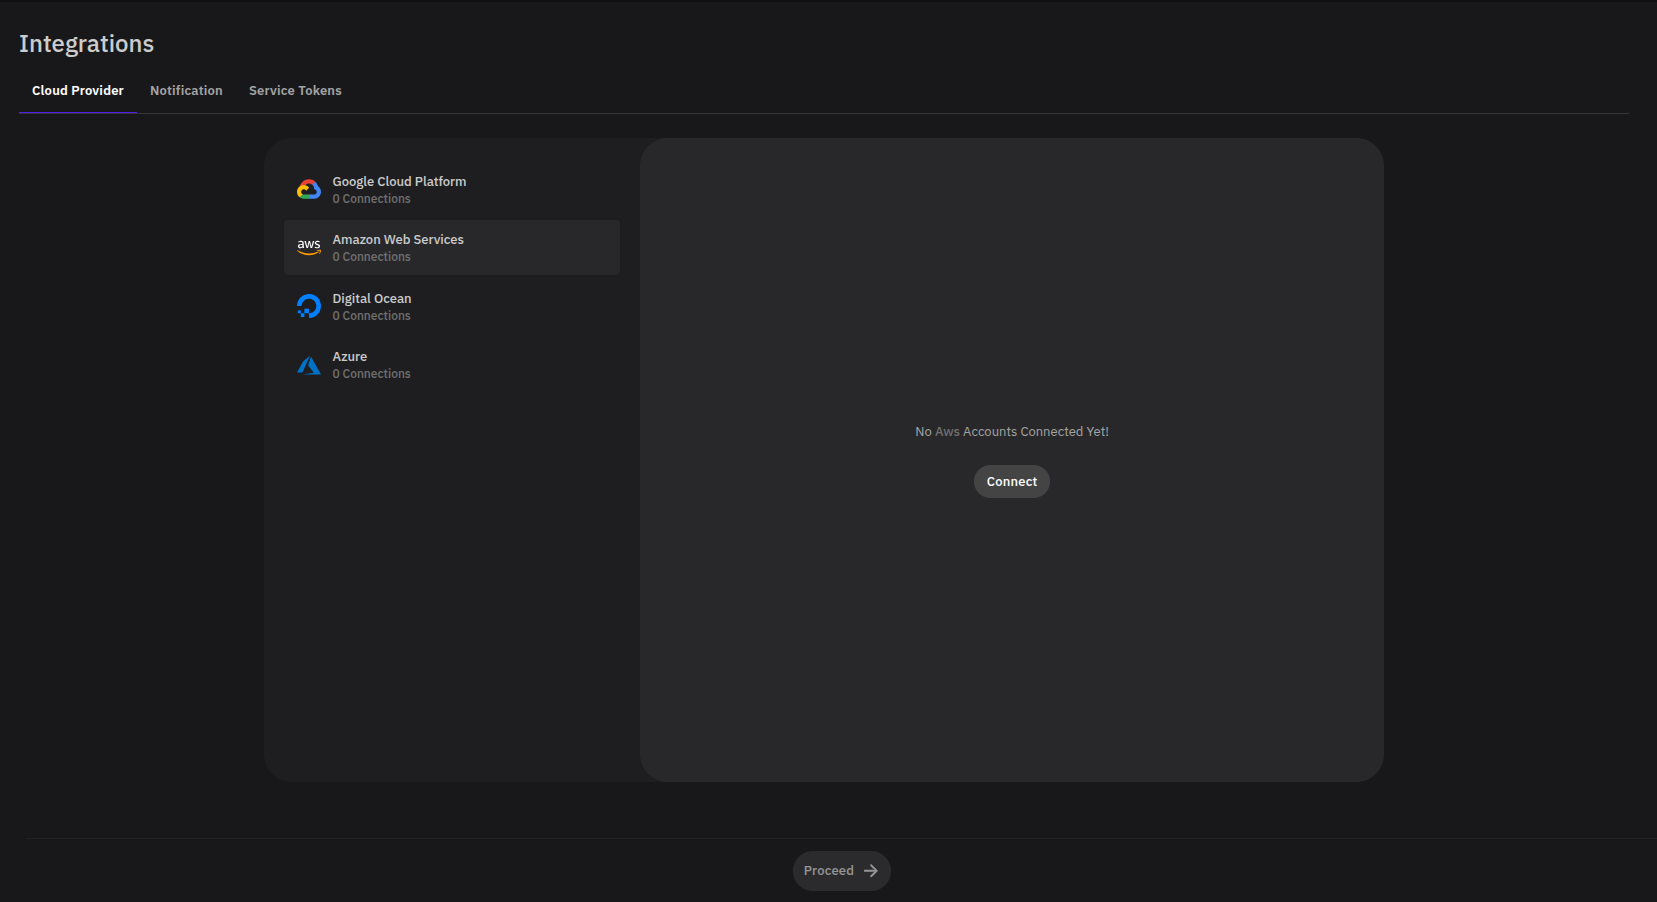
For detailed steps on connecting each provider, see Integrations. Once your account is connected, click Proceed to continue.
Step 2: Select Region and Security Standard
Configure the deployment settings for your cloud server.
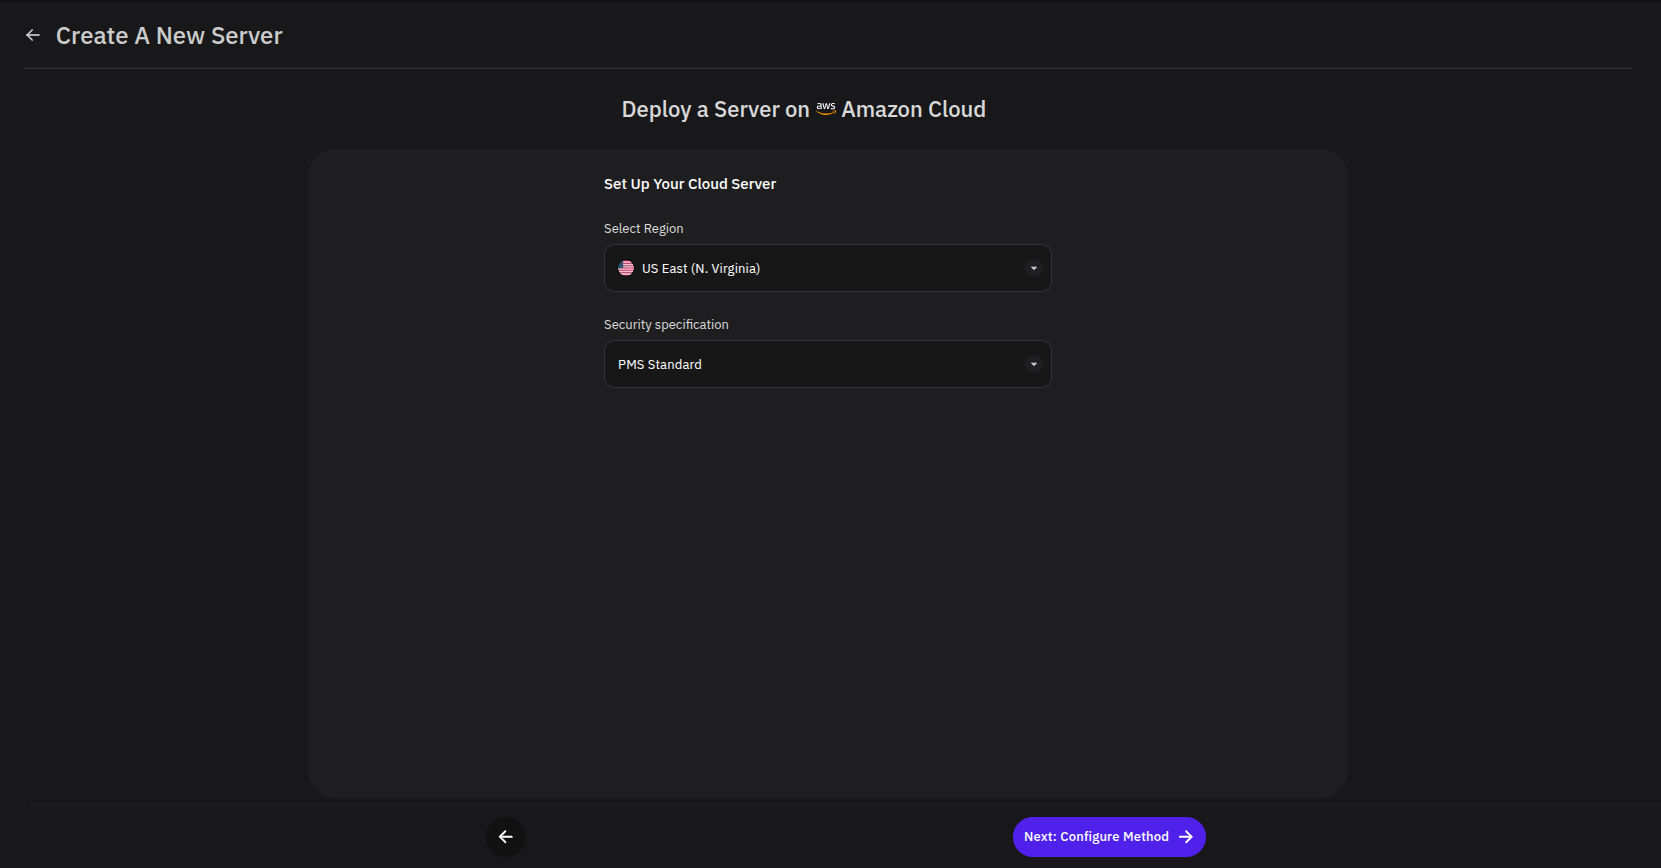
- Select Region — Choose the geographic location to deploy your server.
- Security Specification — Select the standard that matches your compliance requirements:
| Standard | Best For |
|---|---|
| PMS Standard | General deployments including containers, databases, Terraform, Helm, and other applications. |
| HIPAA Compliance | Deployments that handle healthcare data, ensuring compliance with the Health Insurance Portability and Accountability Act. |
| PCI DSS Compliance | Businesses that process, store, or transmit credit card information. |
Click Next: Configure Method to proceed.
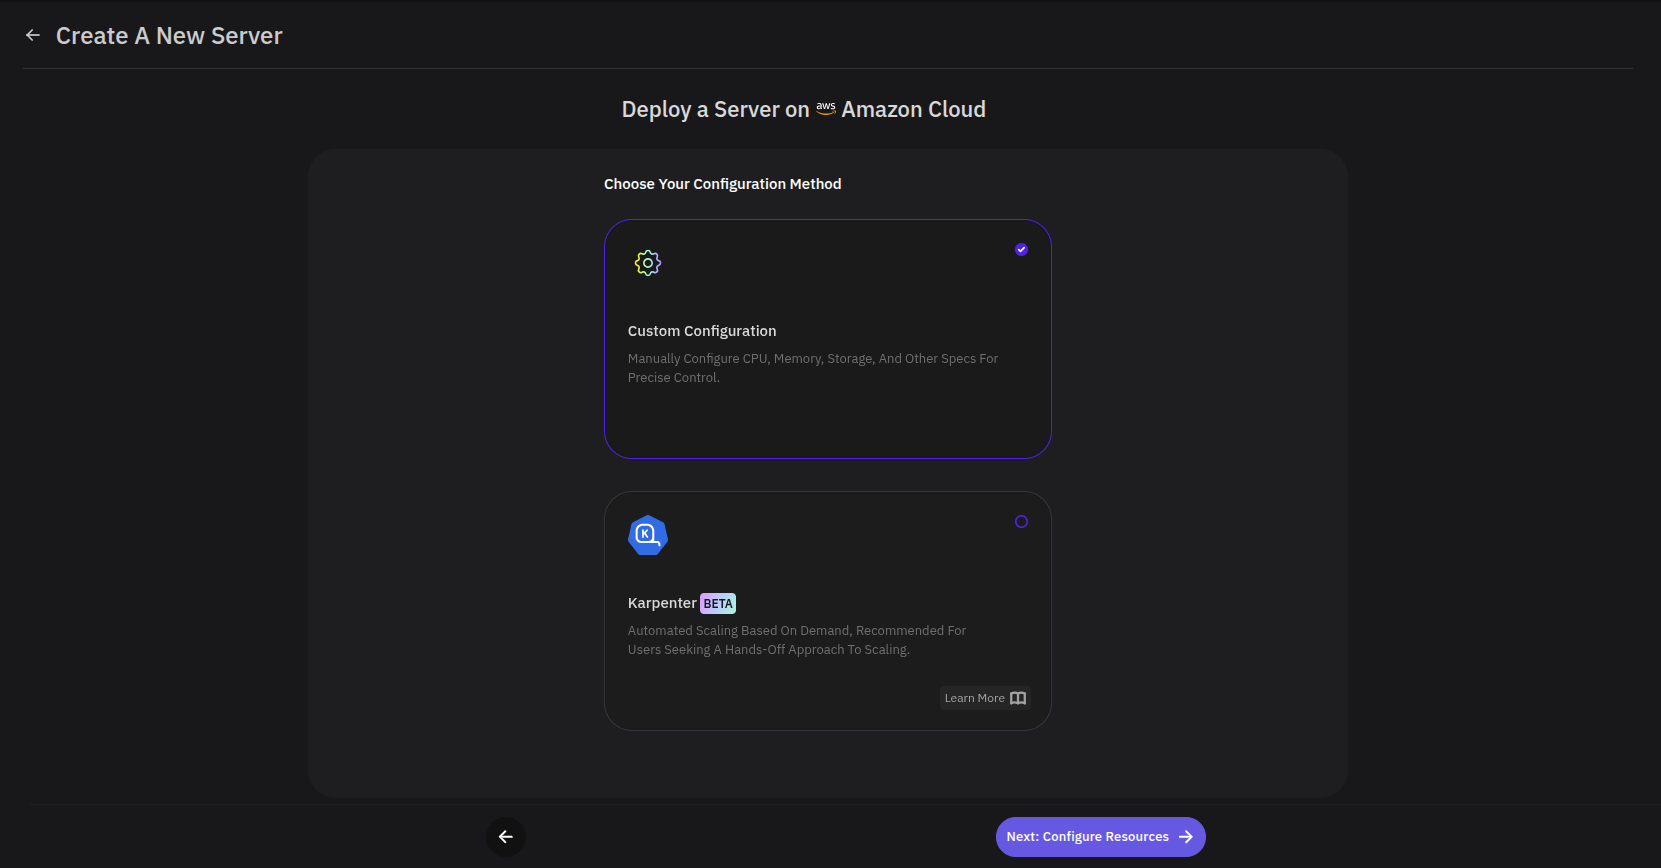
Step 3: Choose a Configuration Method
Select how you want to manage server resources.
| Method | Description |
|---|---|
| Custom Configuration | Manually configure CPU, memory, storage, and other specifications for precise control. |
| Karpenter (Beta) | Automated scaling based on demand. Recommended for teams that prefer a hands-off approach to scaling. |
Click Next: Configure Resources to proceed.
Step 4: Configure Resources
The options available on this step depend on the configuration method you selected.
Custom Configuration
Choose from predefined instance templates suited for different environments.
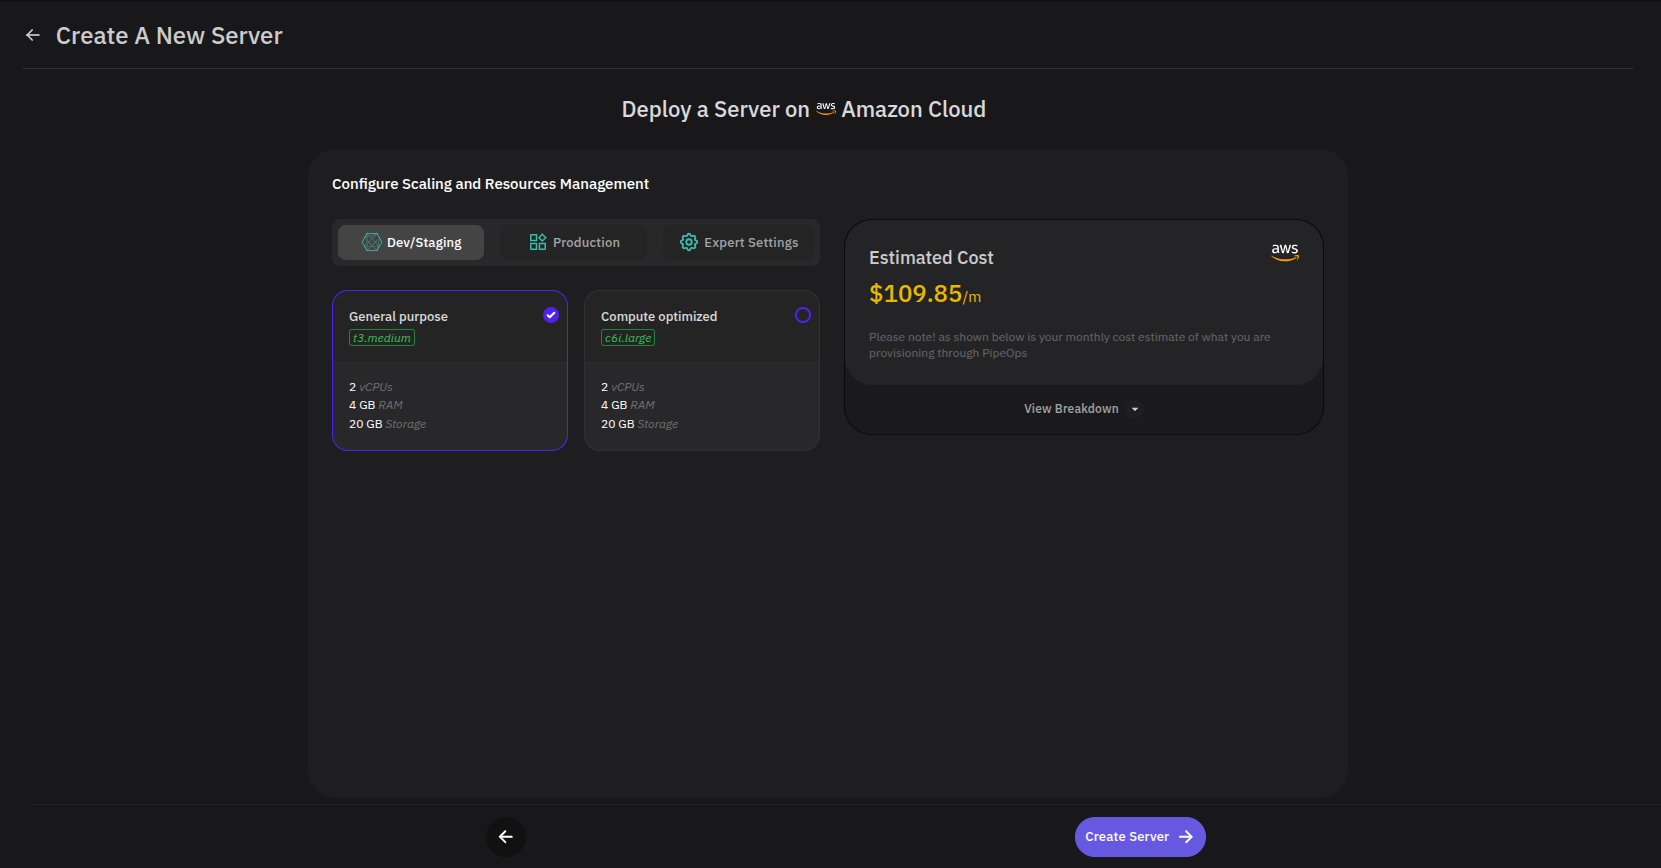
- Environment Tab — Switch between Dev/Staging, Production, or Expert Settings to see relevant instance options for each.
- Instance Category — Select from General purpose or Compute optimized instance types. Each card shows the instance name, vCPUs, RAM, and Storage for that option.
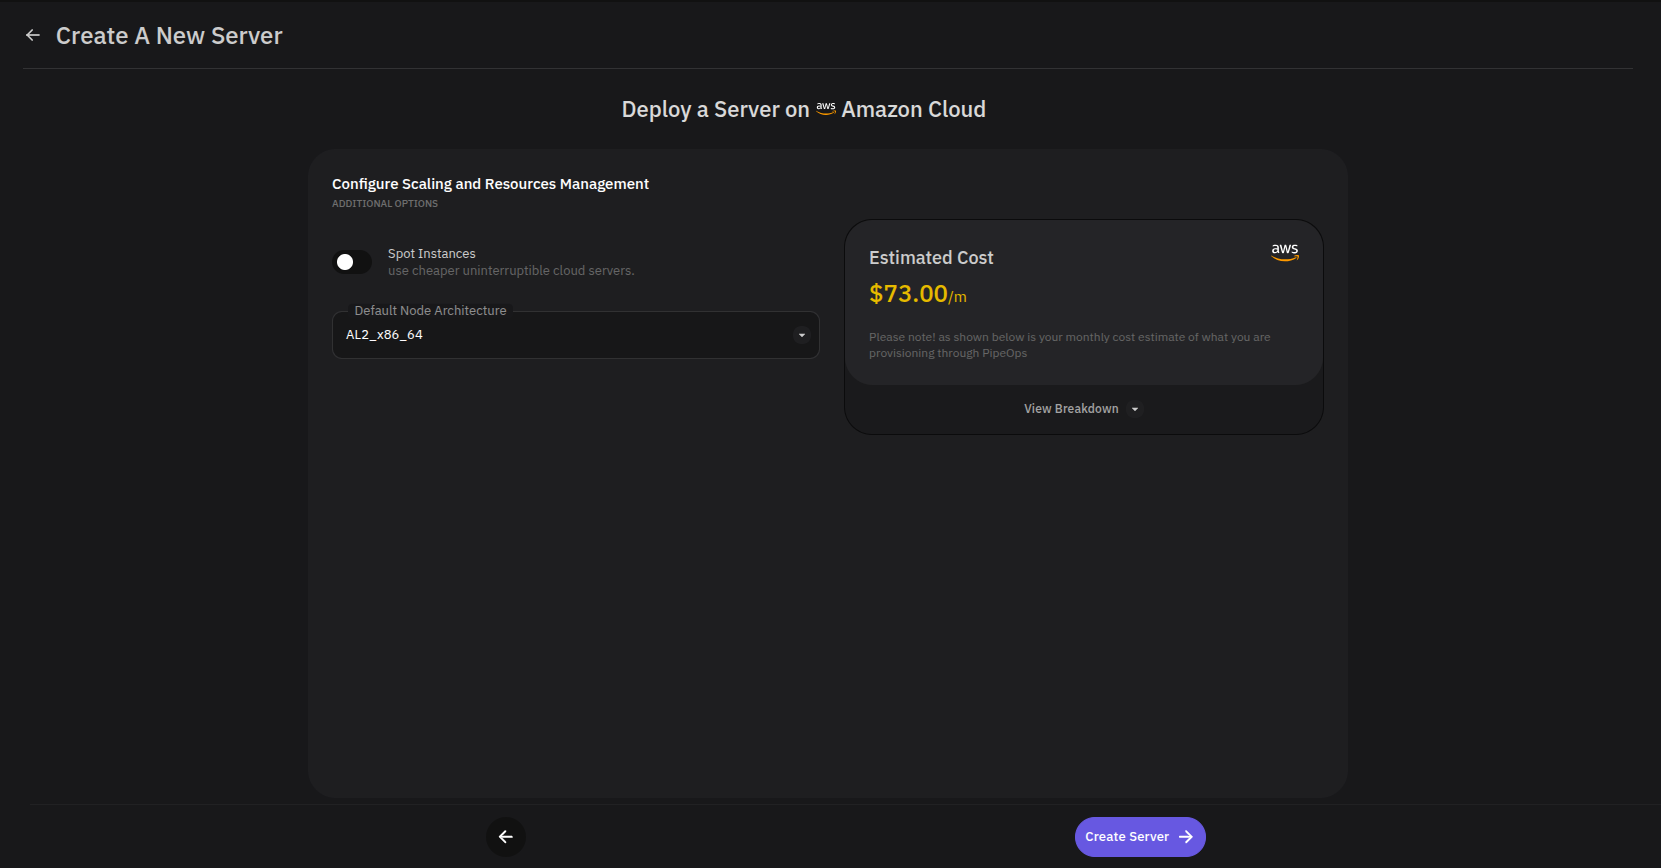
- Estimated Cost — An estimated monthly cost is displayed on the right based on your current selection. Click View Breakdown for a detailed cost summary.
For advanced control, switch to the Expert Settings tab to select from a wider range of instance types, specify node architecture, and define minimum and maximum node counts.
Karpenter (Beta)
Configure how your infrastructure scales, or leave settings on default and proceed.
Step 5: Create the Server
Click Create Server to complete provisioning.
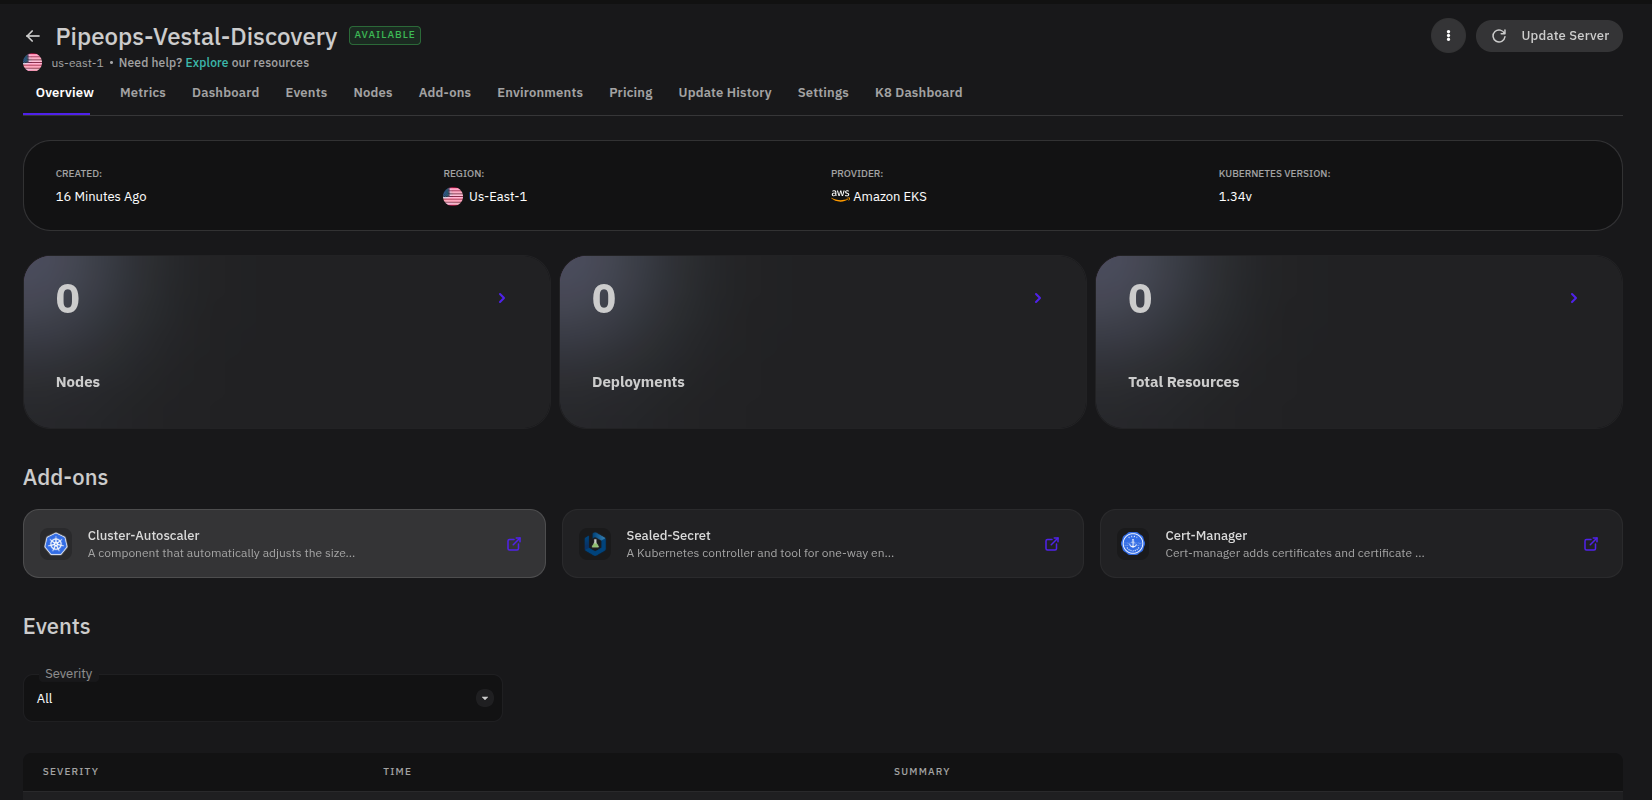
Once provisioning is complete, your server will appear on the Servers list and its overview page will reflect the configuration method you chose.
Custom Configuration:
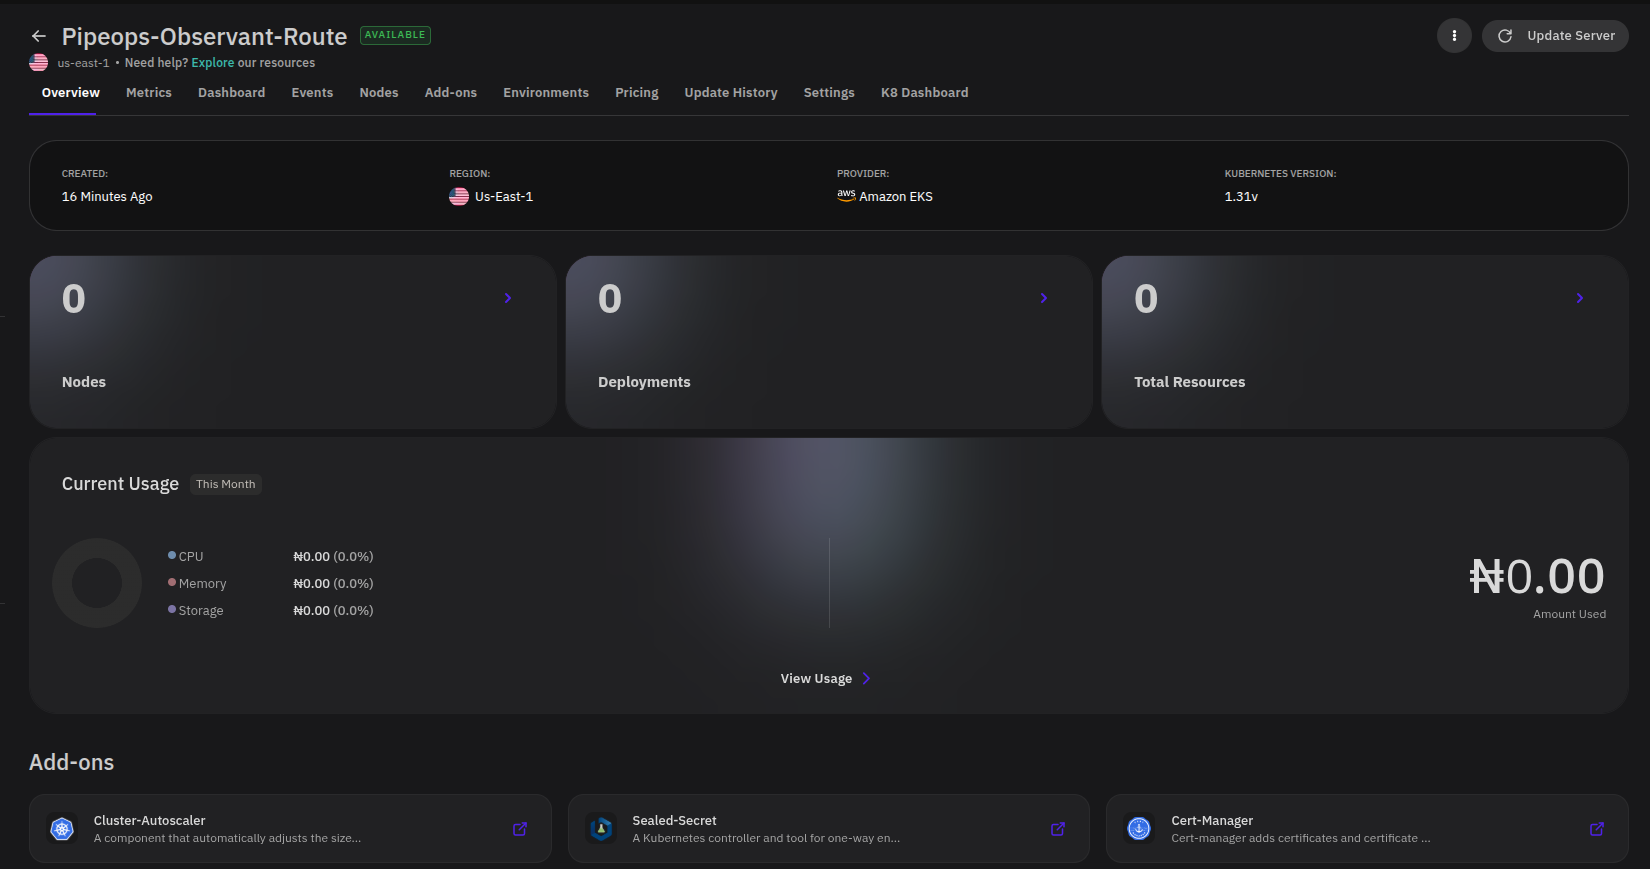
Karpenter:
Provisioning with Bring Your Own Server (BYOS)
The Bring Your Own Server option lets you connect an existing private or public machine, or a VM you control, directly to PipeOps. See Bring Your Own Server for the full setup steps.
Deleting a Server
Deleting a server is permanent and cannot be undone. All projects and add-ons on the server must be removed before deletion can proceed.
- Delete all projects and add-ons associated with the server.
- In the left sidebar, click Servers and select the server you want to delete.
- Click the three-dot menu in the top-right corner of the server page.
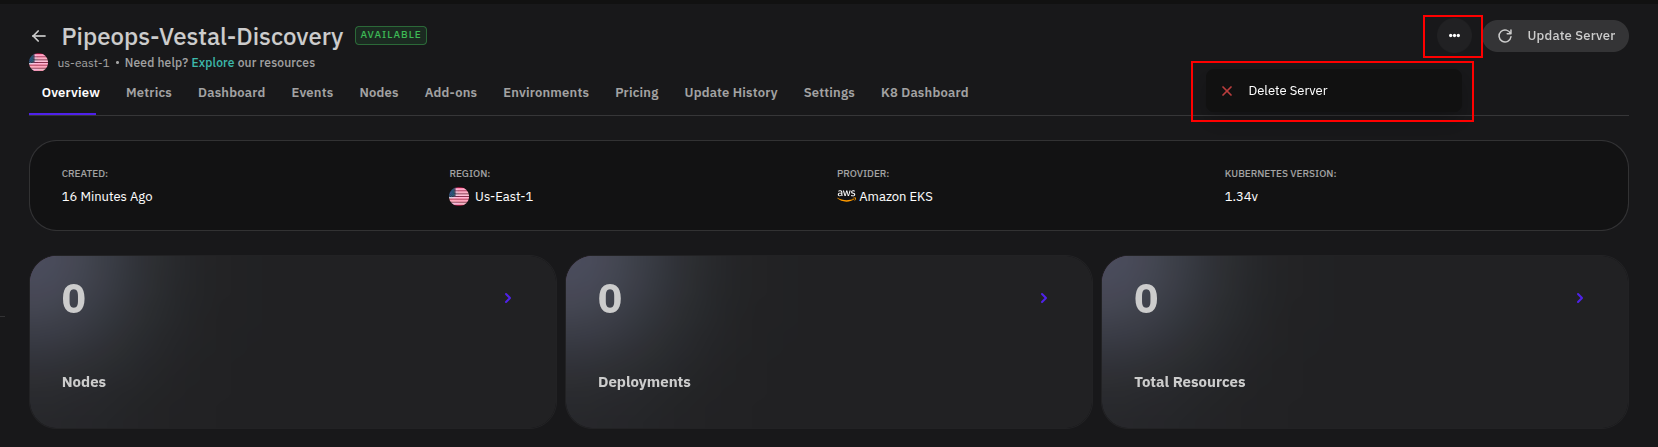
- Select Delete Server. A confirmation modal will appear.
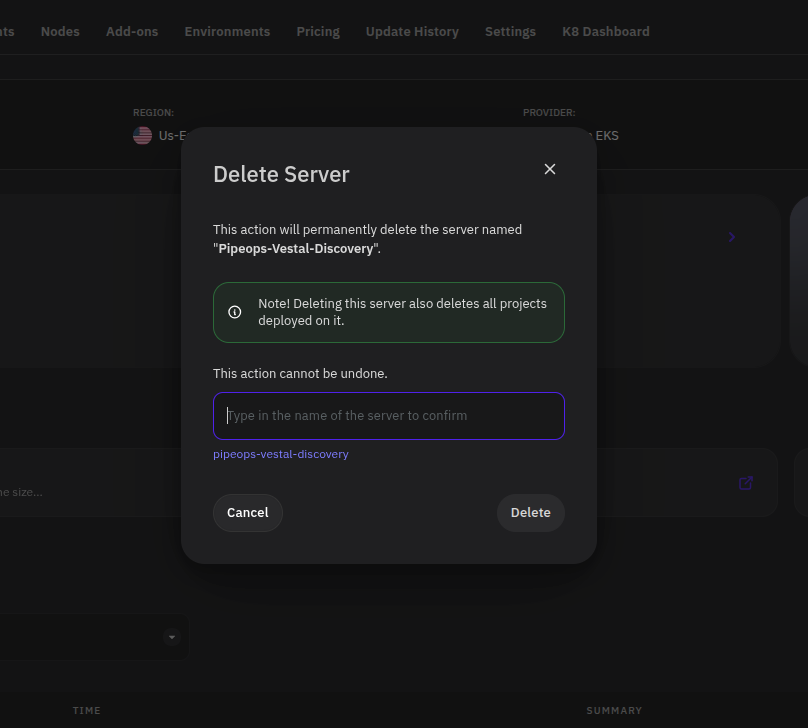
- Type the server name to confirm, then click Delete.