Server Environments
Server environments let you organize deployments into isolated stages — such as development, staging, and production — each with its own configuration and environment variables. Variables set at the environment level are shared across all projects deployed within that environment.
note
The number of environments you can create on a server depends on your subscription plan. See Pricing for plan limits.
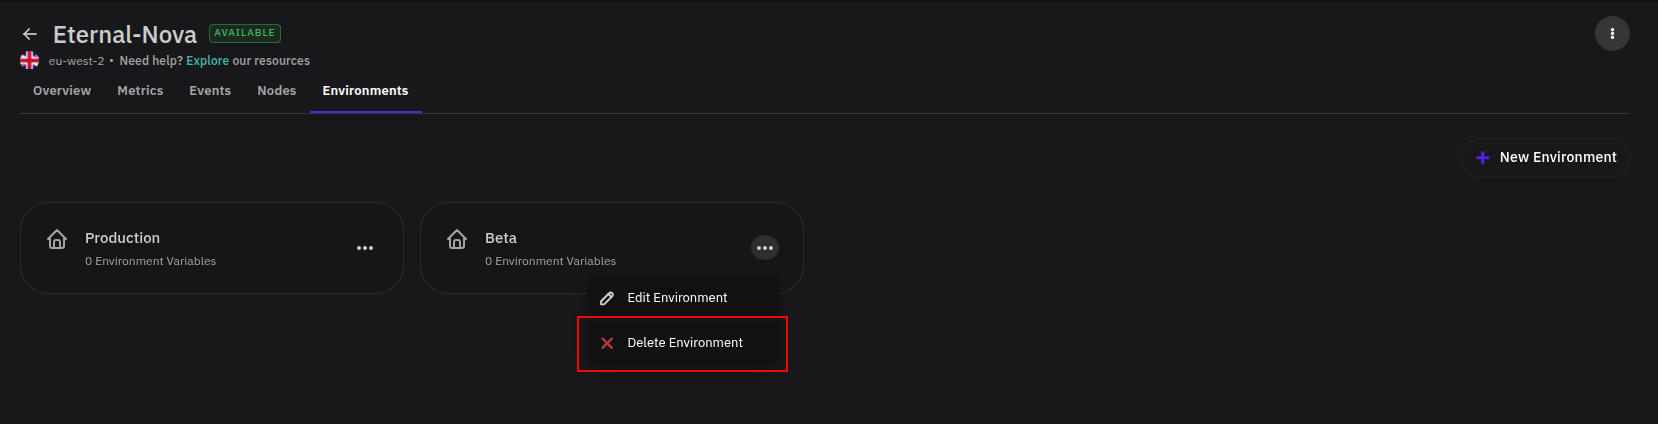
Accessing Environments
From the Servers section, select a server and click the Environments tab.
By default, every server has two environments: beta and production.

Create an Environment
- Click + New Environment on the right side of the page.

- A modal will appear. Enter a unique name for the environment (e.g. Development, Staging) and add any environment variables the environment requires. For each variable, provide a Name (key) and a Value.
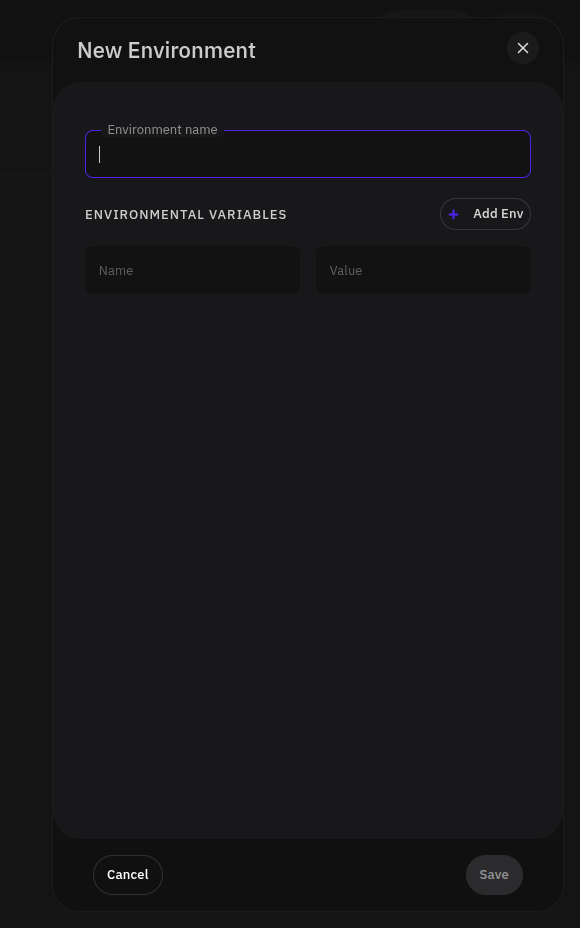
- Click Save. The new environment will appear alongside the existing ones.
Edit an Environment
- Click the three-dot menu (⋮) next to the environment you want to update.
- Select Edit Environment from the dropdown.

- A modal will open where you can update the environment name and manage its environment variables.
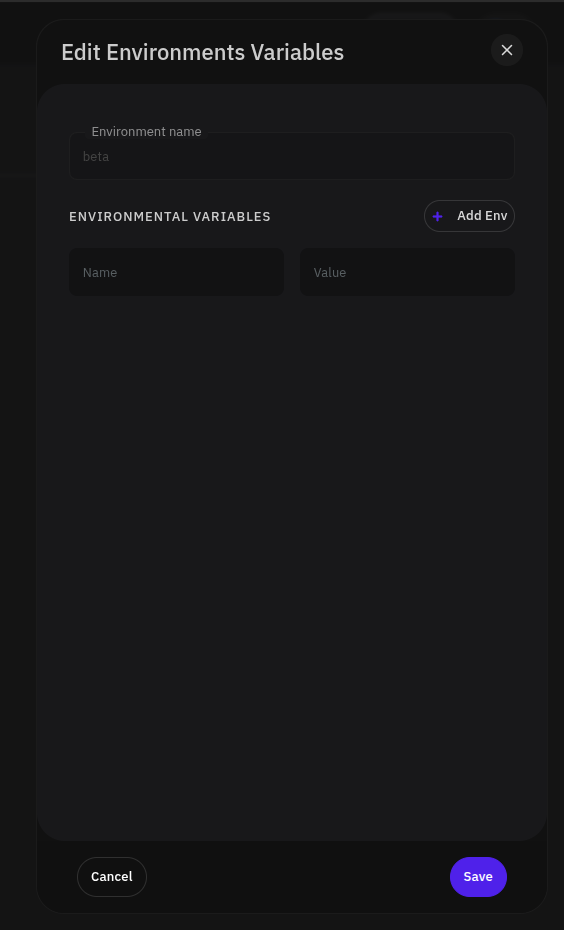
- Click Save to apply your changes.
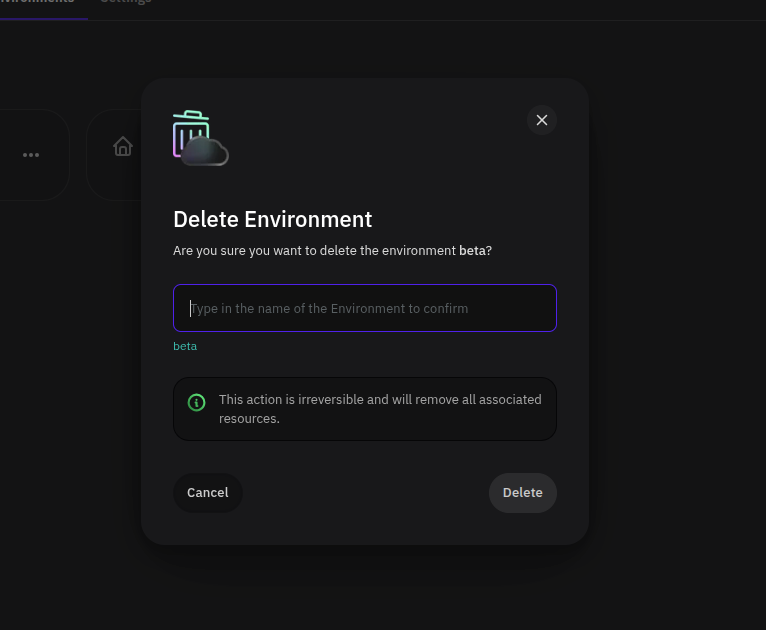
Delete an Environment
warning
Deleting an environment is permanent. Ensure no active projects depend on the environment before proceeding.
- Click the three-dot menu (⋮) next to the environment you want to remove.
- Select Delete Environment from the dropdown.
- A confirmation modal will appear. Type the environment name to confirm, then click Delete.