Connecting AWS Account to PipeOps
Overview
This documentation guides you through the process of connecting your AWS account to PipeOps. This would enable you to create an AWS server on PipeOps and deploy projects on the server.
Steps to follow
To connect your AWS account to PipeOps, follow these steps:
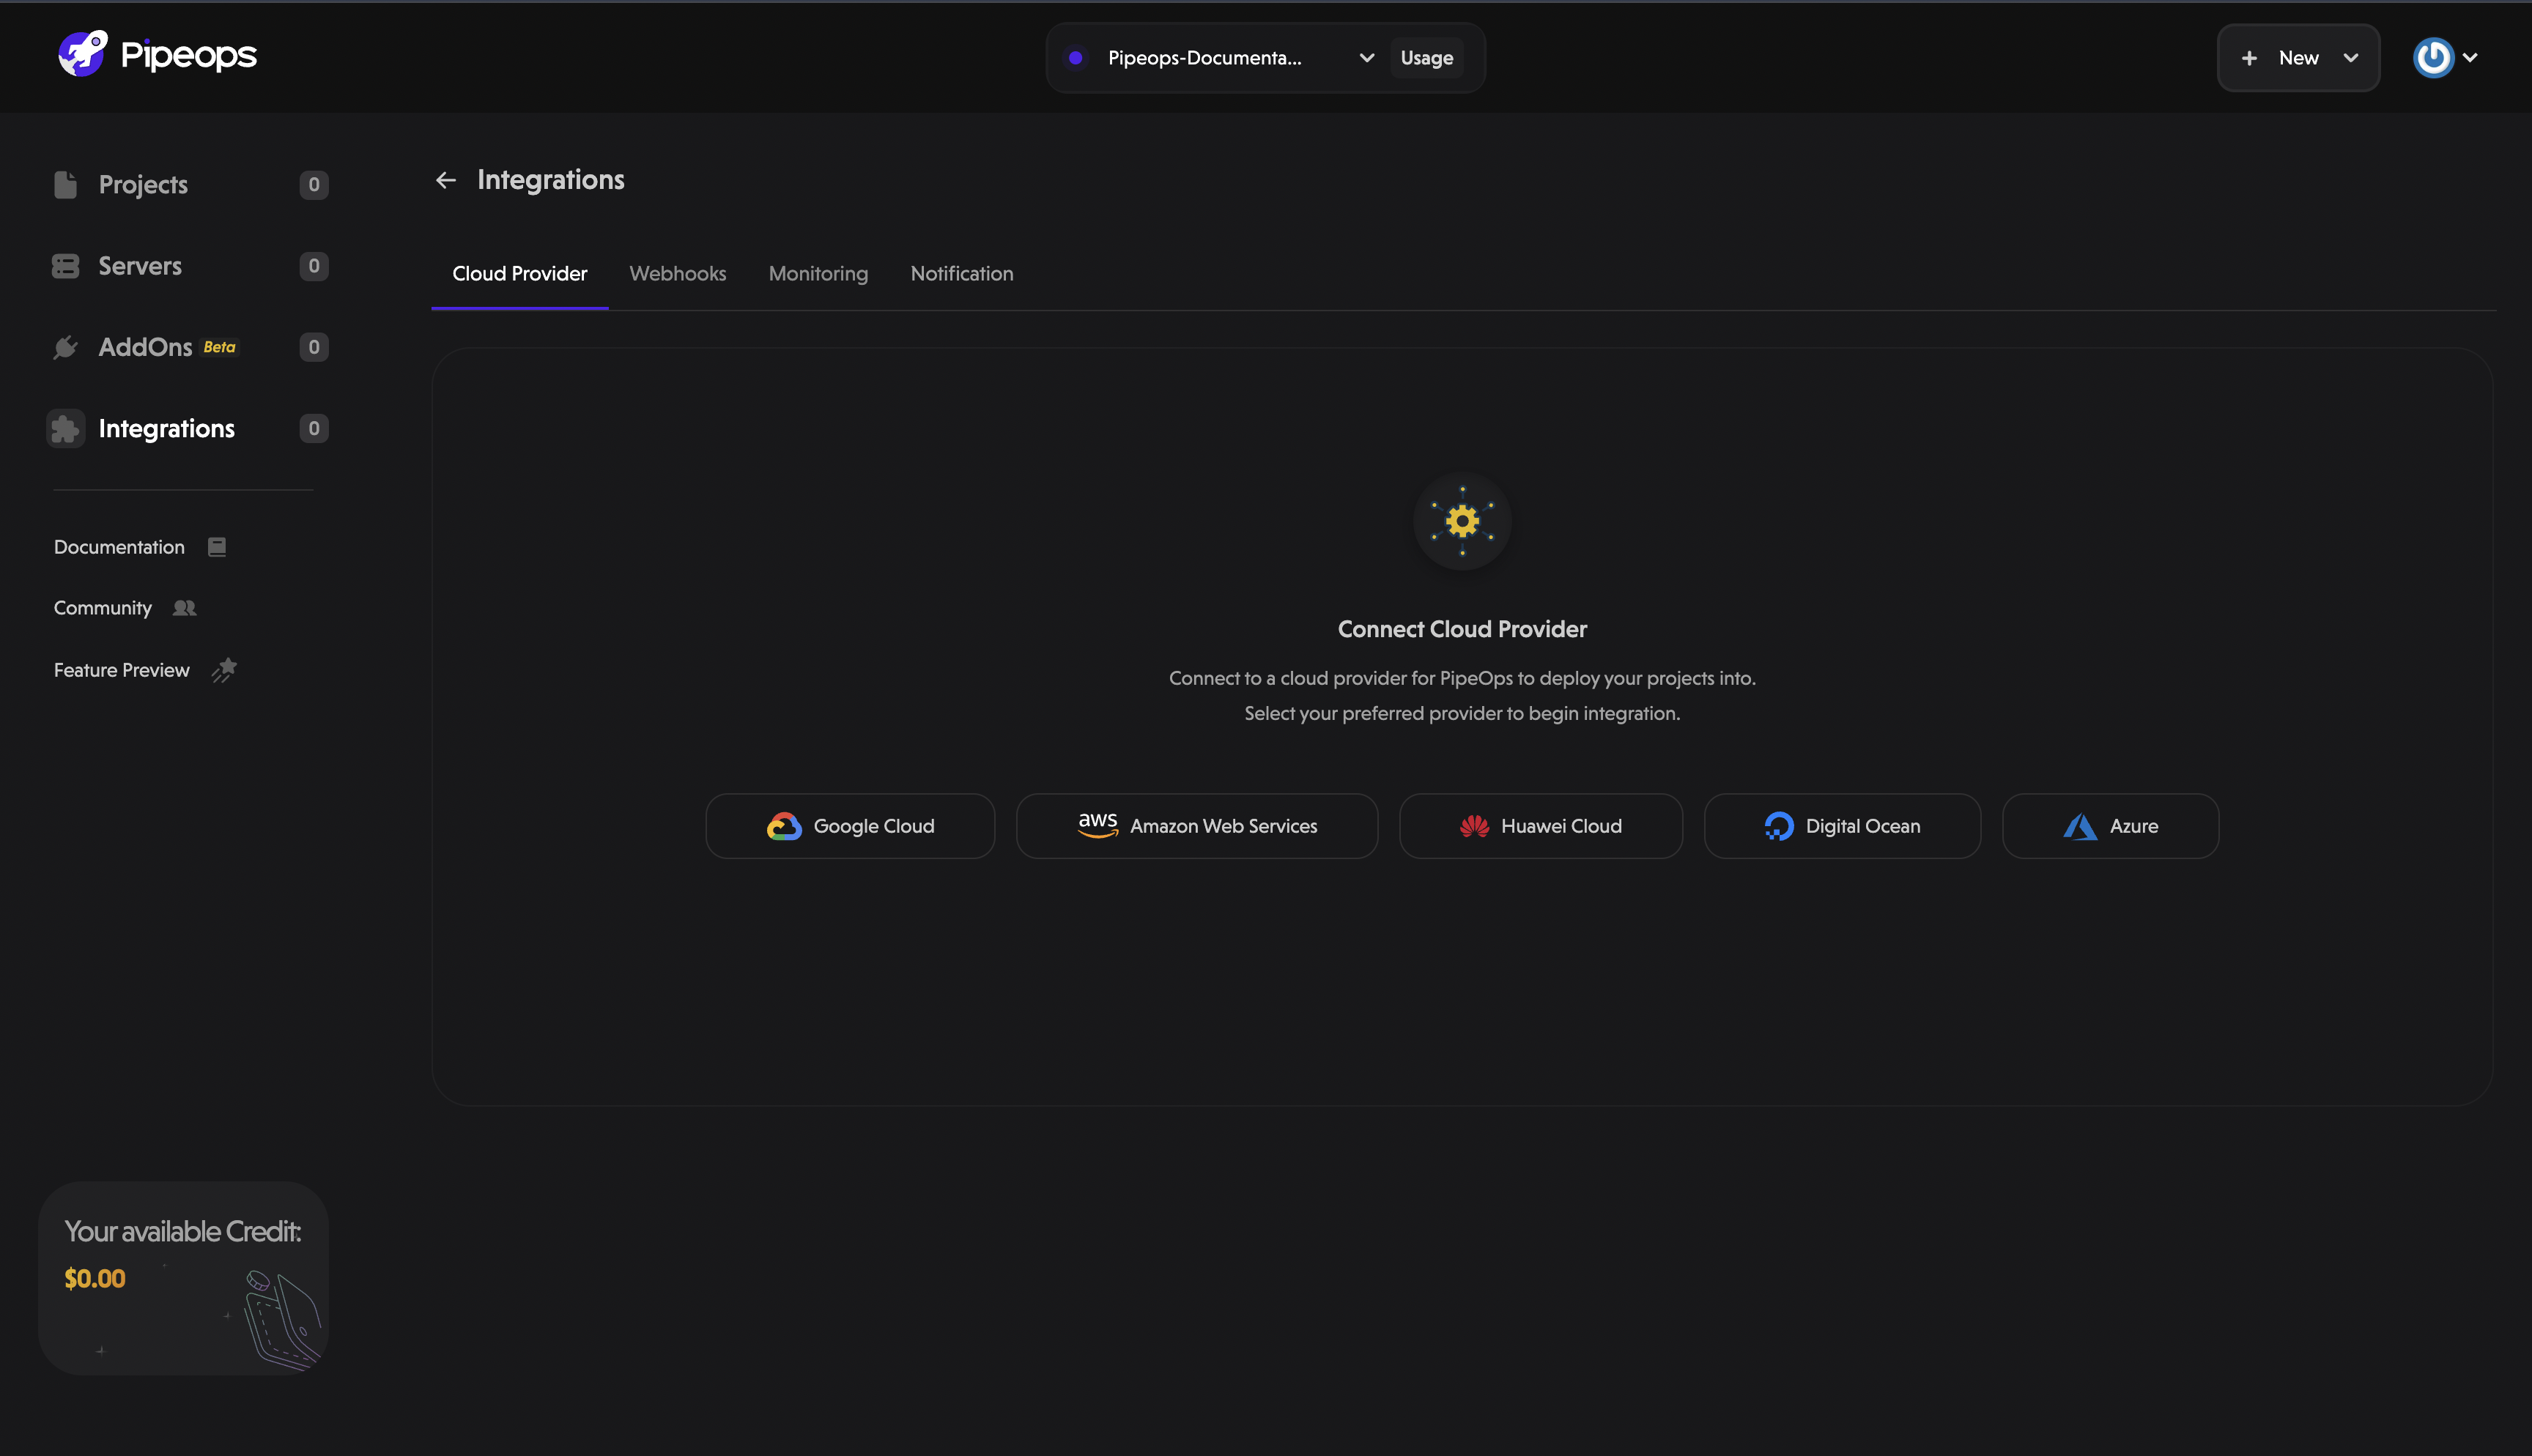
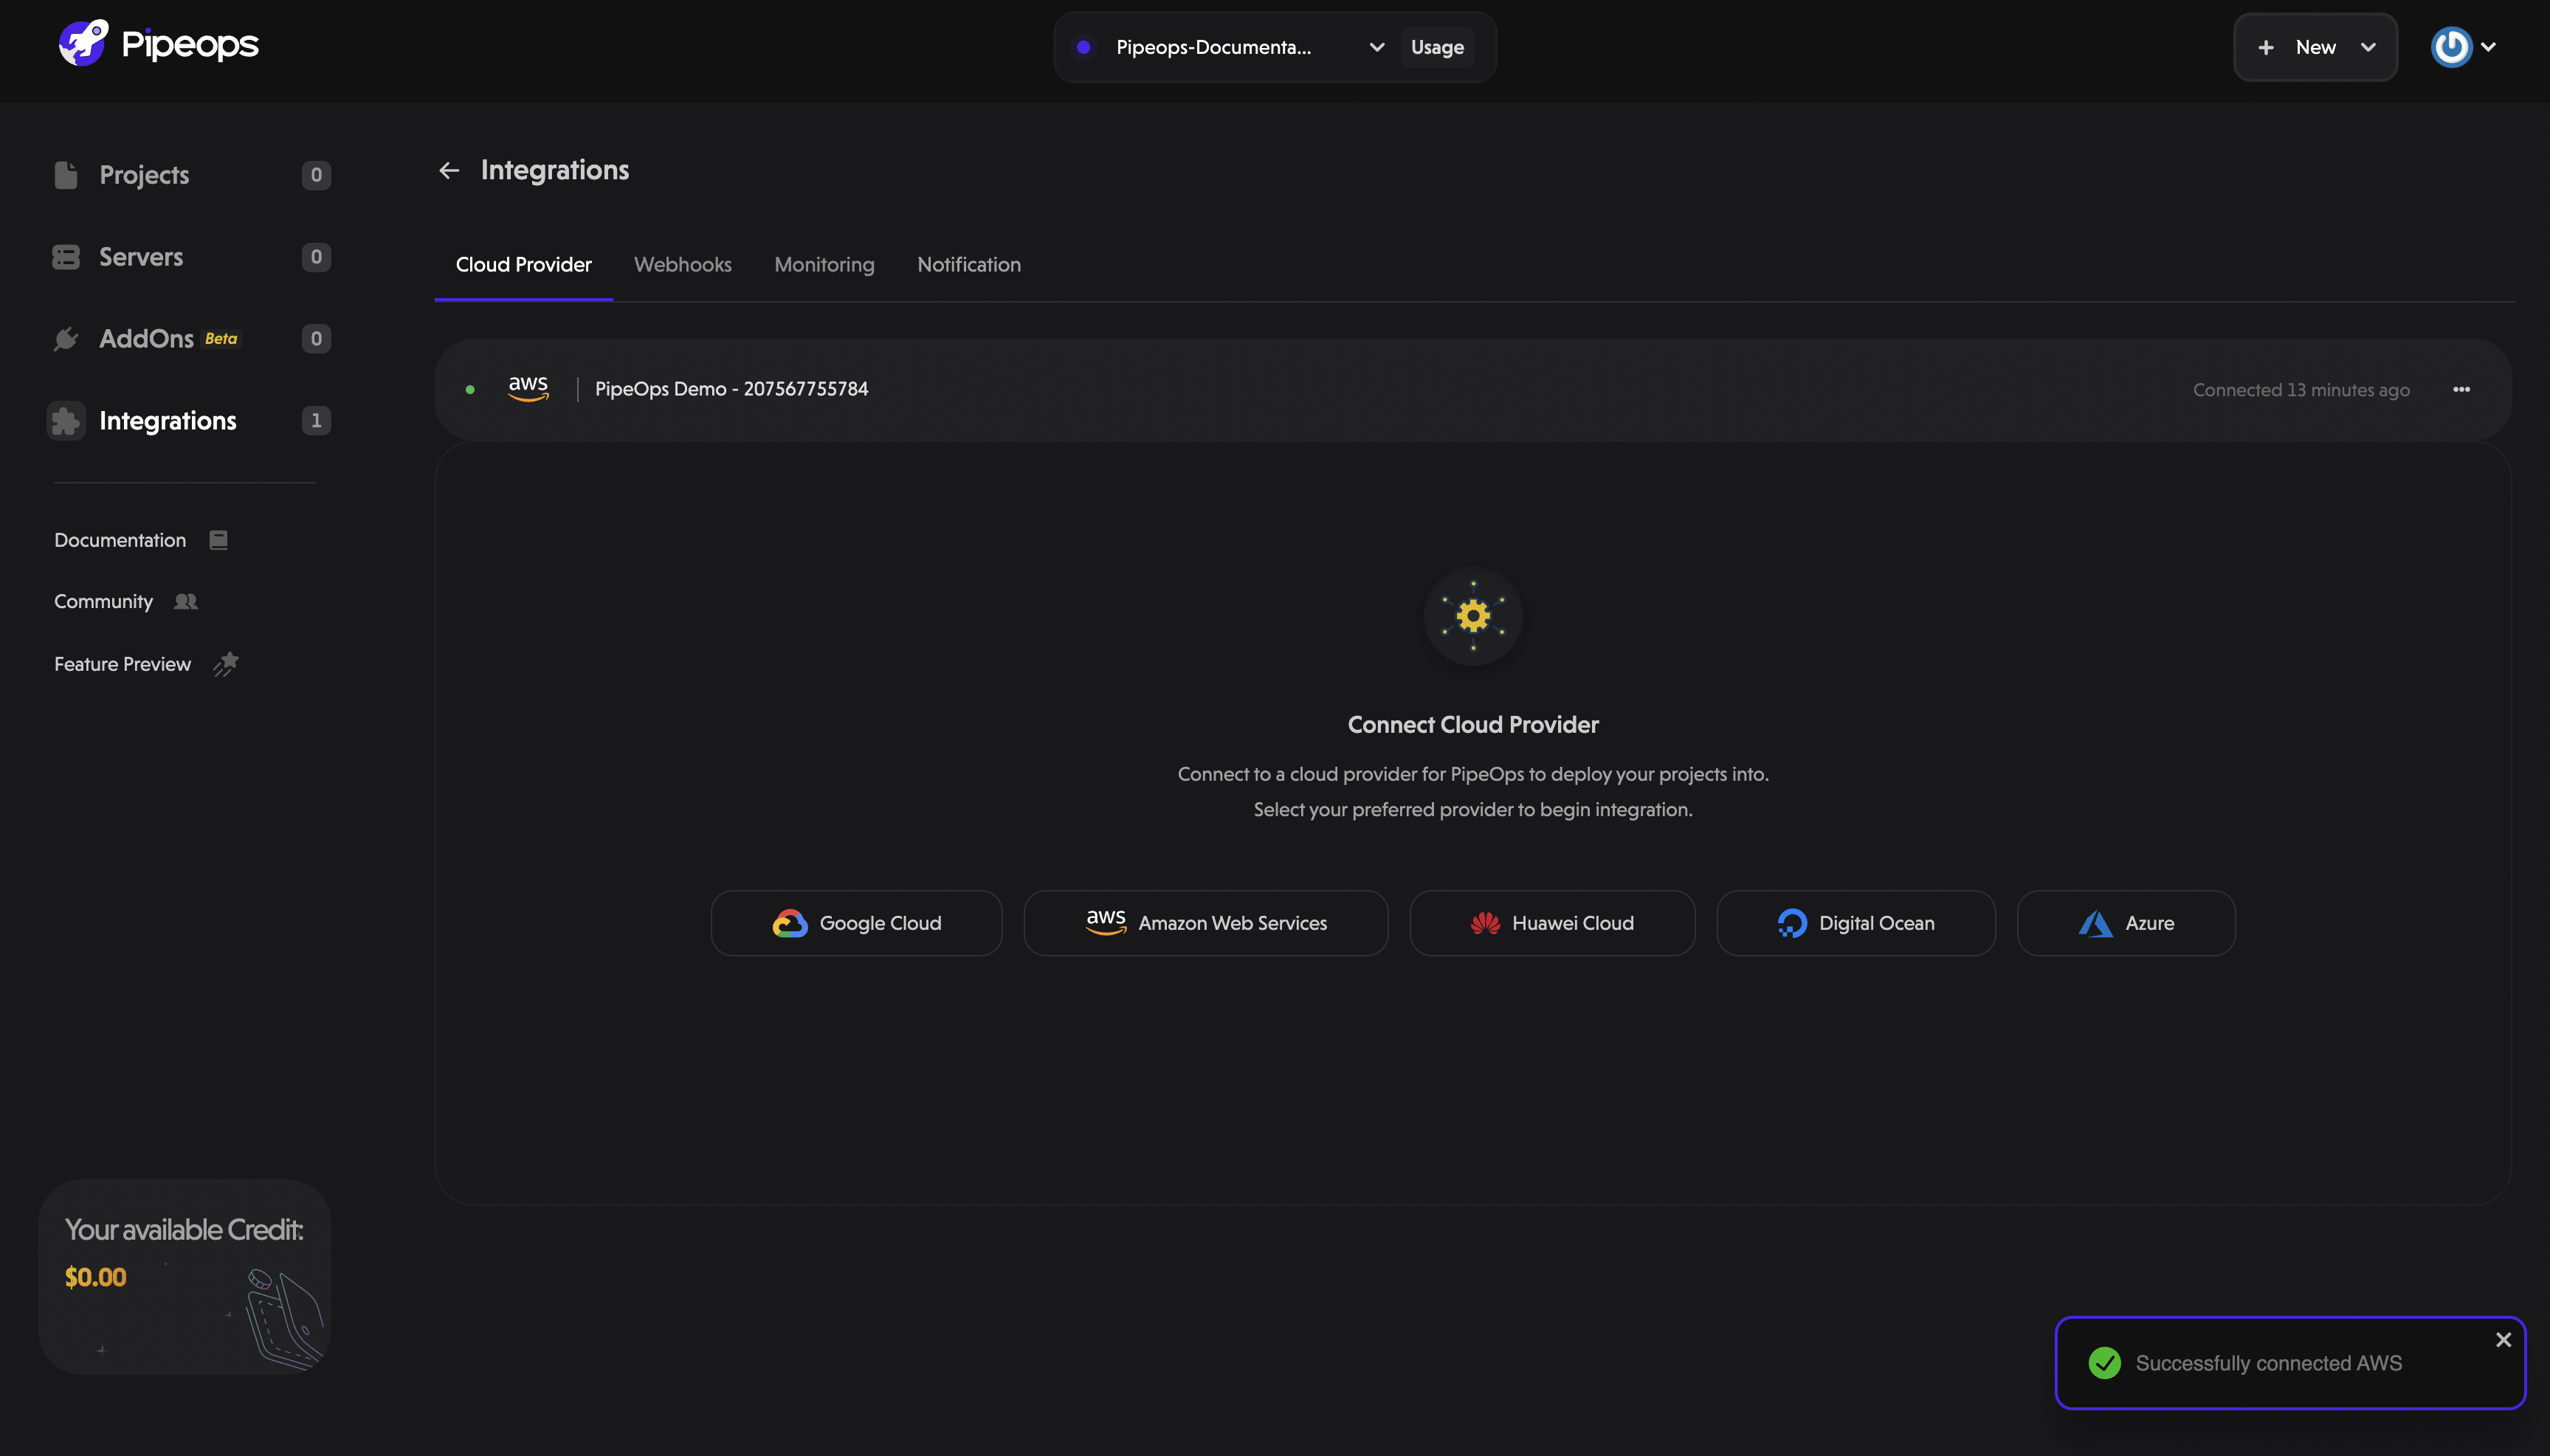
- On the left menu, click on "Integrations" tab.
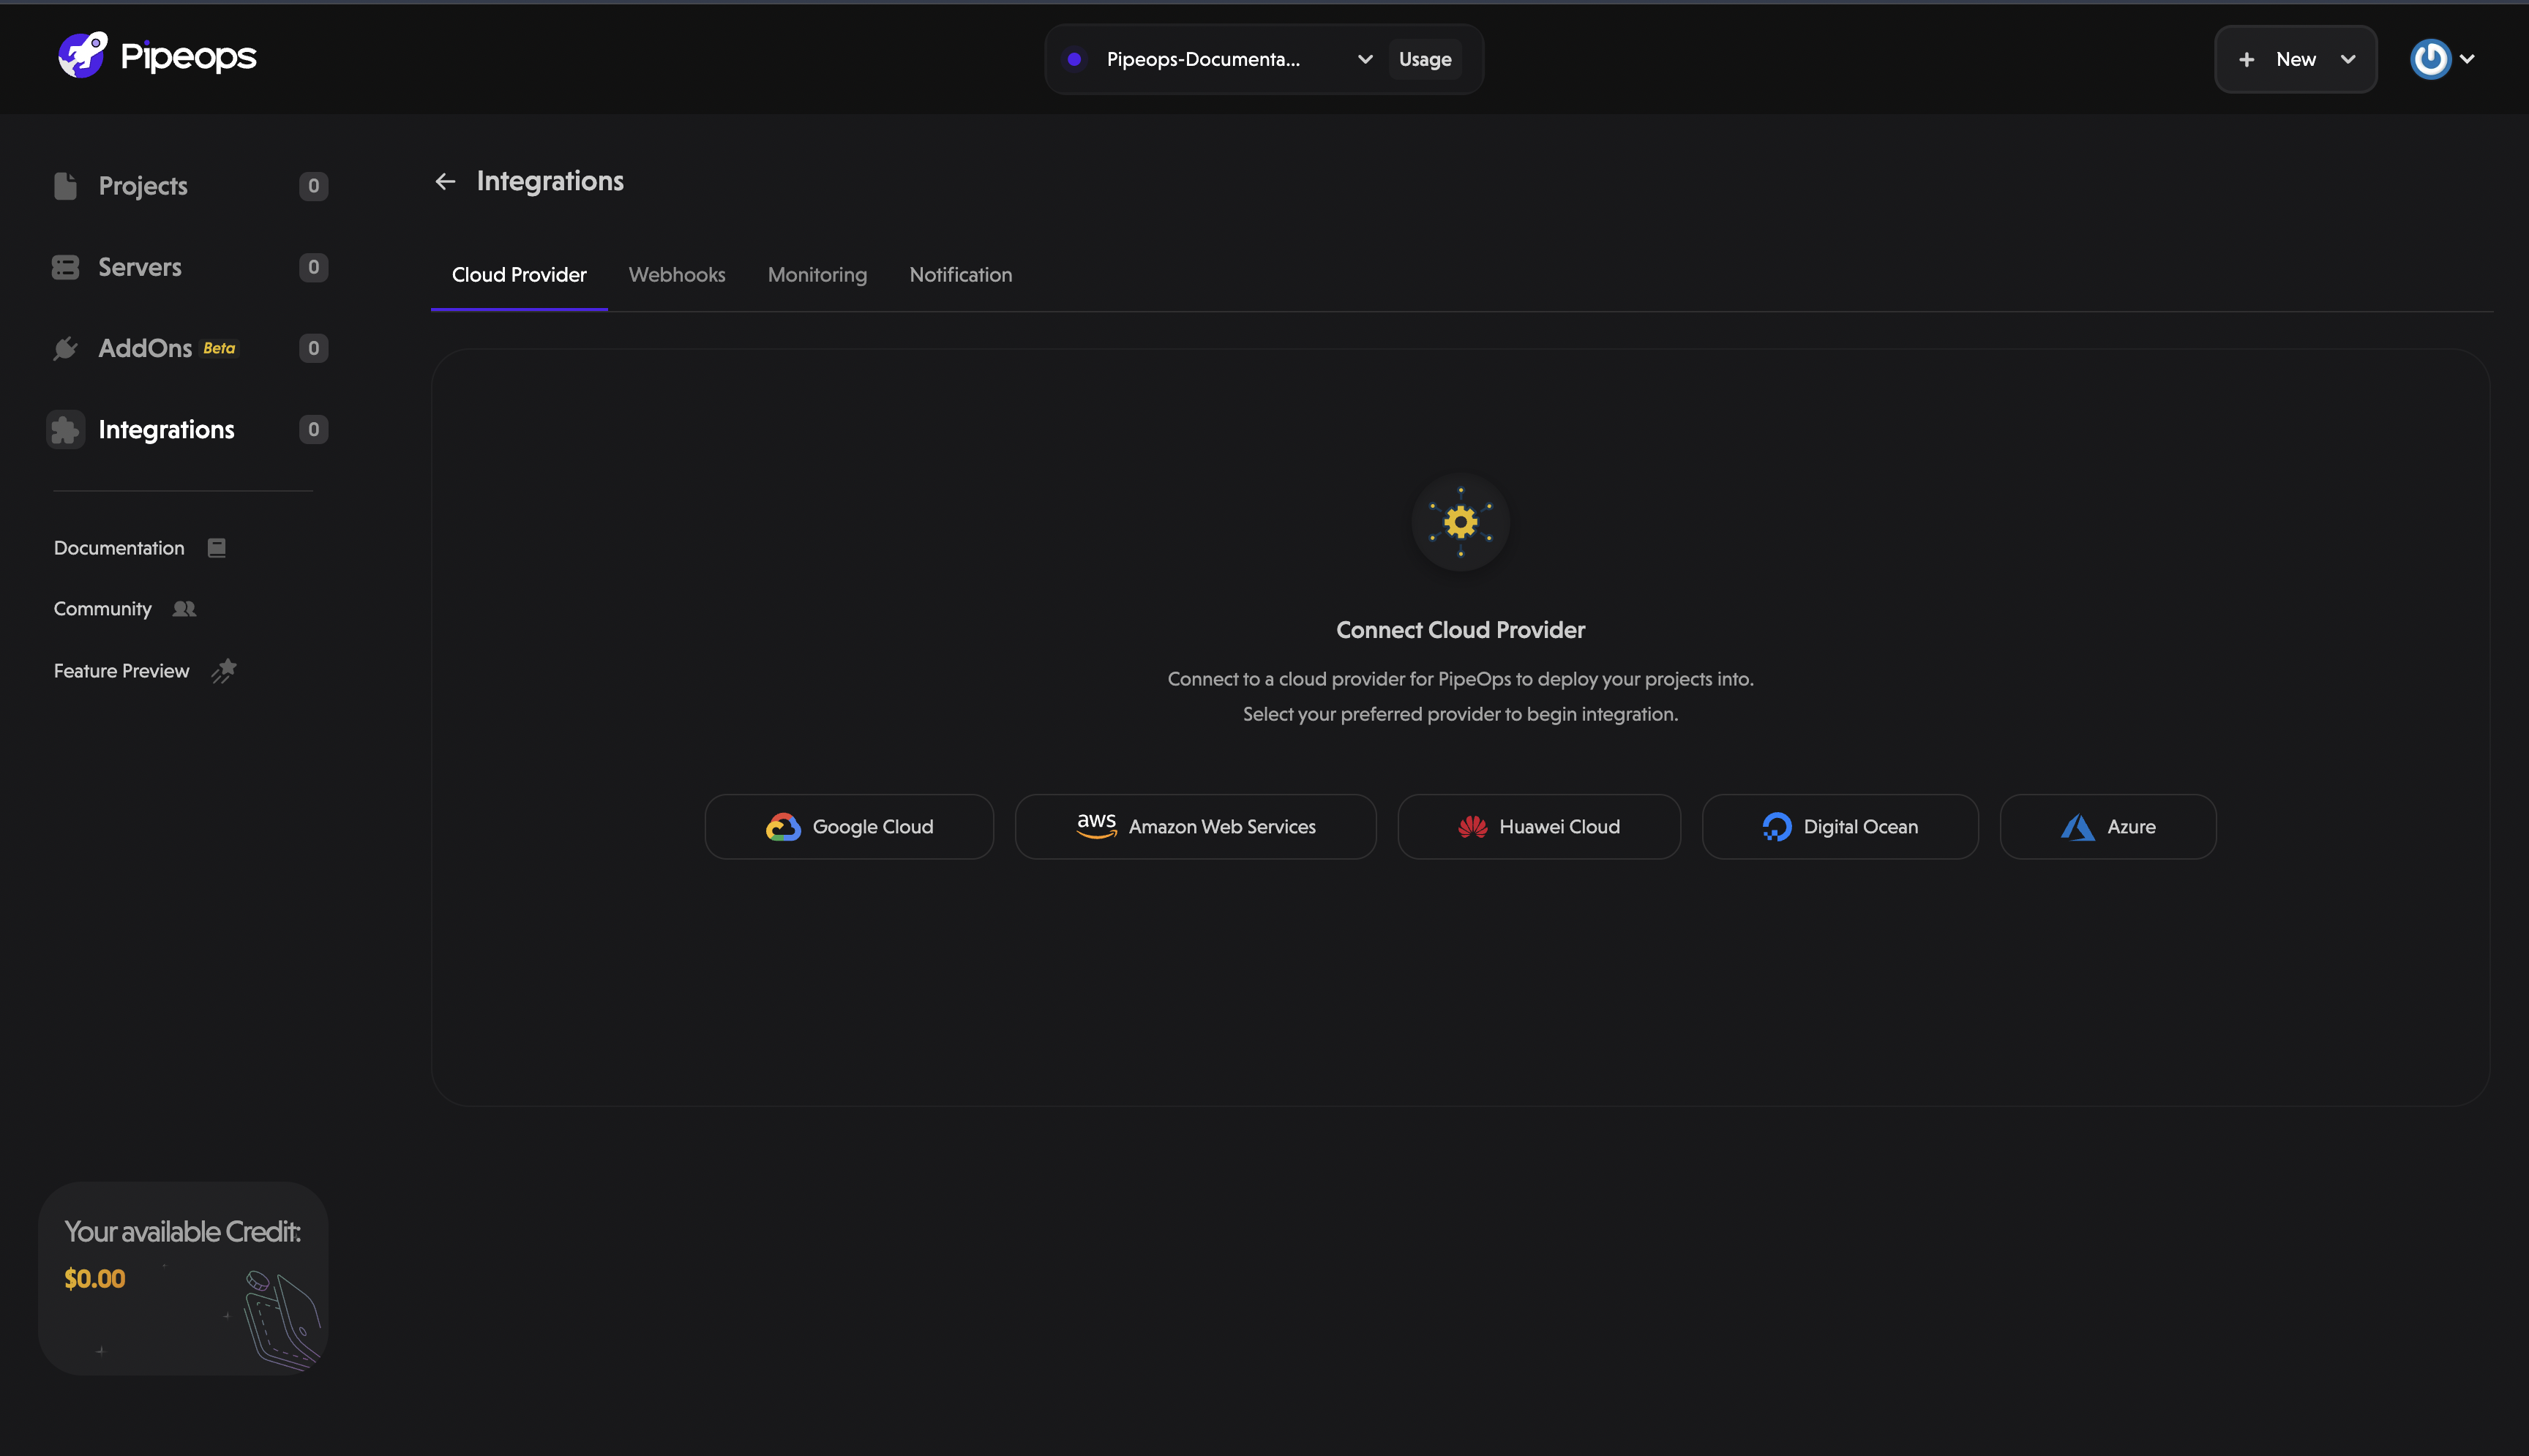
- Click on the AWS button among the list of cloud providers shown.
- On the "Connect AWS" screen, you can provide an optional name to identify your AWS account. The optional field is useful in scenarios when you want to connect more than one(1) AWS account on PipeOps.
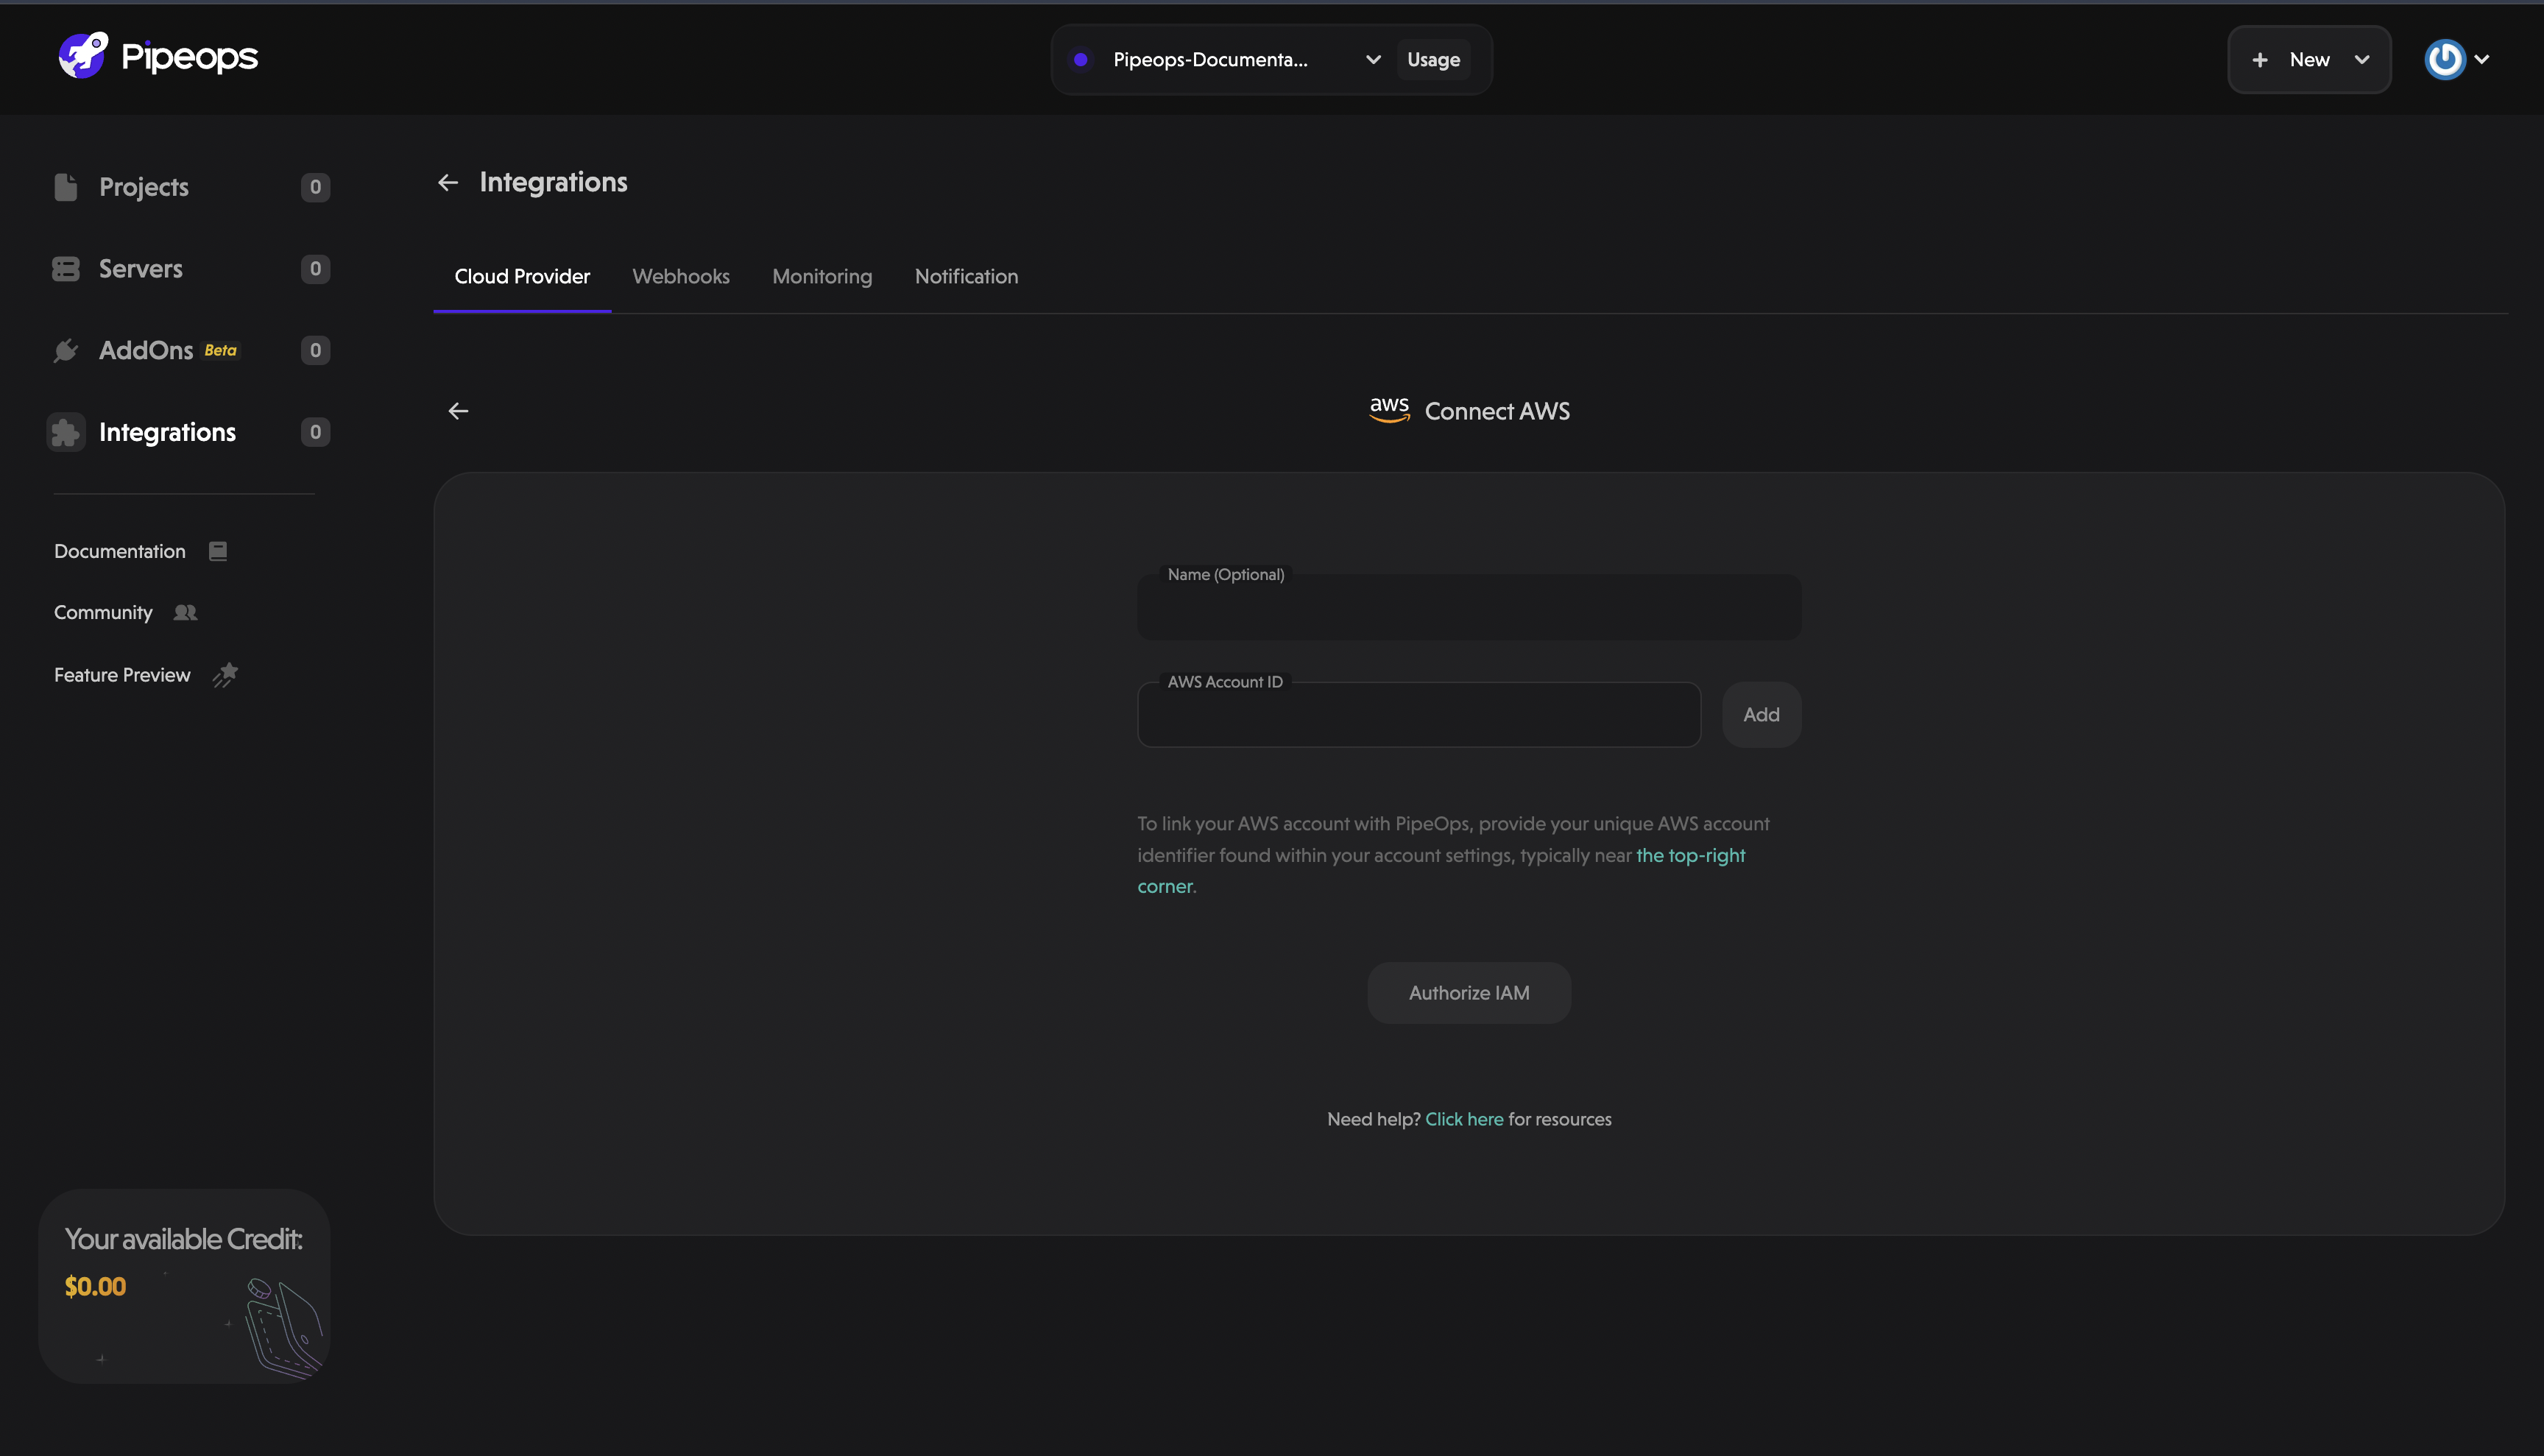
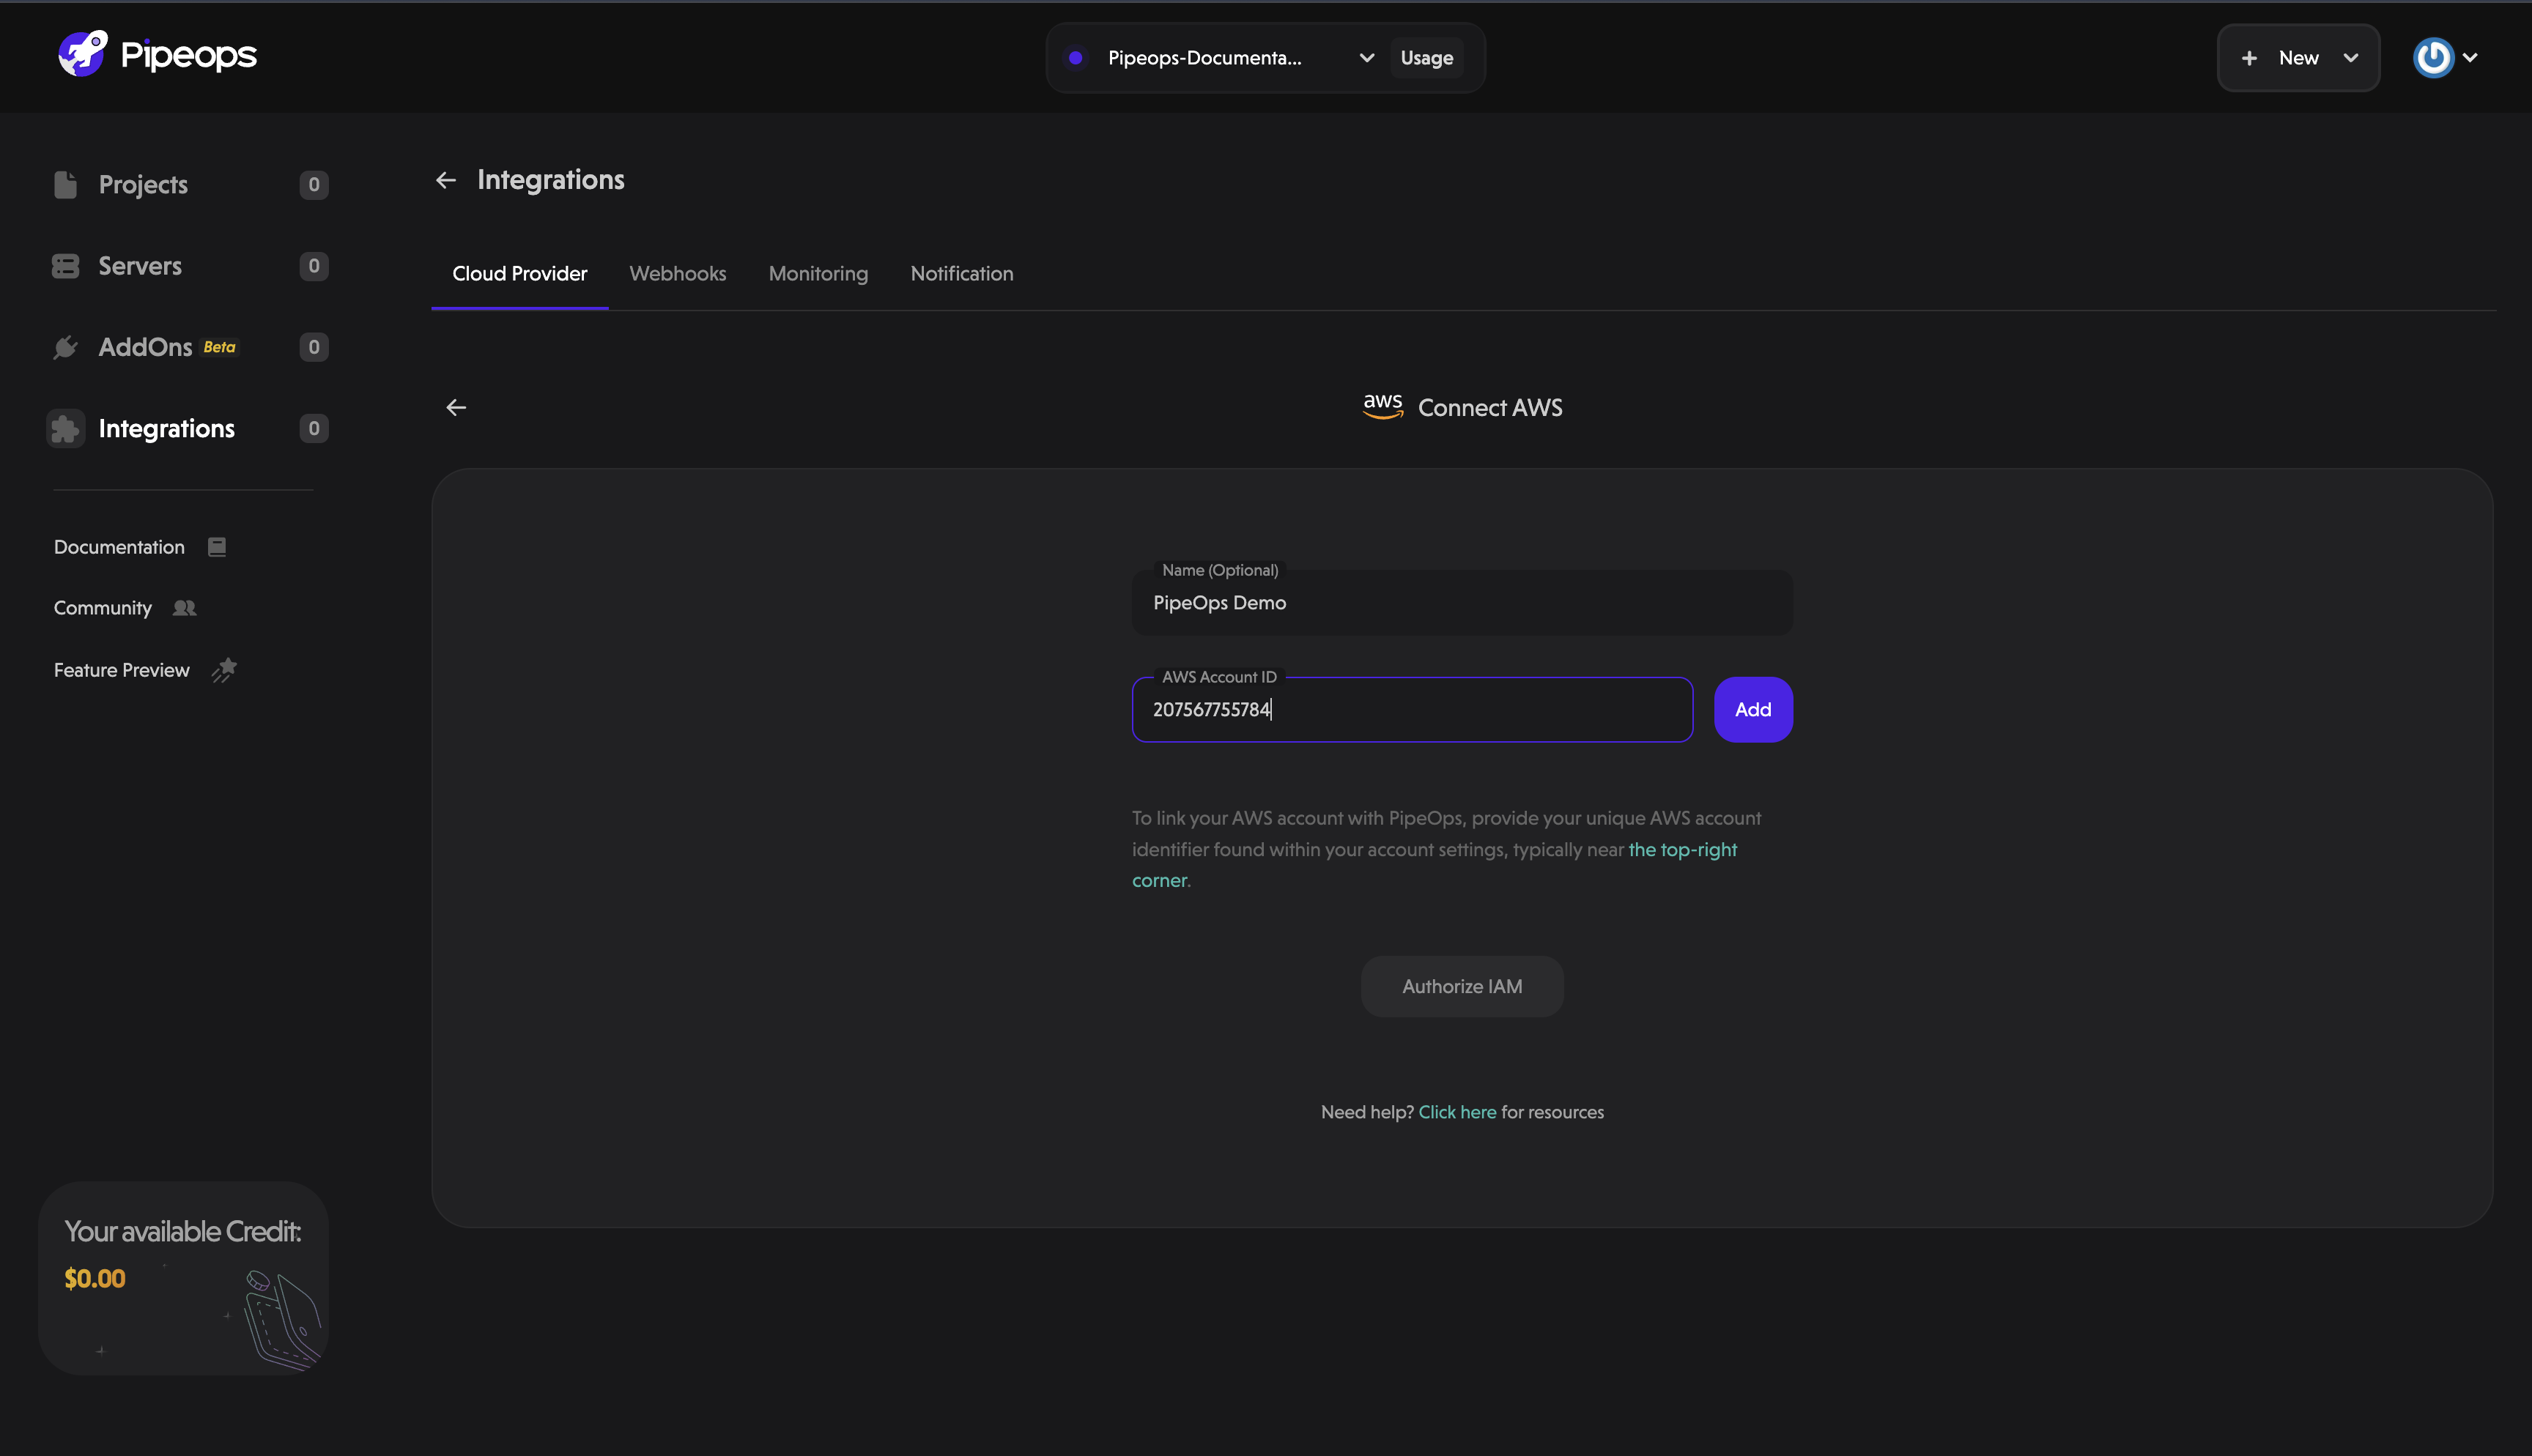
- Fill in your AWS Account ID found at the top-right corner of your AWS account and an optional name.
-
After filling the form. Click on the "Add" button, then a spinner loads before enabling the "Authorize IAM" button.
-
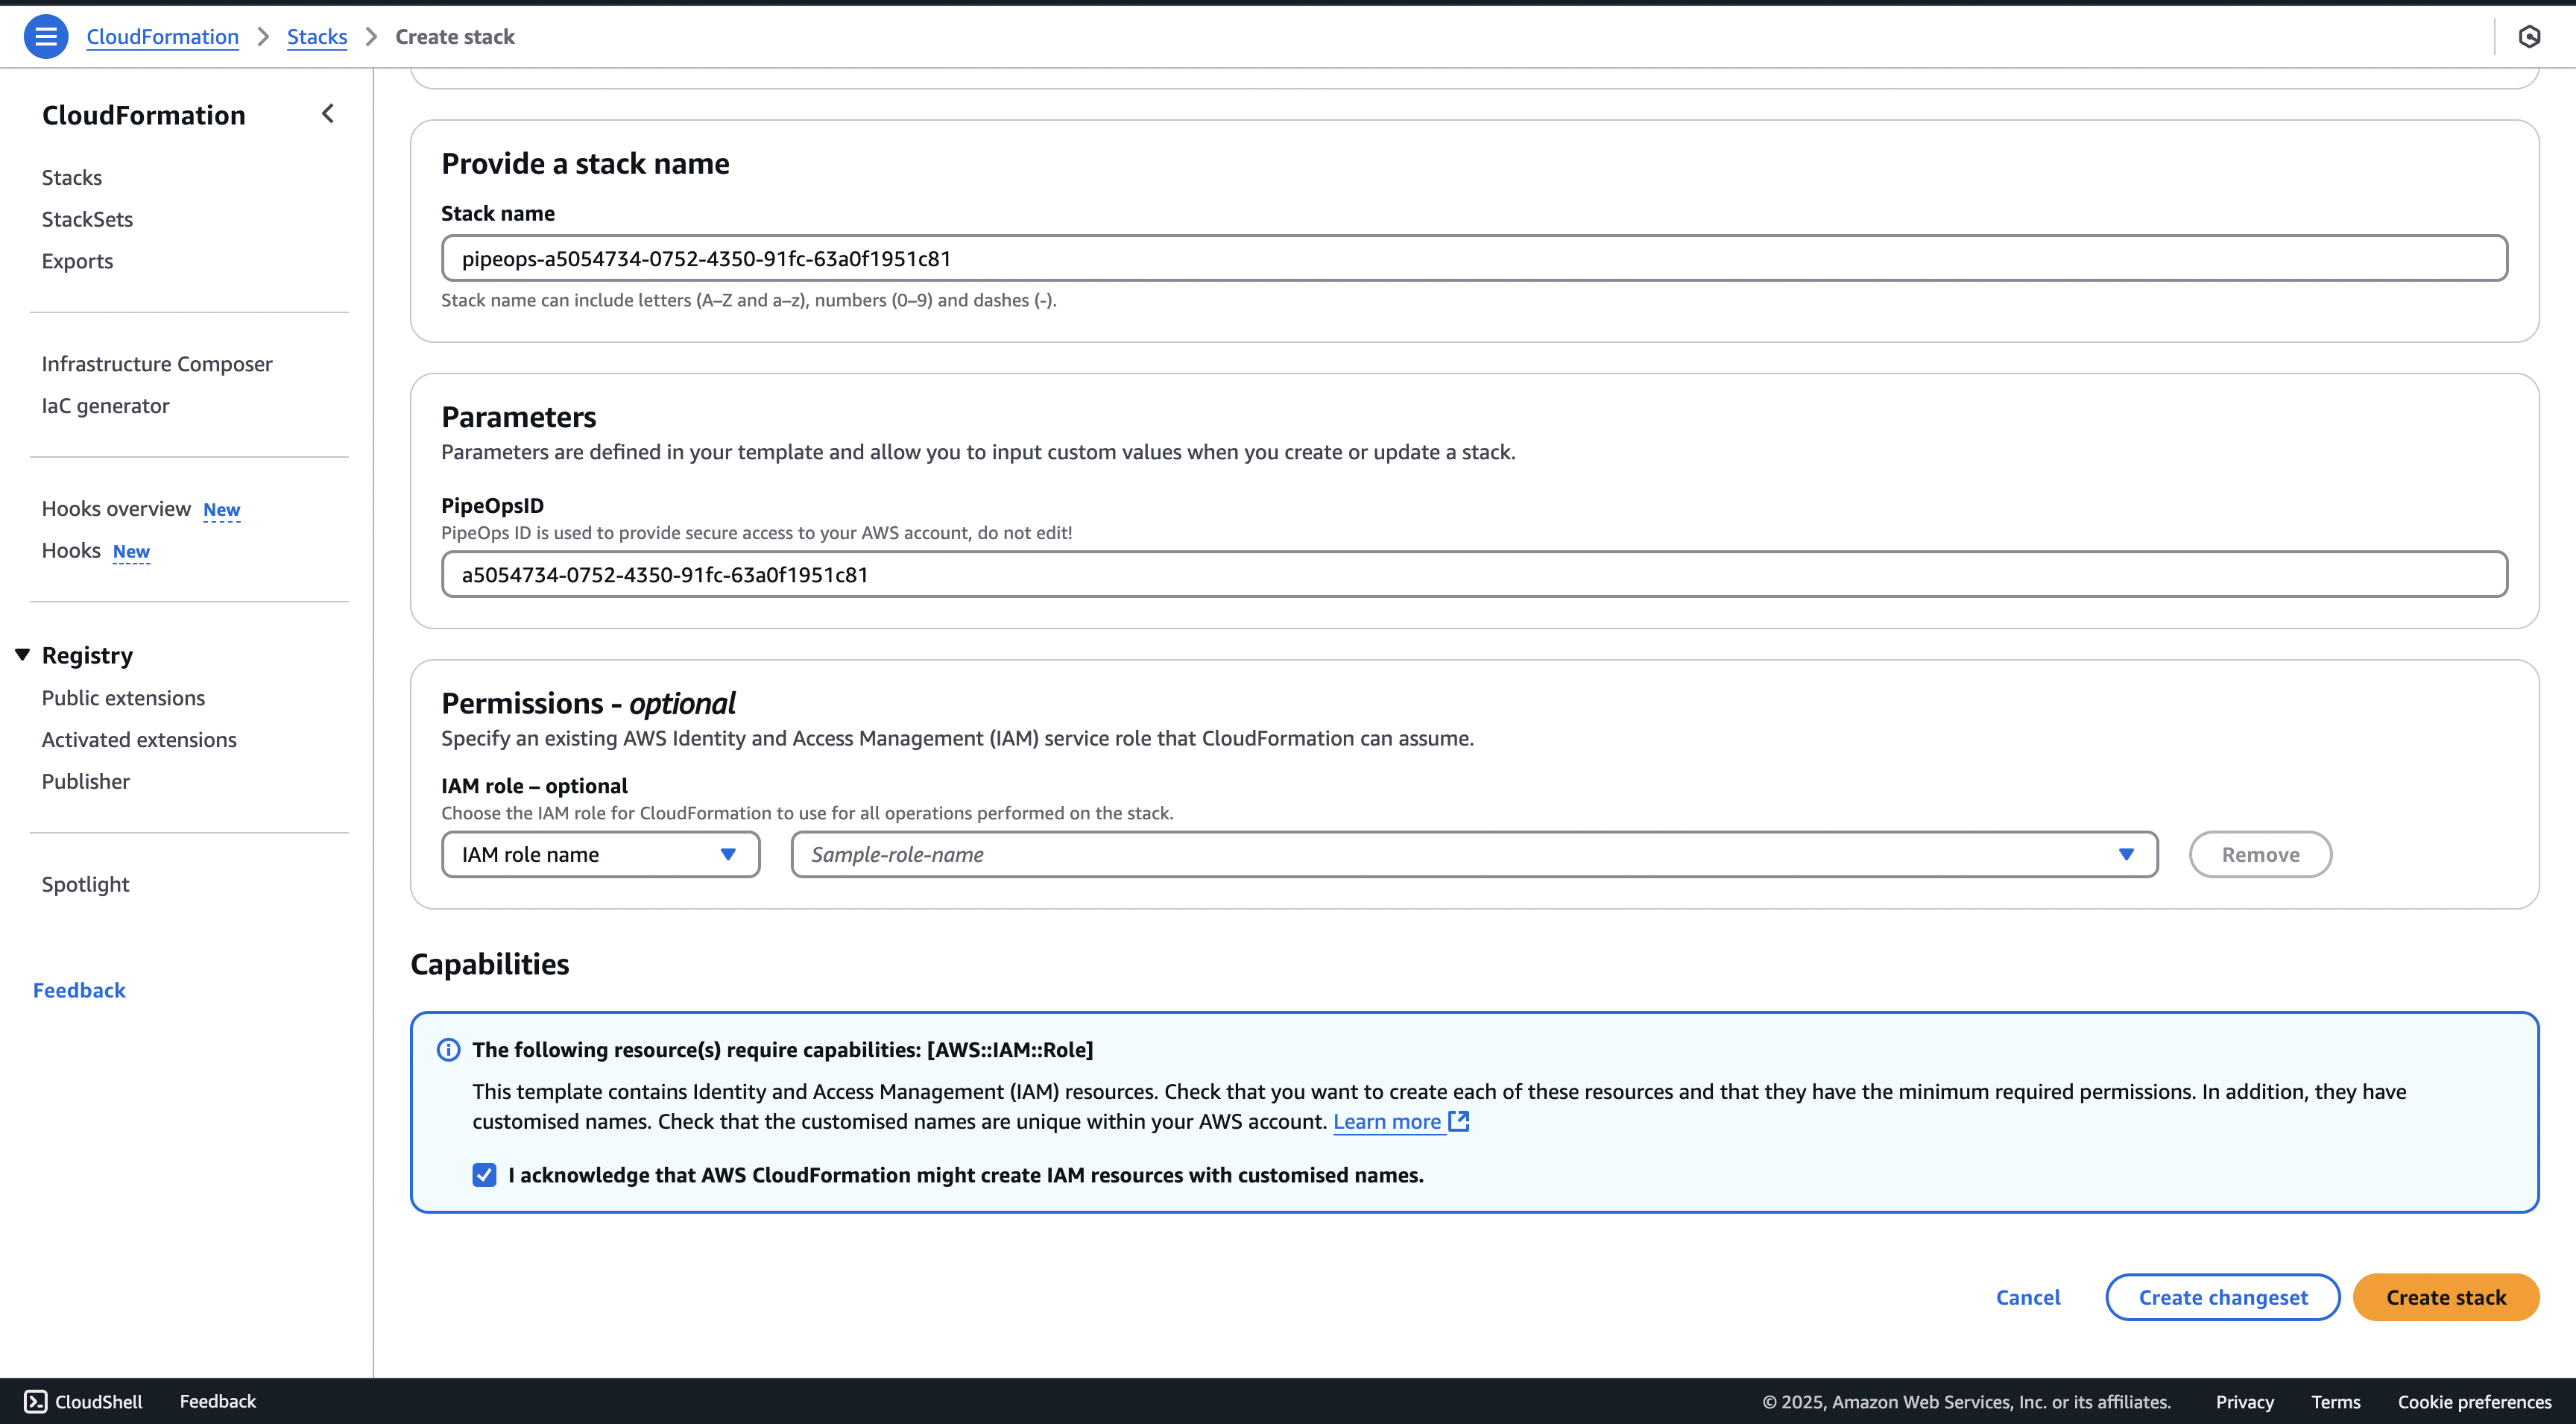
Click on "Authorize IAM" button. It should open a new tab to the right, opening a "Create Stacks" page on your AWS account which would need you to acknowledge "that AWS CloudFormation might create IAM resources with customised names " on the bottom of the page. Then click on the "Create stack" button at the bottom right of the page.
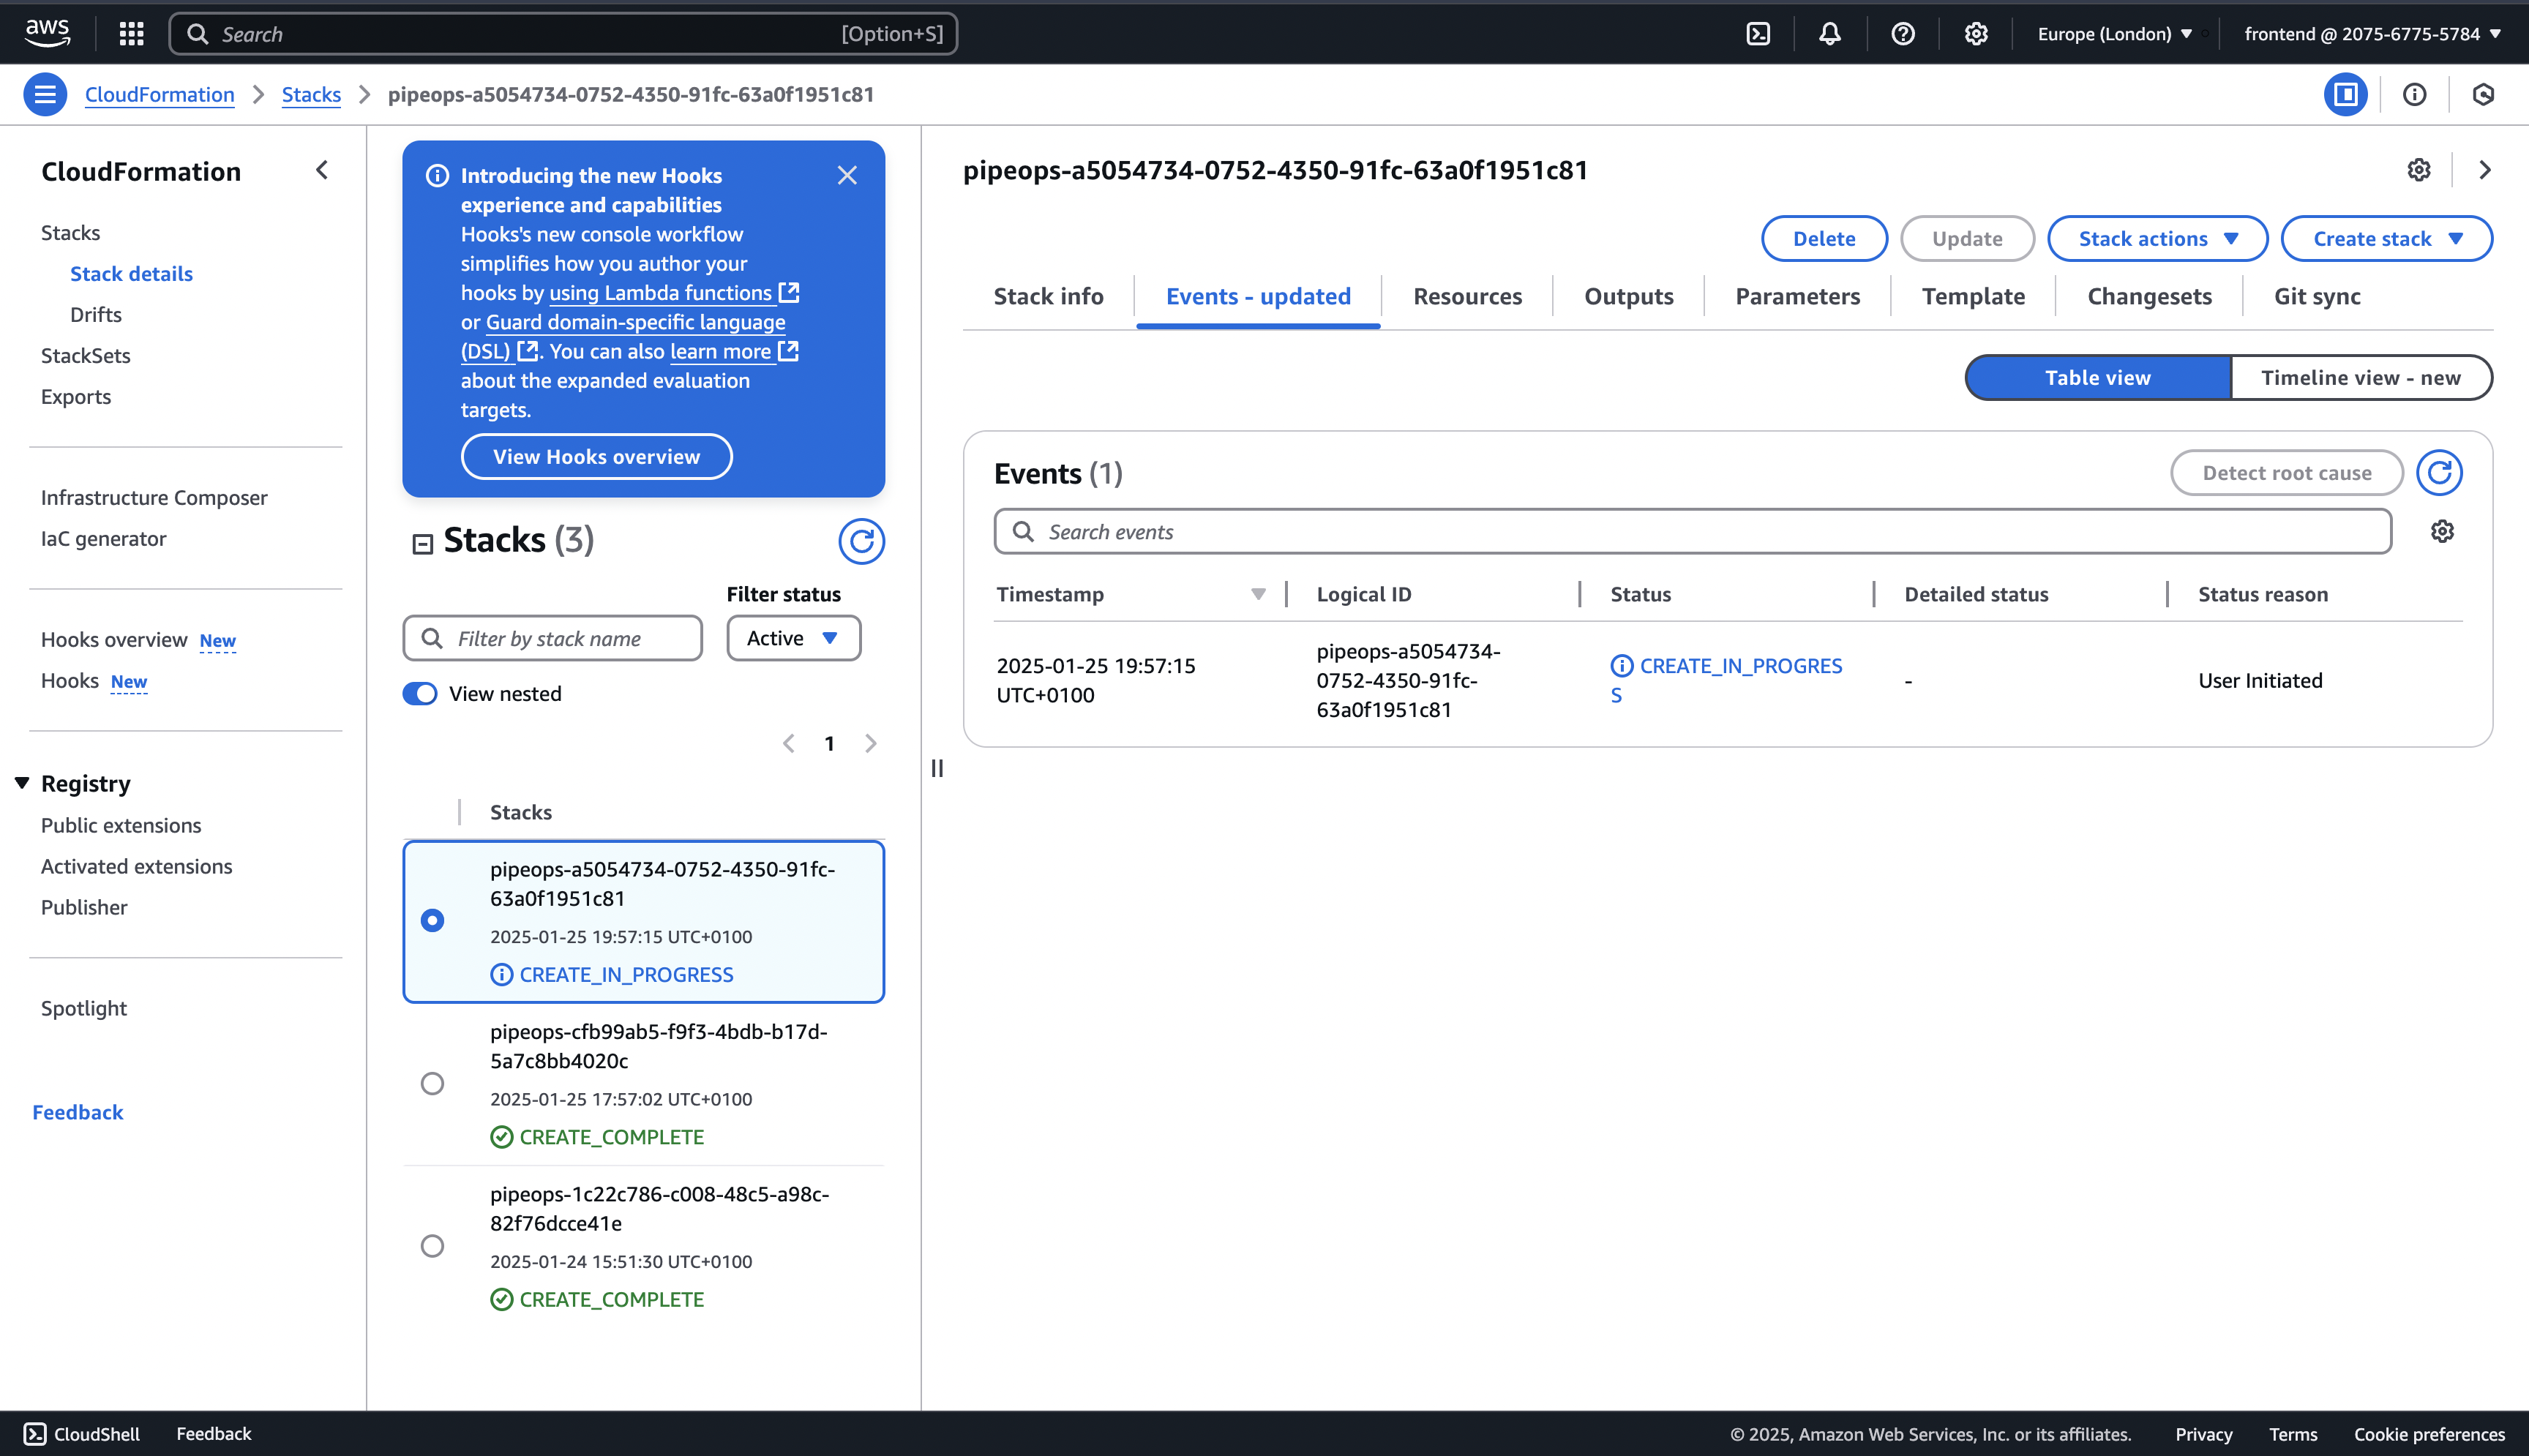
- After clicking the "Create stack" button. You will have a page similar to this.
- You can switch back to your PipeOps tab to the left and wait for few seconds and your AWS account would automatically get connected.
Now that you have connected your AWS account on PipeOps, you can now create a server to your connected AWS account using this guide here.