Database Studio
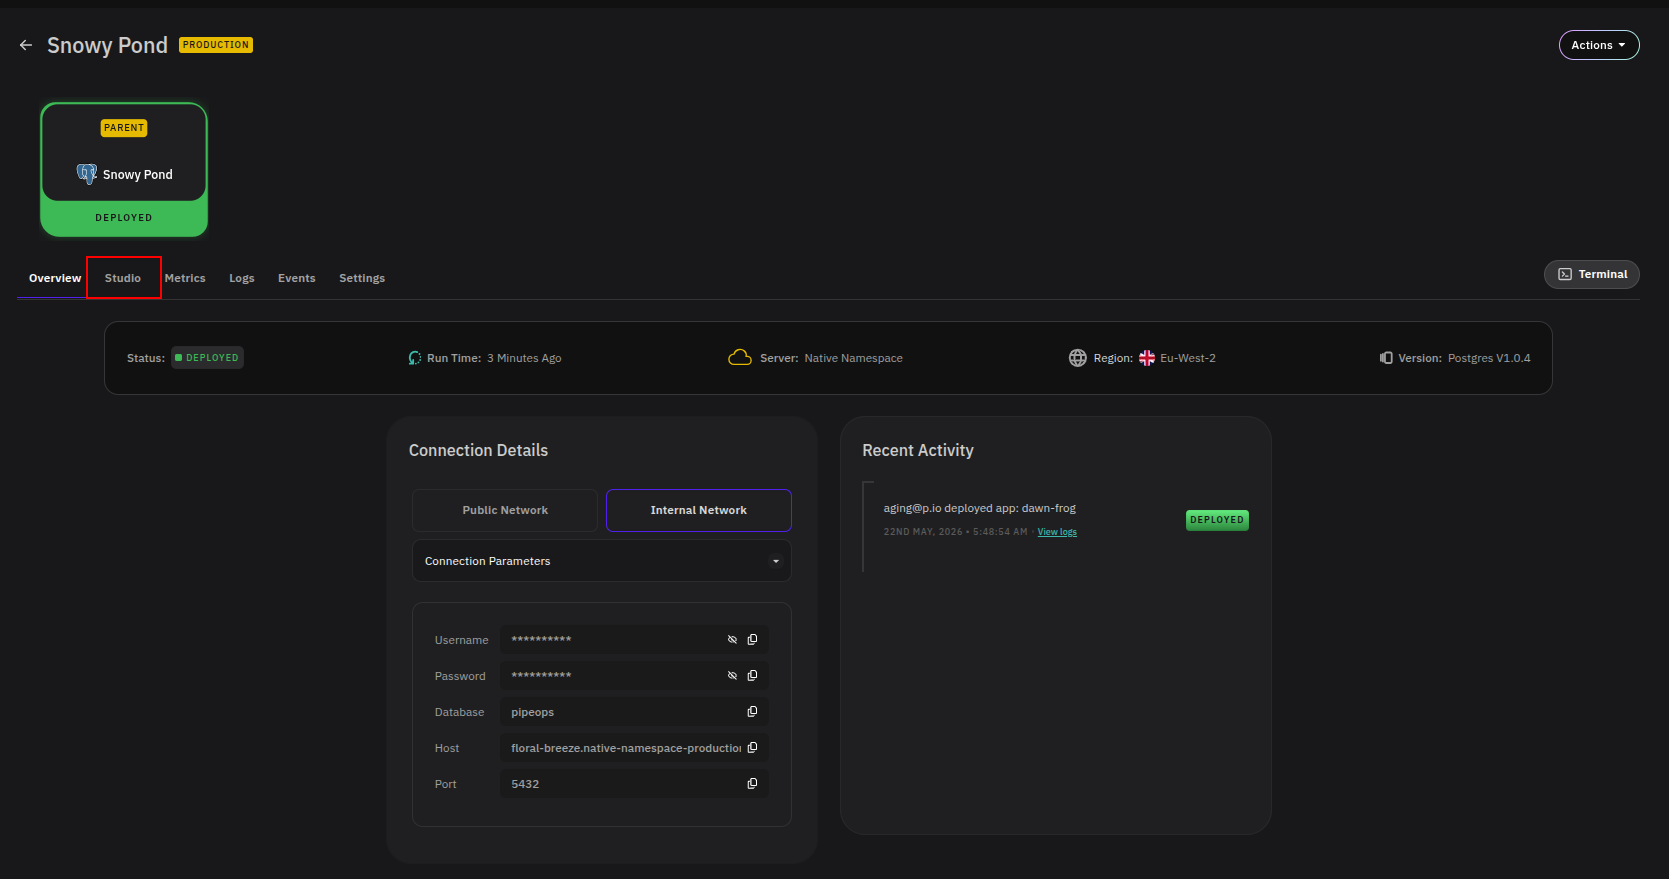
Database Studio is a built-in database management interface available on the Studio tab of your add-on. It lets you browse tables, query your database, edit data, and export results — all without leaving the PipeOps dashboard.
Enabling Database Studio
By default, Database Studio is inactive. To activate it, go to your add-on and click the Studio tab. A connection to your database will be initiated automatically as soon as you click the tab. If the connection does not start automatically, manually click Enable Database Studio to establish the connection.
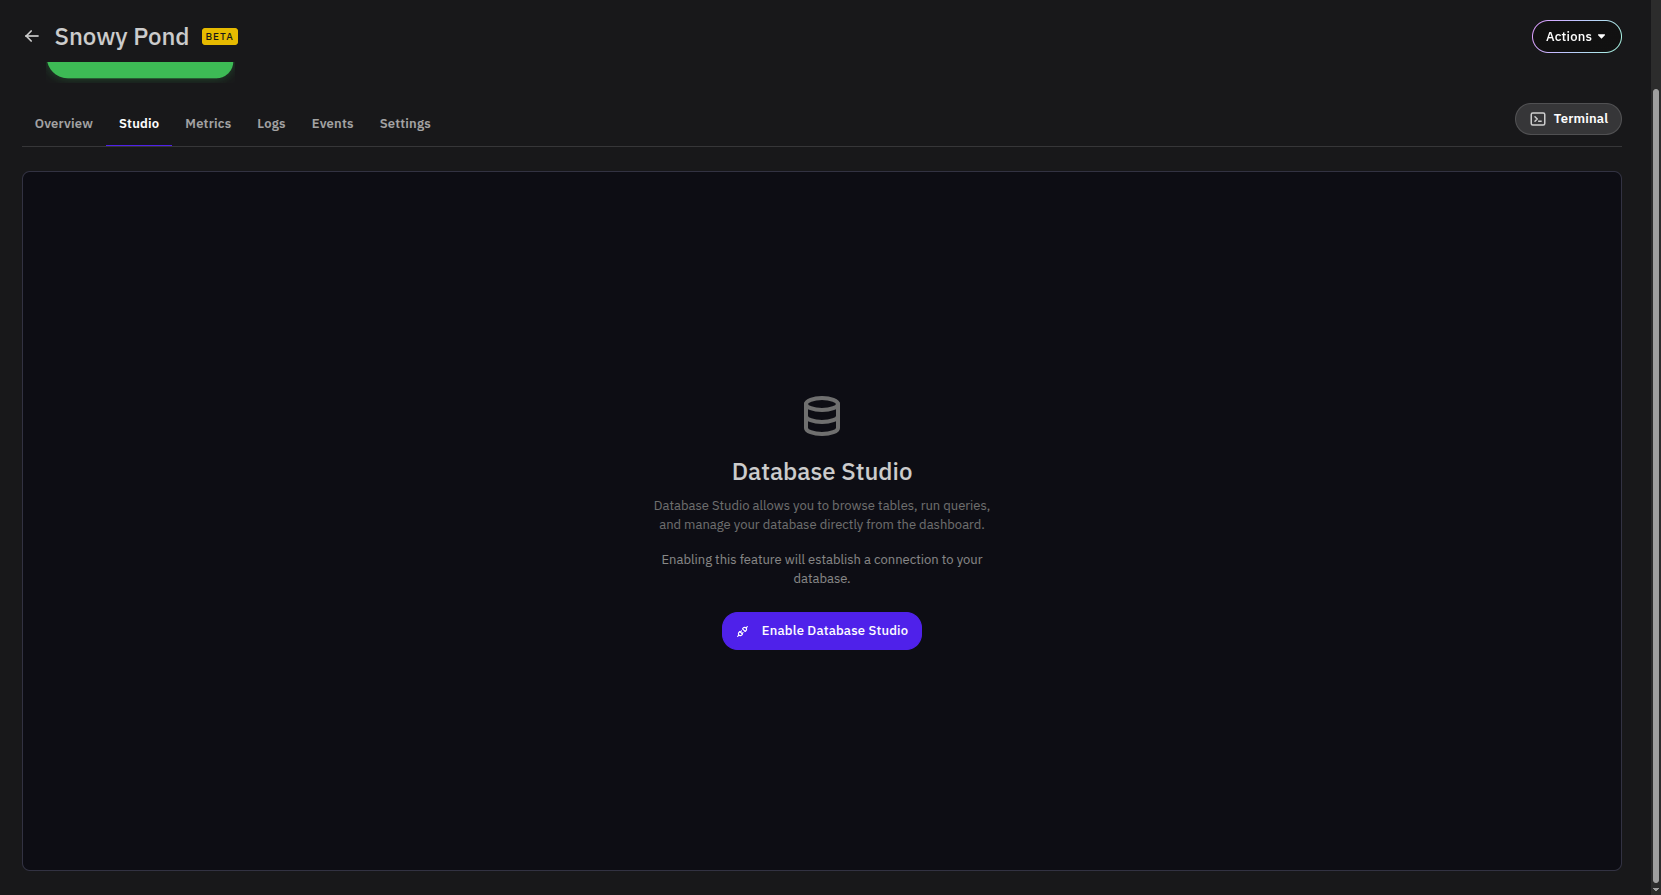
Once connected, a Connected to database confirmation appears in the bottom-right corner of the screen.
Enabling Database Studio establishes a live connection to your database. Disable it when not in use to avoid unnecessary open connections.
Interface Overview
After connecting, the Studio toolbar provides the following controls:
| Control | Description |
|---|---|
| Simple | Switch to Simple mode for browsing and editing table data. |
| Advanced | Switch to Advanced mode for writing and running SQL queries. |
| Disconnect | Close the active database connection without disabling the feature. |
| Disable Studio | Disconnect and disable Database Studio entirely. |
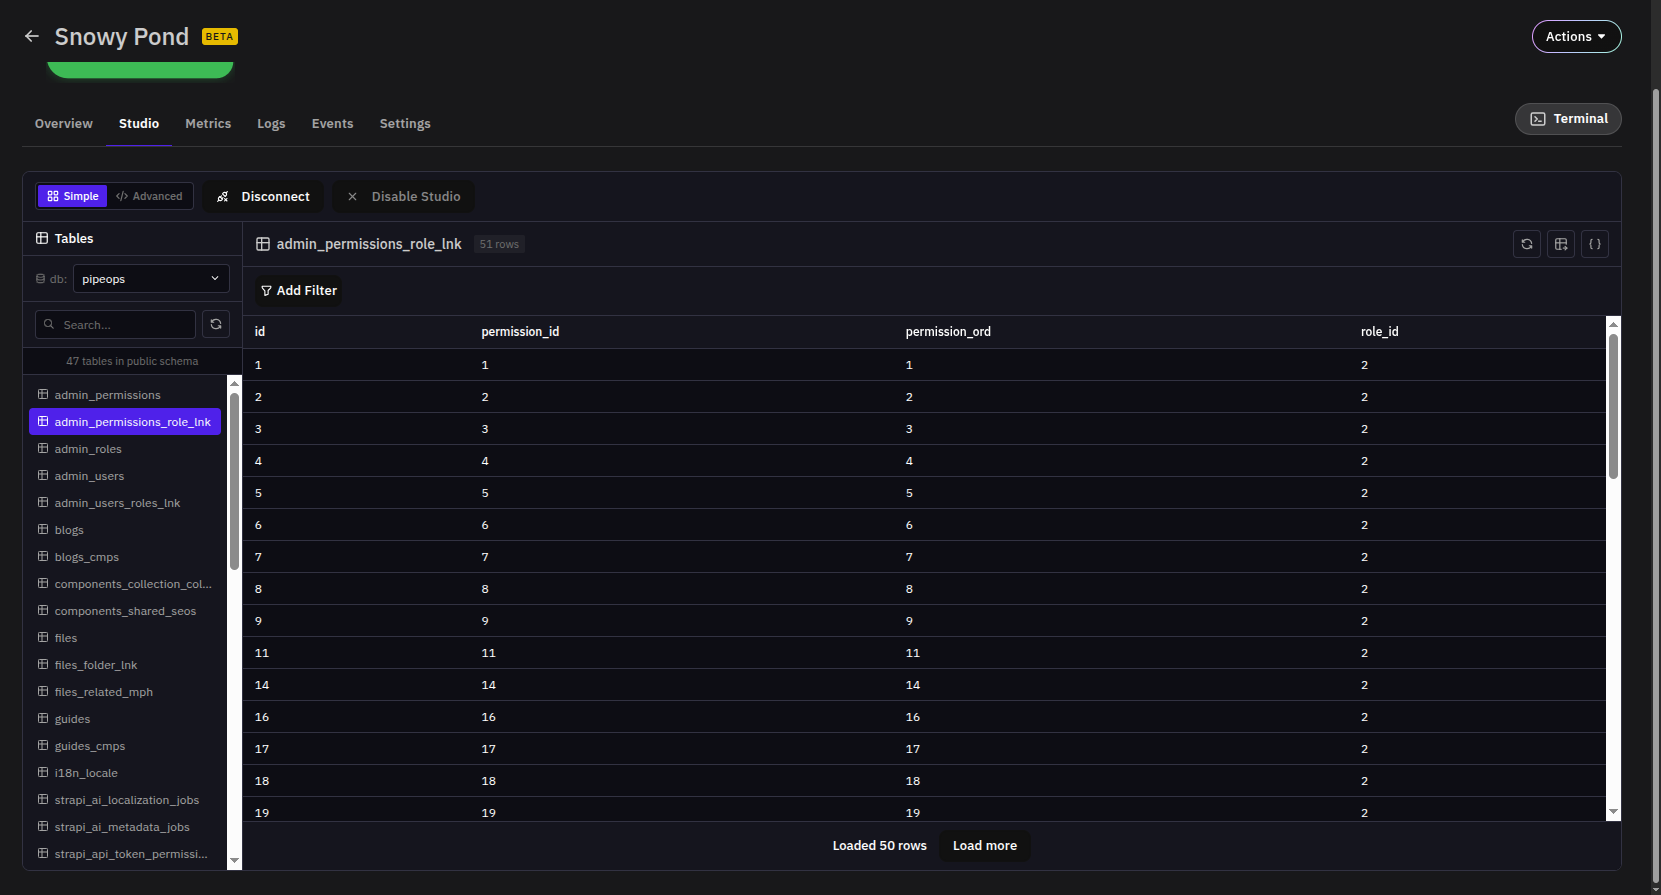
The left sidebar lists all available tables in the connected database. Use the db dropdown to switch between databases, and the Search box to filter tables by name.
Simple Mode
Simple mode provides a spreadsheet-like view of your data. Select any table from the left sidebar to load its contents in the main panel.
- Click any cell to edit its value directly.
- Changes are staged and not applied until you explicitly save.
- Use Add Filter above the table to filter rows by column value.
- Rows are loaded in batches — click Load more to fetch additional records.
Advanced Mode
Advanced mode provides a SQL query editor for running custom queries against your database.
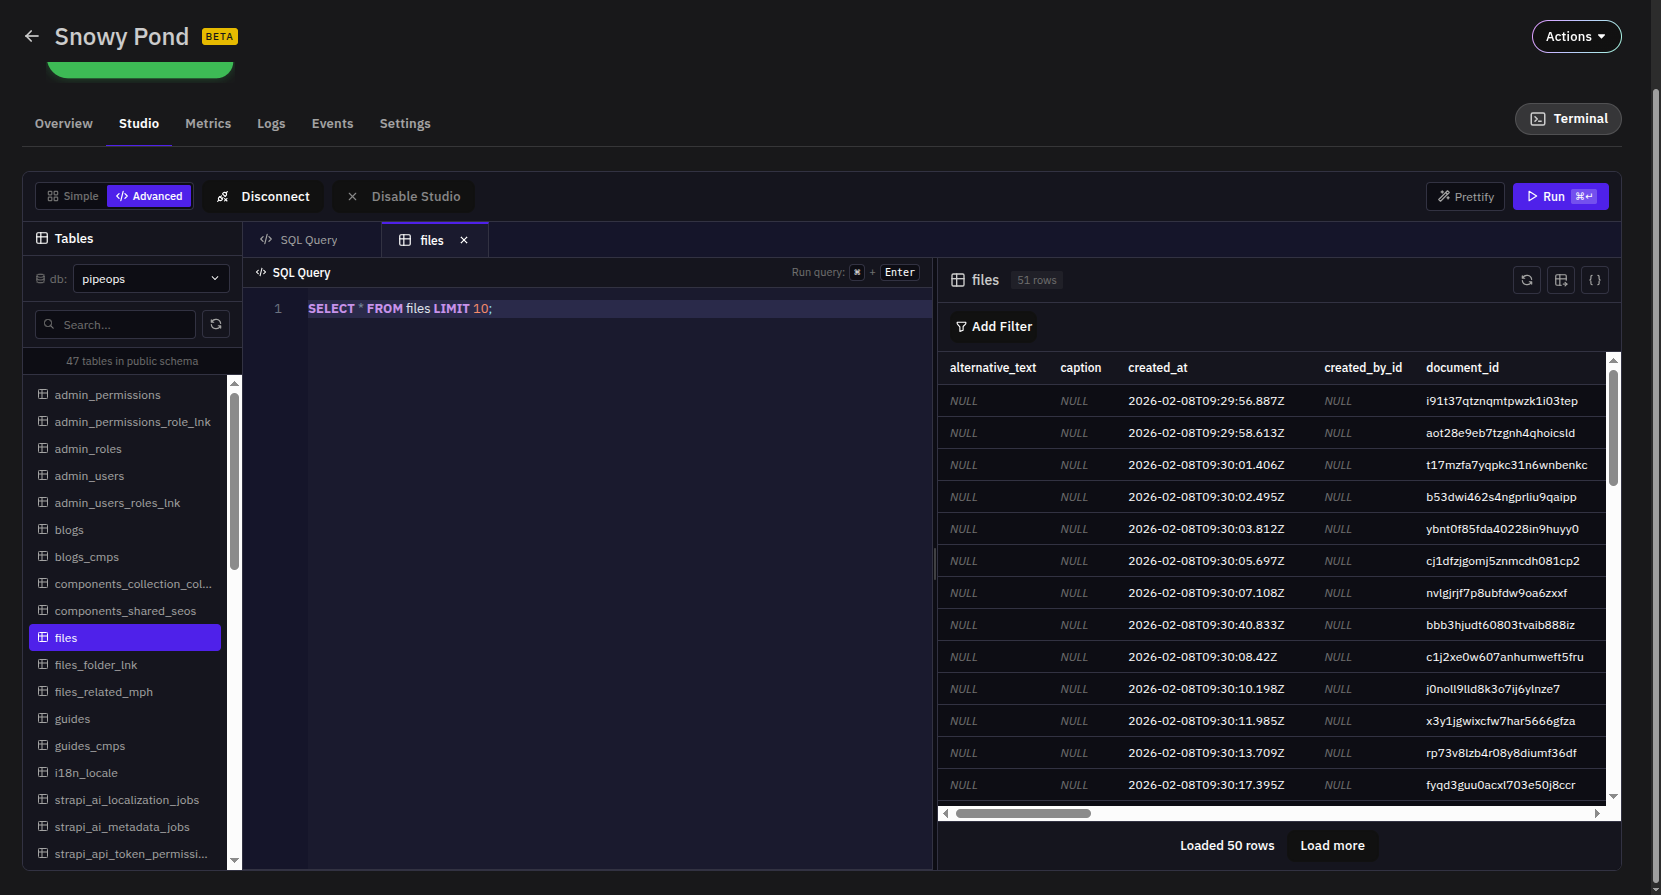
A default query (SELECT * FROM <table> LIMIT 10;) is pre-filled to get you started. Write your query in the editor and run it using the Run button or the ⌘ + Enter (Mac) / Ctrl + Enter (Windows) keyboard shortcut.
Use Prettify to auto-format your SQL for readability before running.
Query results appear in the Results panel on the right. Each executed query or opened table opens as a tab at the top of the editor, making it easy to work across multiple queries or tables simultaneously.
You can run multiple queries in one execution by separating them with semicolons (;).
Filtering Results
Both Simple and Advanced modes support row-level filtering. Click Add Filter above the results panel to narrow down data by column value. This is useful for inspecting specific records without writing a full WHERE clause.
Exporting Data
Query results can be exported directly from the results panel. Use the export controls in the top-right corner of the results view to download data in your preferred format:
- Export as CSV — Downloads the result set as a comma-separated values file.
- Export as JSON — Downloads the result set as a JSON file.
This is available in both Simple and Advanced modes.
Disabling Database Studio
When you no longer need an active connection, click Disable Studio in the toolbar. This closes the connection and returns the Studio tab to its initial state, requiring re-enablement the next time you need it.