Bring Your Own Server
The Bring Your Own Server (BYOS) feature lets you connect almost any machine to PipeOps and manage it alongside your other servers. This includes physical hardware, on-premise servers, and virtual machines from any cloud provider.
Before you begin, make sure your machine meets the following requirements:
- It has a stable internet connection so it can communicate with the PipeOps control plane.
- If you are on Windows, you must have WSL (Windows Subsystem for Linux) installed. See the WSL setup guide before continuing.
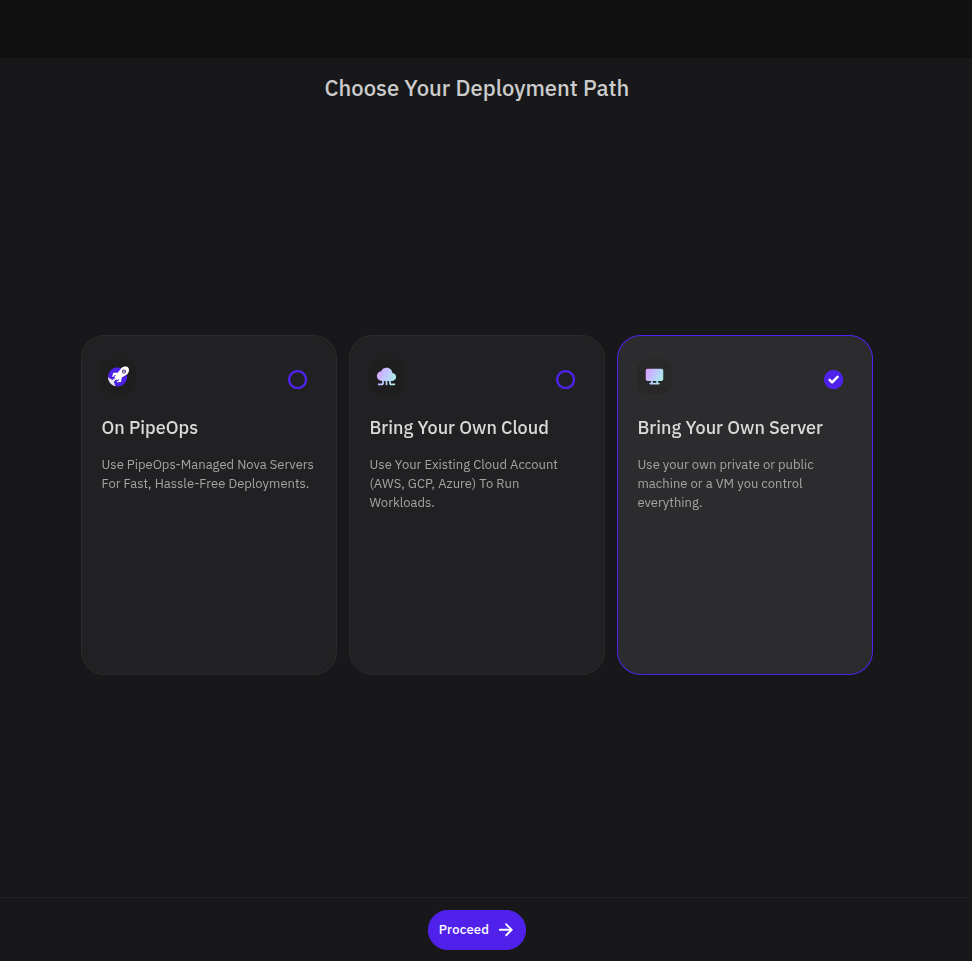
Step 1: Choose Bring Your Own Server
On the Choose Your Deployment Path page, select Bring Your Own Server, then click Proceed.
Step 2: Configure Server Details
Enter a name for your server, then select a Gateway Region — this is the region PipeOps will use to route traffic to your machine. Each region displays its bandwidth cost so you can choose based on your location and budget.
Click Generate Token. PipeOps generates a registration token and a pre-filled installation command tied to your server name and selected region.
Step 3: Install and Connect
Open a terminal on your target machine and run the installation commands. The steps vary slightly depending on your operating system.
Where possible, copy the command directly from your PipeOps dashboard — it includes your token and server name pre-filled. If you are entering the commands manually, replace YOUR_GENERATED_TOKEN and YOUR_SERVER_NAME with your actual values.
Linux (native or remote VM via SSH)
Install the PipeOps CLI:
curl -fsSL https://get.pipeops.dev/cli.sh | bash
Then run the agent installer using your token and server name:
export PIPEOPS_TOKEN="YOUR_GENERATED_TOKEN"
export CLUSTER_NAME="YOUR_SERVER_NAME"
pipeops agent install
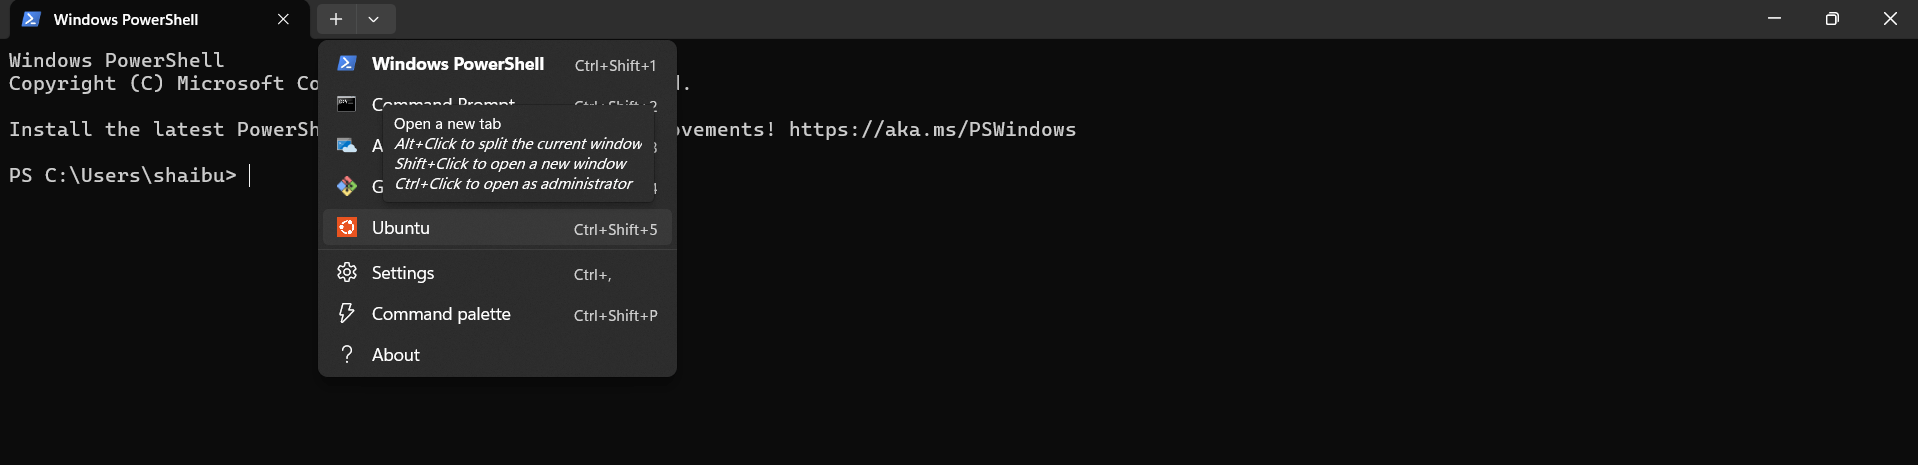
Windows (via WSL)
Open your Ubuntu or WSL terminal — not PowerShell — and run:
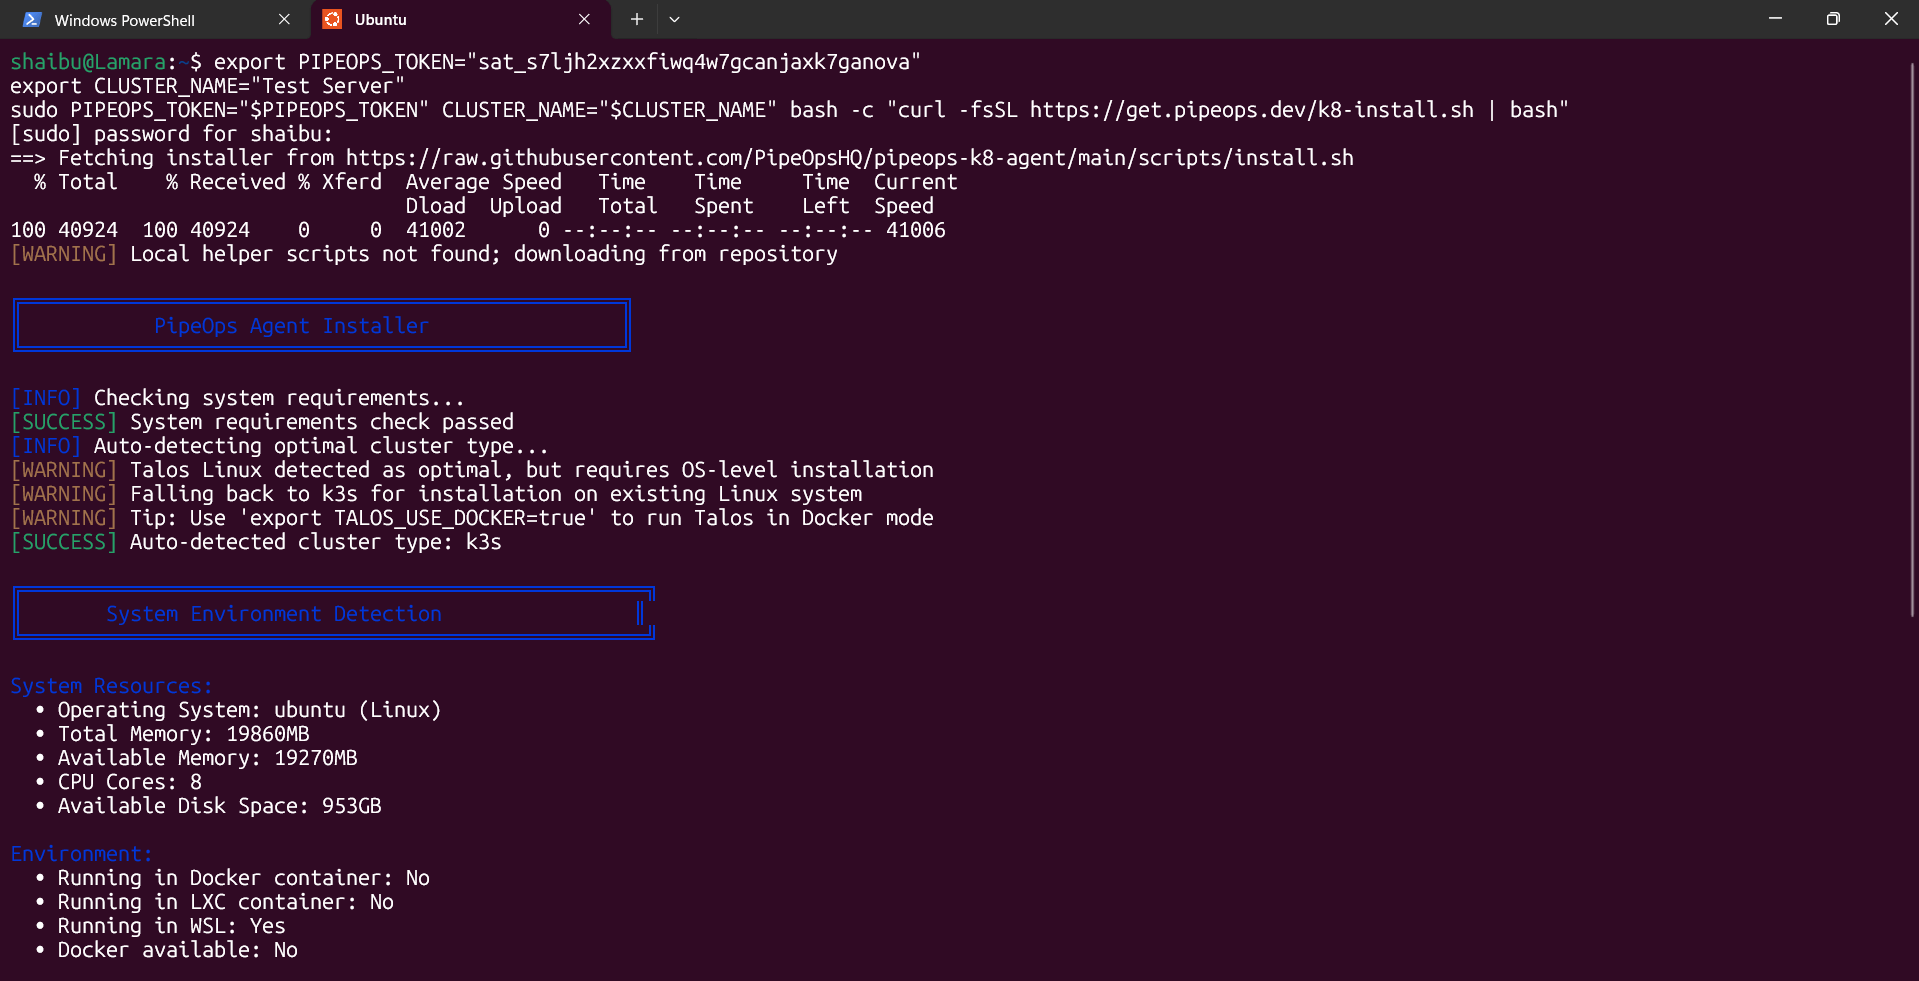
export PIPEOPS_TOKEN="YOUR_GENERATED_TOKEN"
export CLUSTER_NAME="YOUR_SERVER_NAME"
sudo PIPEOPS_TOKEN="$PIPEOPS_TOKEN" CLUSTER_NAME="$CLUSTER_NAME" bash -c "curl -fsSL https://get.pipeops.dev/k8-install.sh | bash"
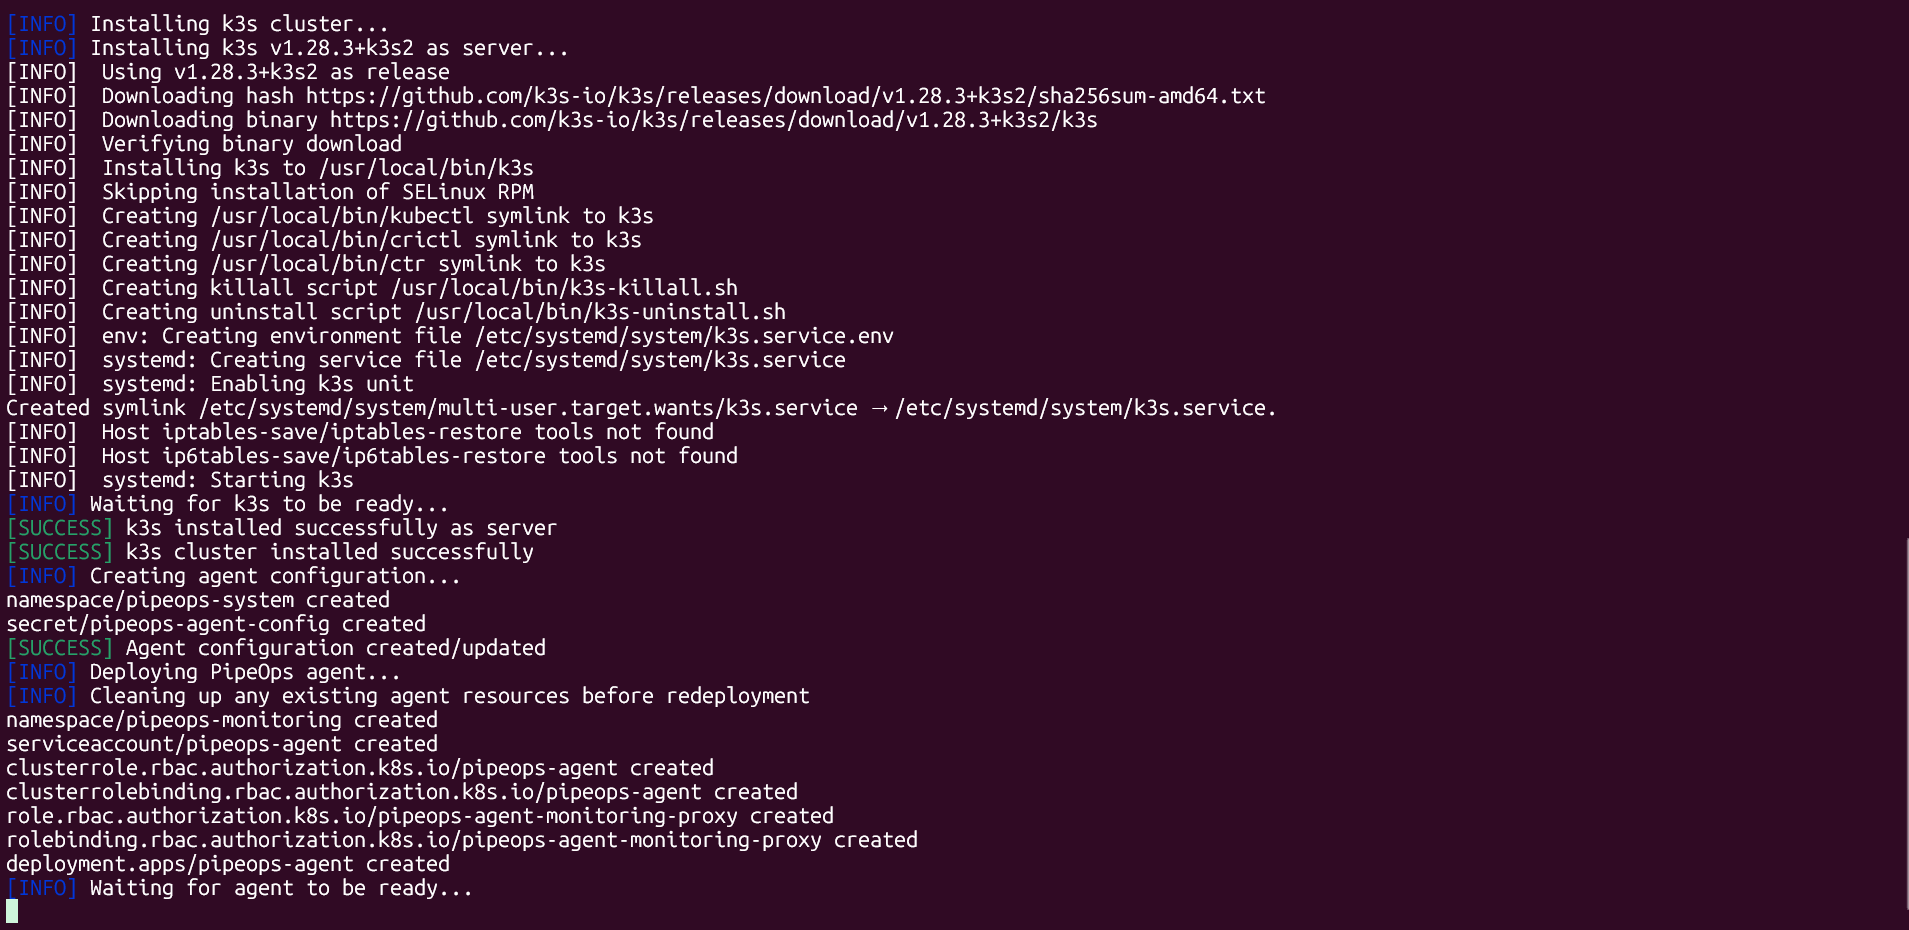
Step 4: Monitor Installation Progress
After running the commands, your terminal displays the installation progress. PipeOps provisions a K3S environment on your machine automatically.
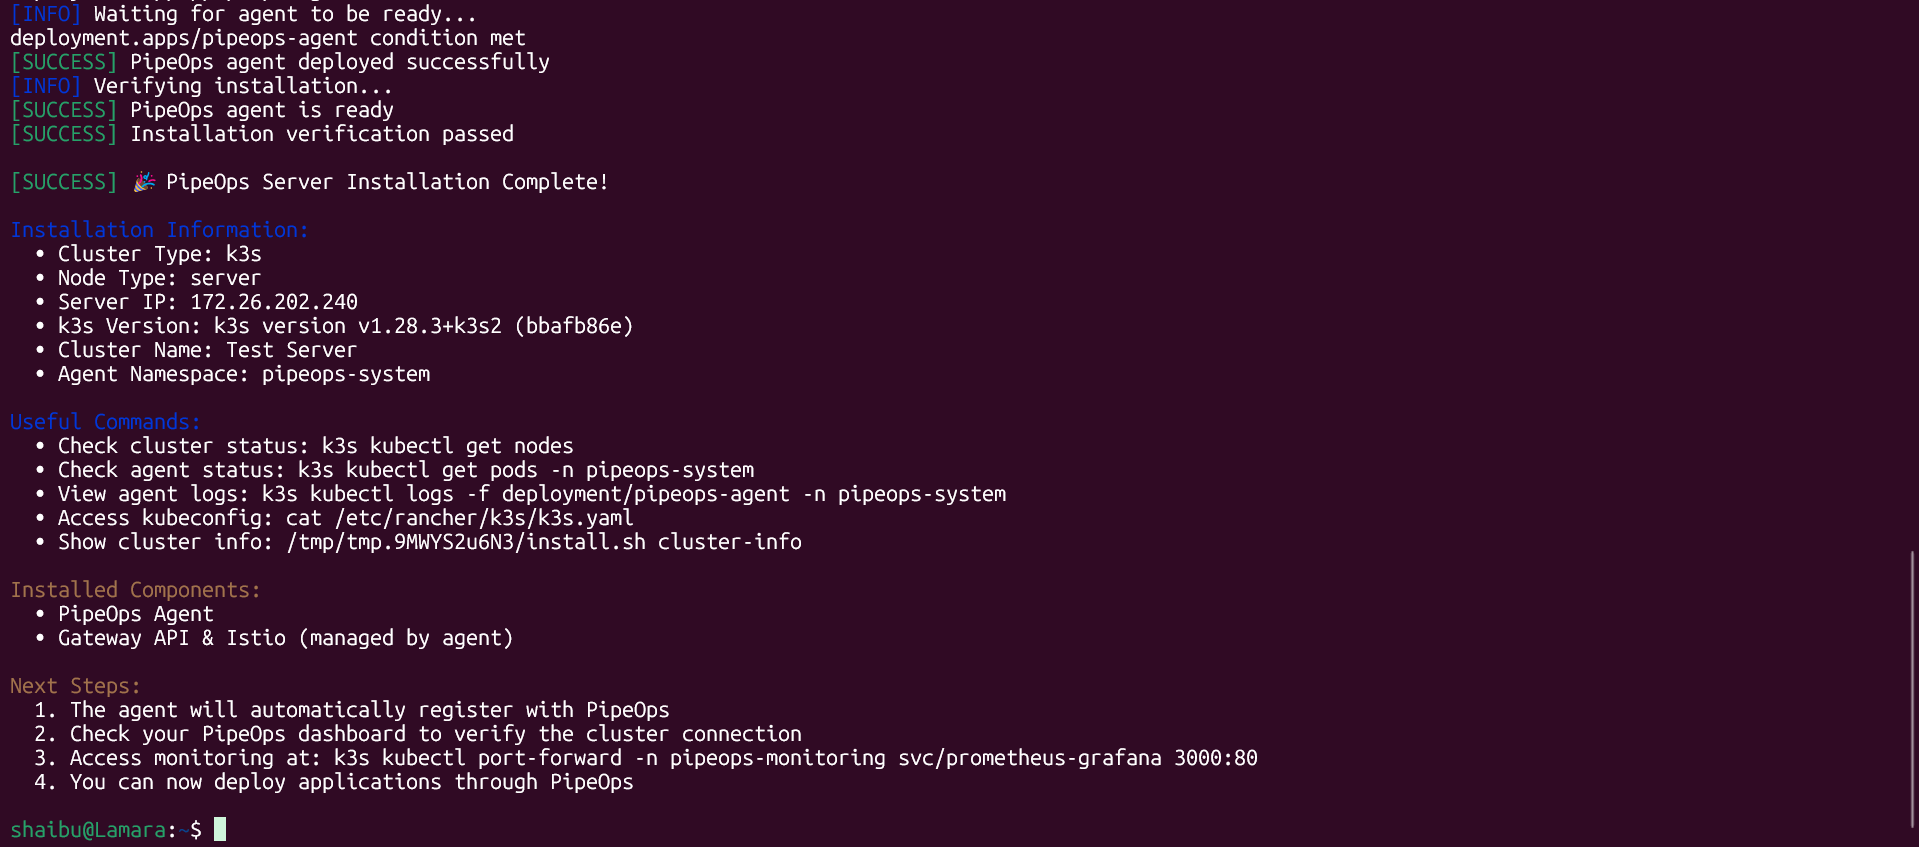
Step 5: Confirm Registration
Once the terminal shows a success message, return to the PipeOps dashboard. Your server will show a Registered status badge or a success modal. Click Complete to view your server details.
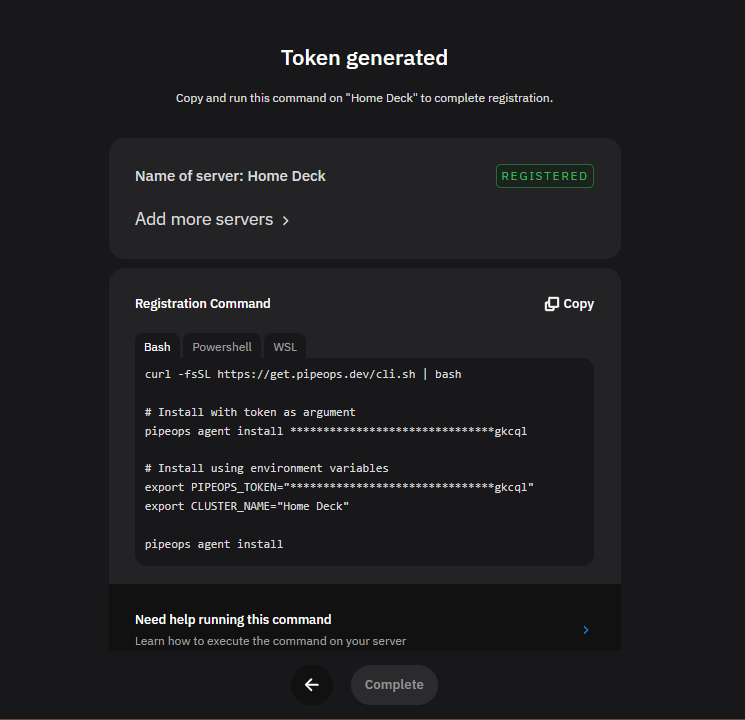
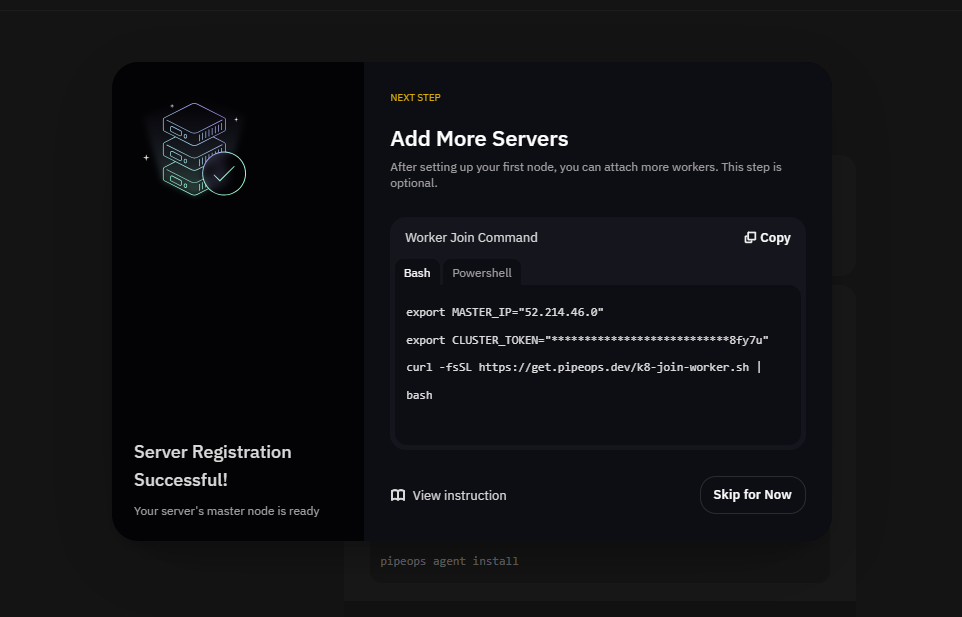

Your server is now connected and ready for deployments.
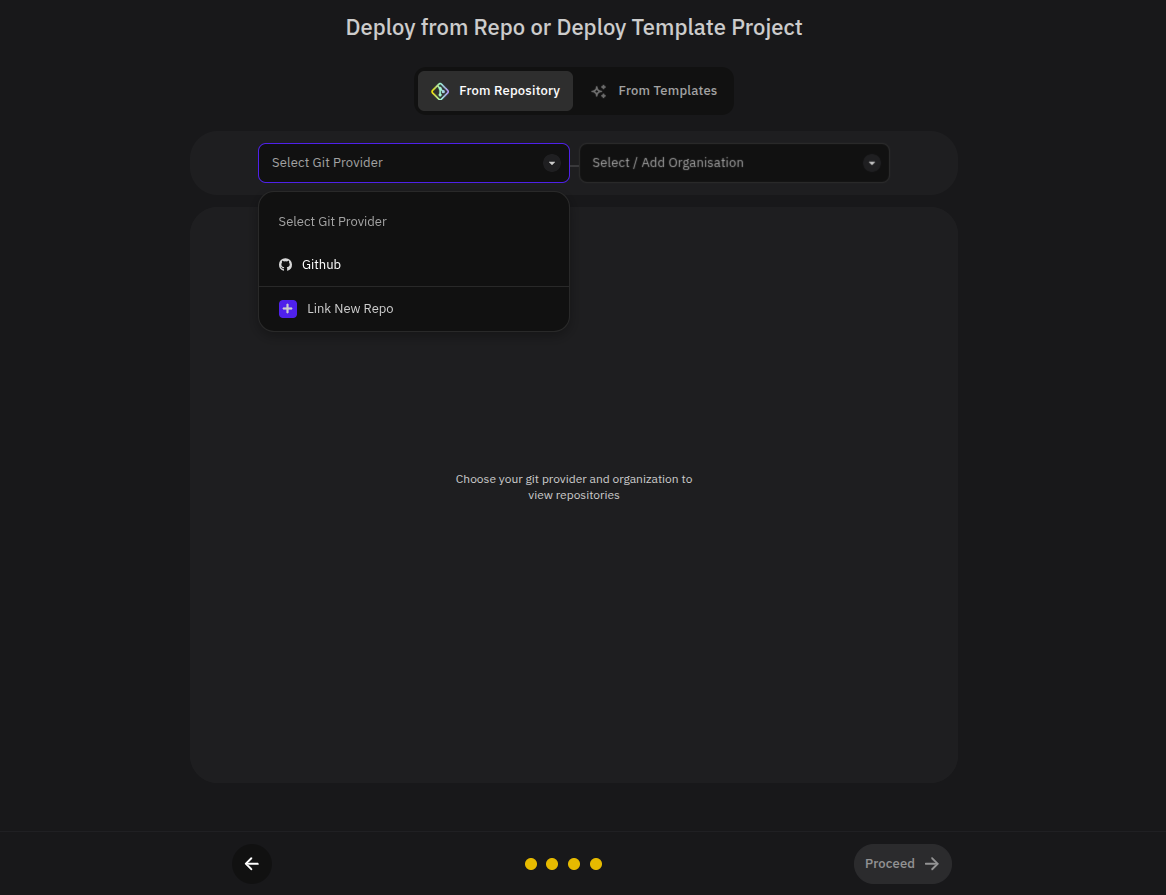
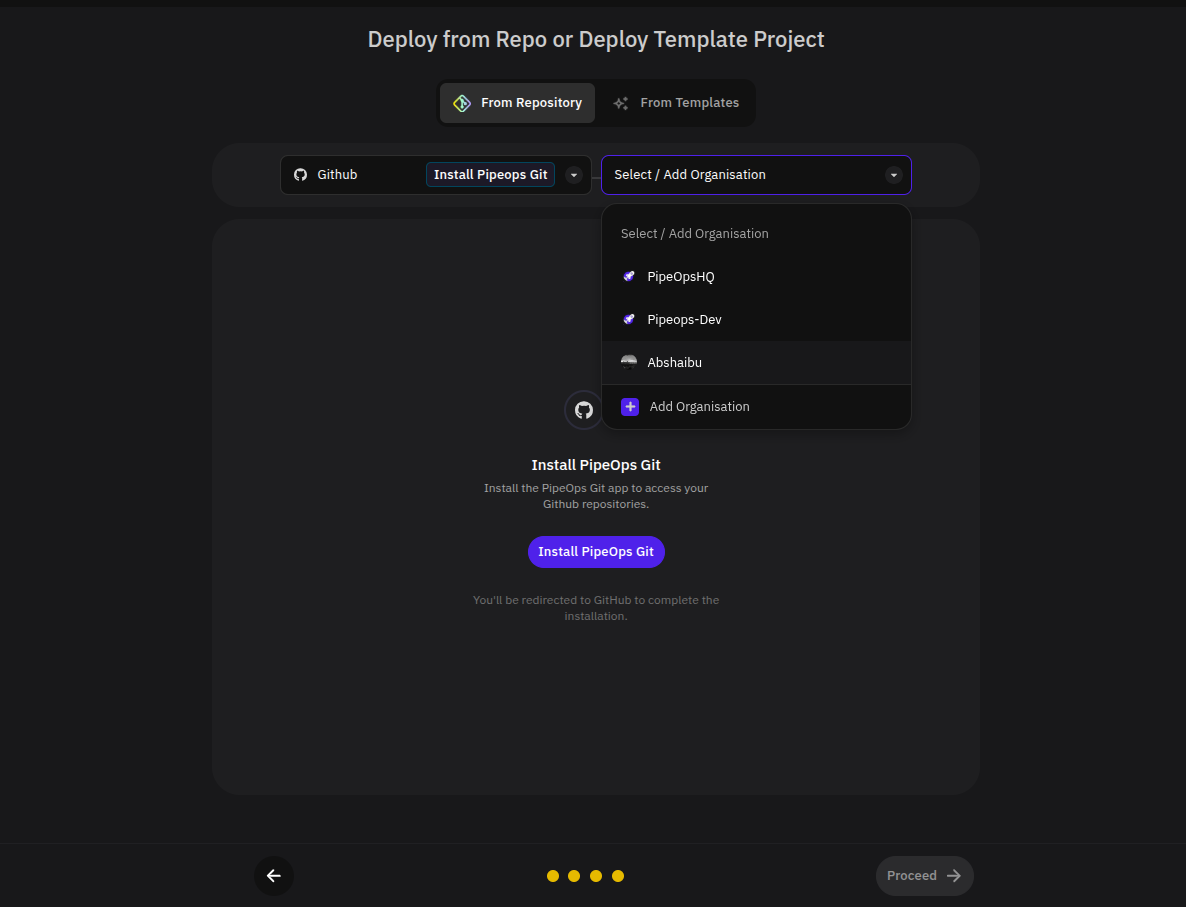
Step 6: Connect a Git Provider and Select a Source
On the project deployment page, select From Repository or From Templates.
To deploy from a repository, select your Git provider. If your repository is not connected yet, click Link New Repo and follow the prompts. Then select or add the organization that owns the repository. If prompted, install the PipeOps Git app to grant access to your repositories.
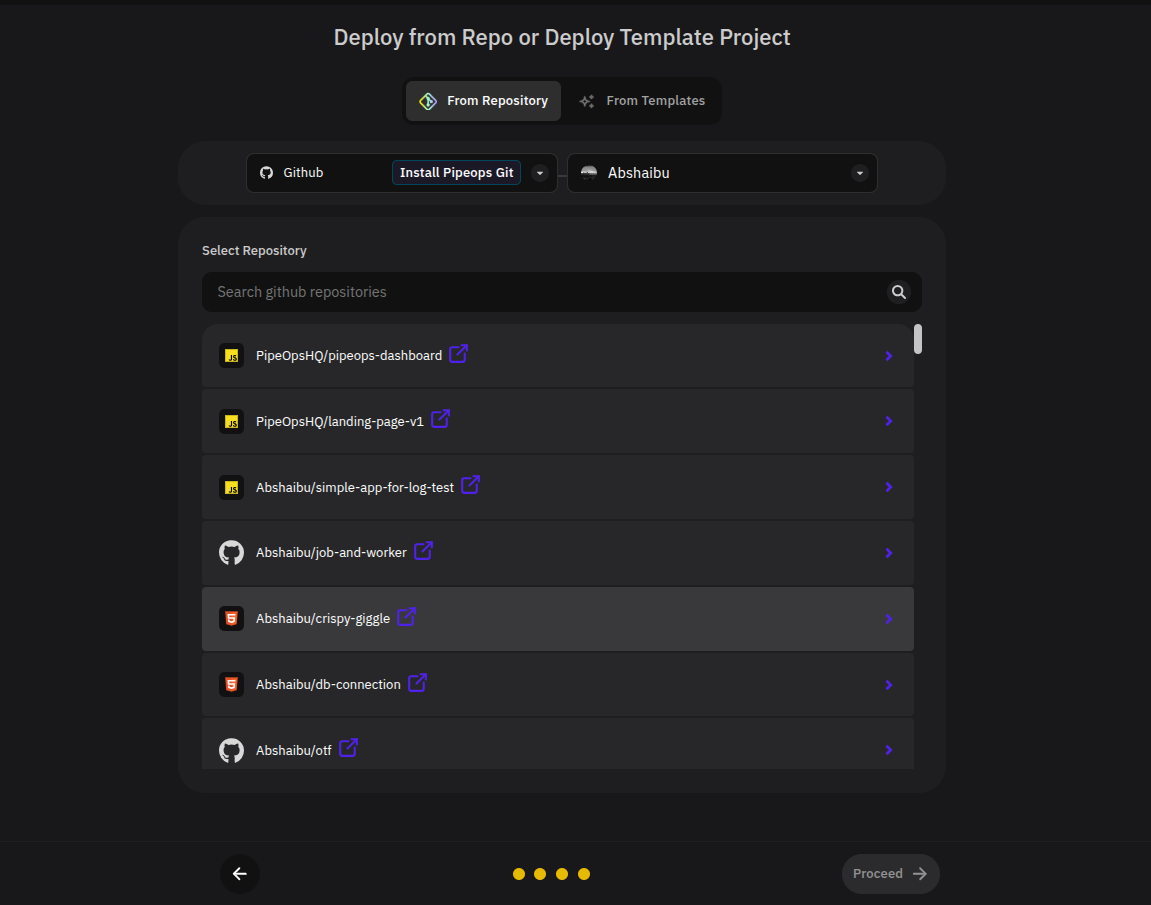
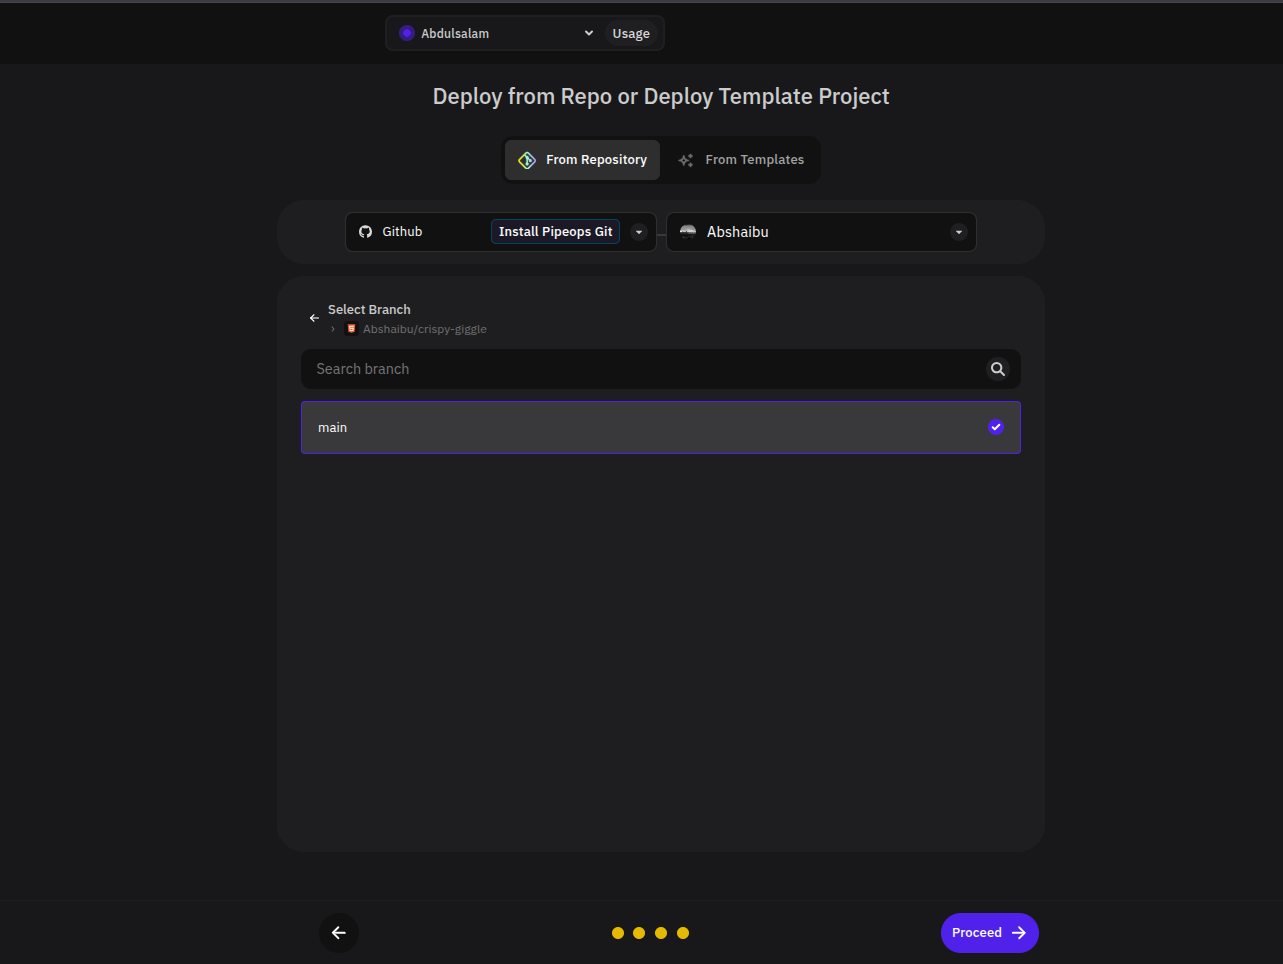
Step 7: Select a Repository and Branch
Choose the repository you want to deploy, then select the branch PipeOps should build from. Click Proceed.
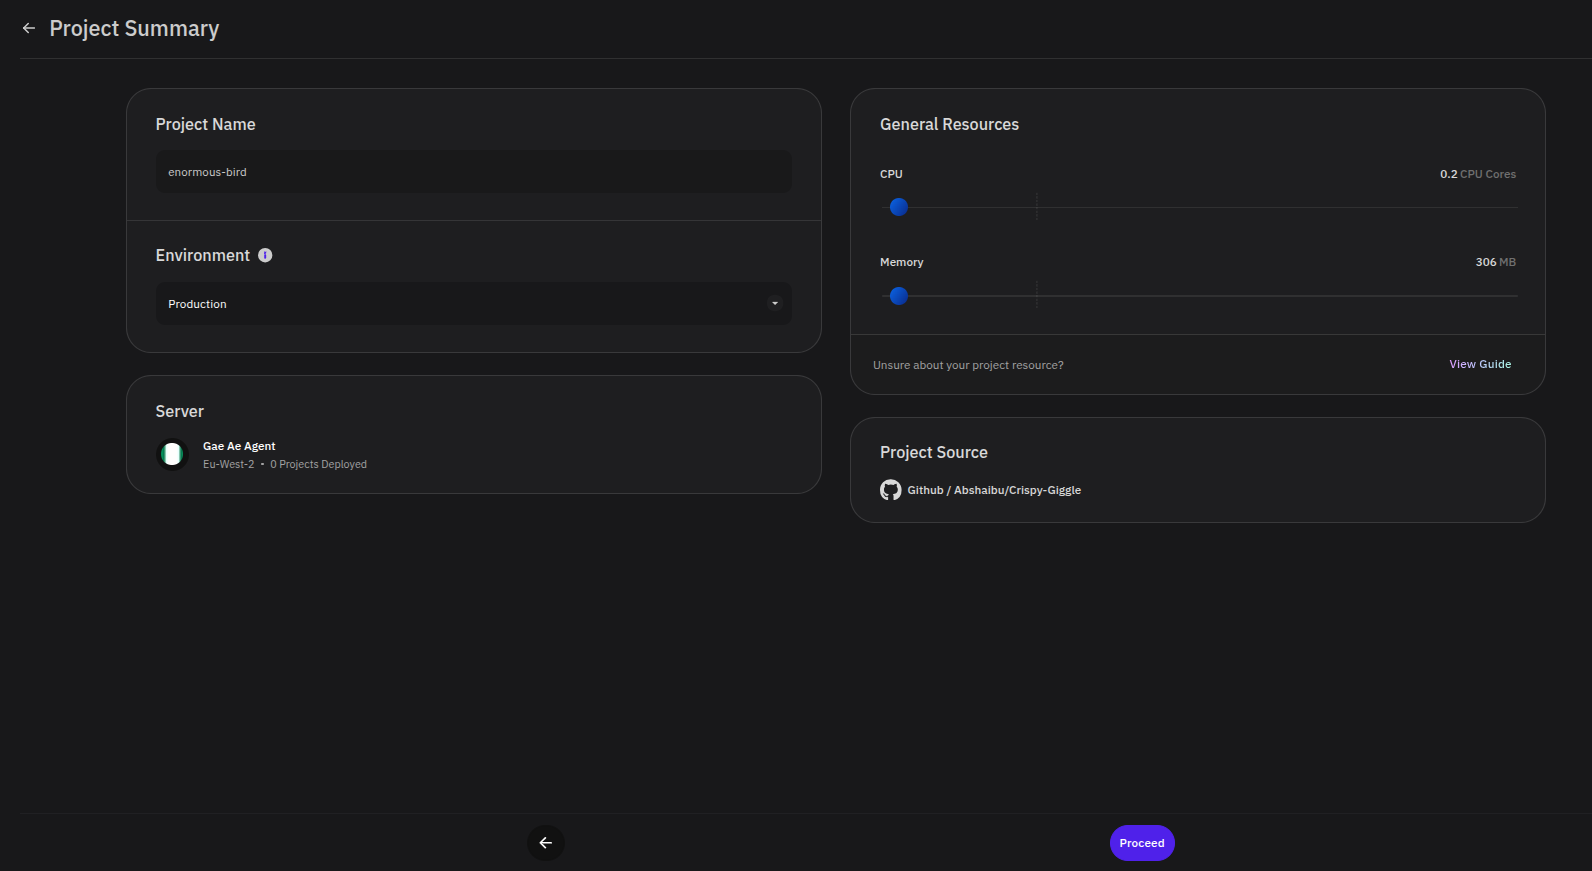
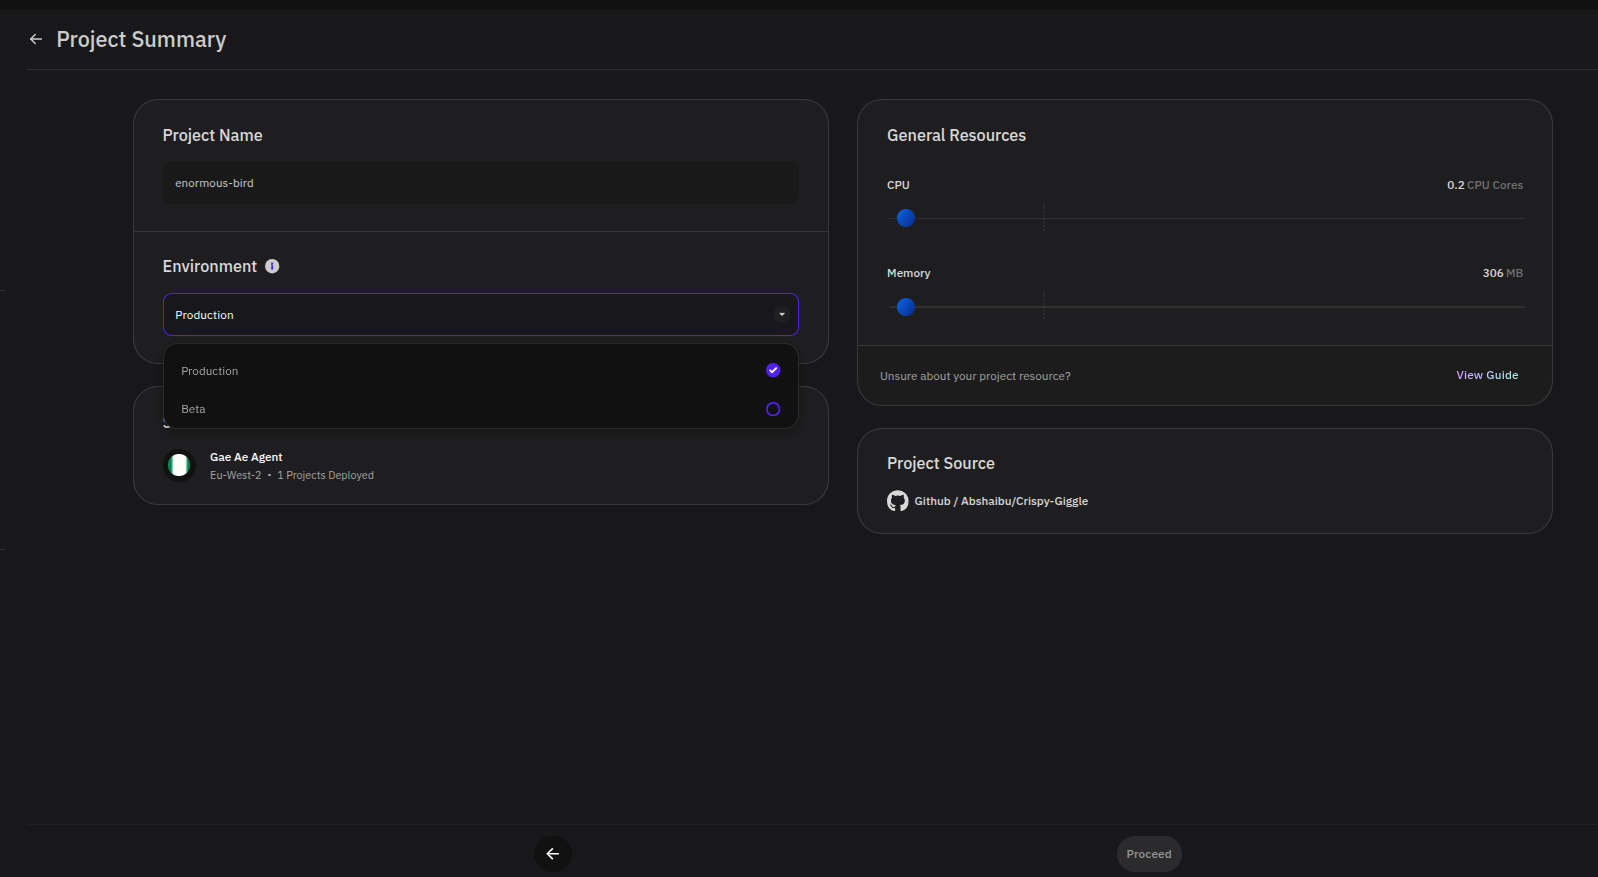
Step 8: Review the Project Summary
Before deploying, confirm your project configuration:
- Project name — update if needed
- Deployment environment — select from your available environments, or create a new one. PipeOps includes Production and Beta by default, but you can create additional environments up to the limit your plan allows
- Target server — the BYOS server registered in Step 5
- CPU and memory — adjust resource allocation as needed
- Project source — verify the correct repository and branch
Click Proceed when everything looks correct.
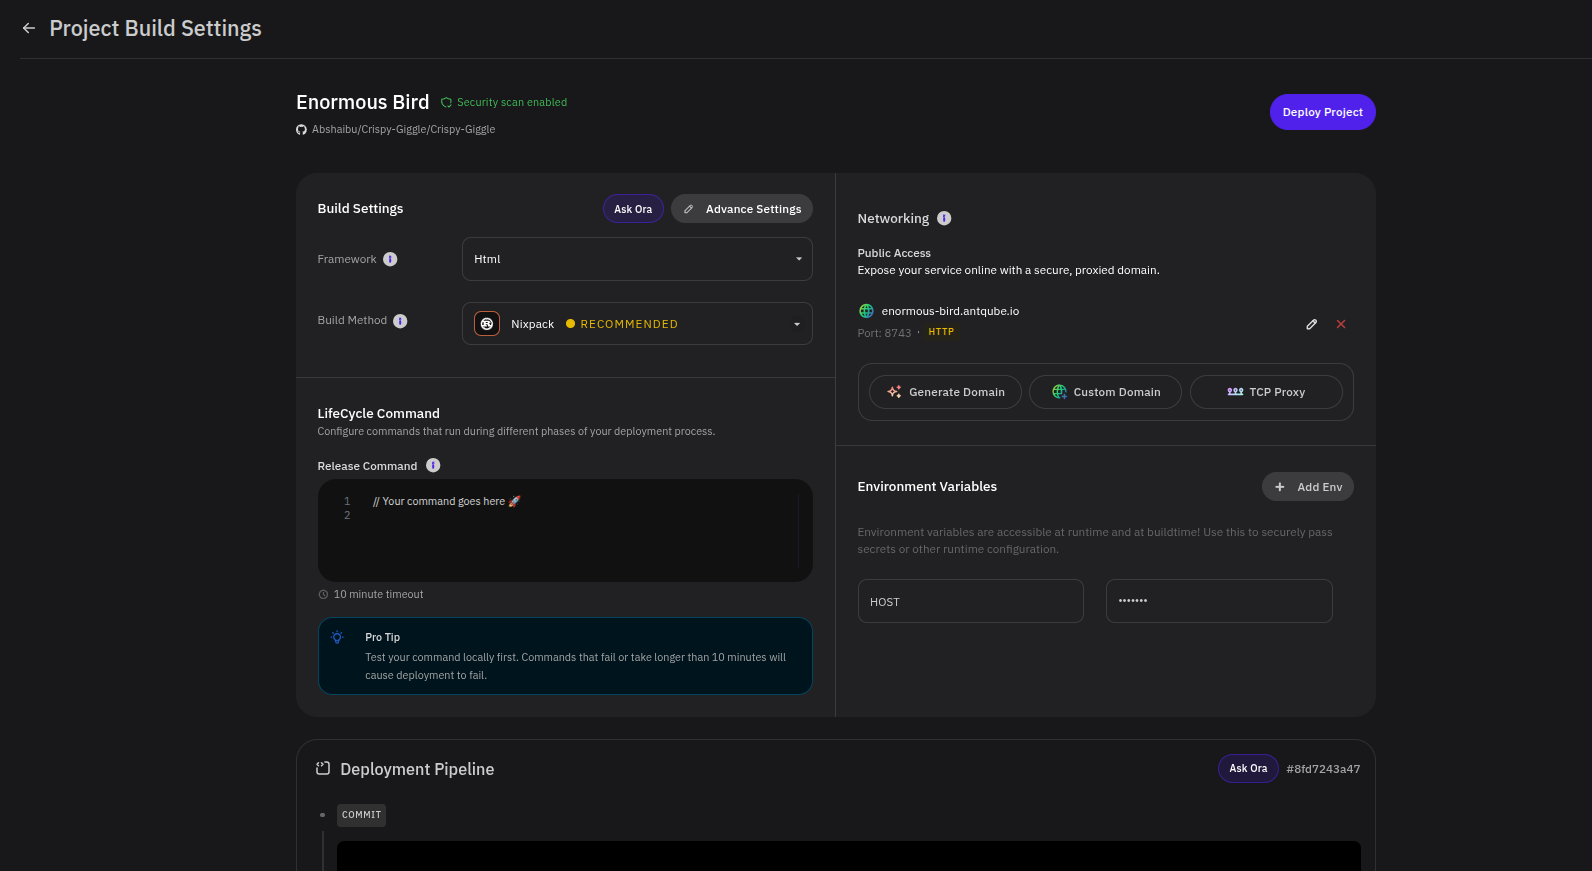
Step 9: Configure Build Settings
PipeOps detects your framework and recommends build settings automatically. Review and adjust the following before deploying:
- Build method and release command
- Networking — enable public access, configure generated or custom domains, or set up TCP proxy settings
- Environment variables — add any variables your application requires at runtime
Click Deploy Project to start the deployment.
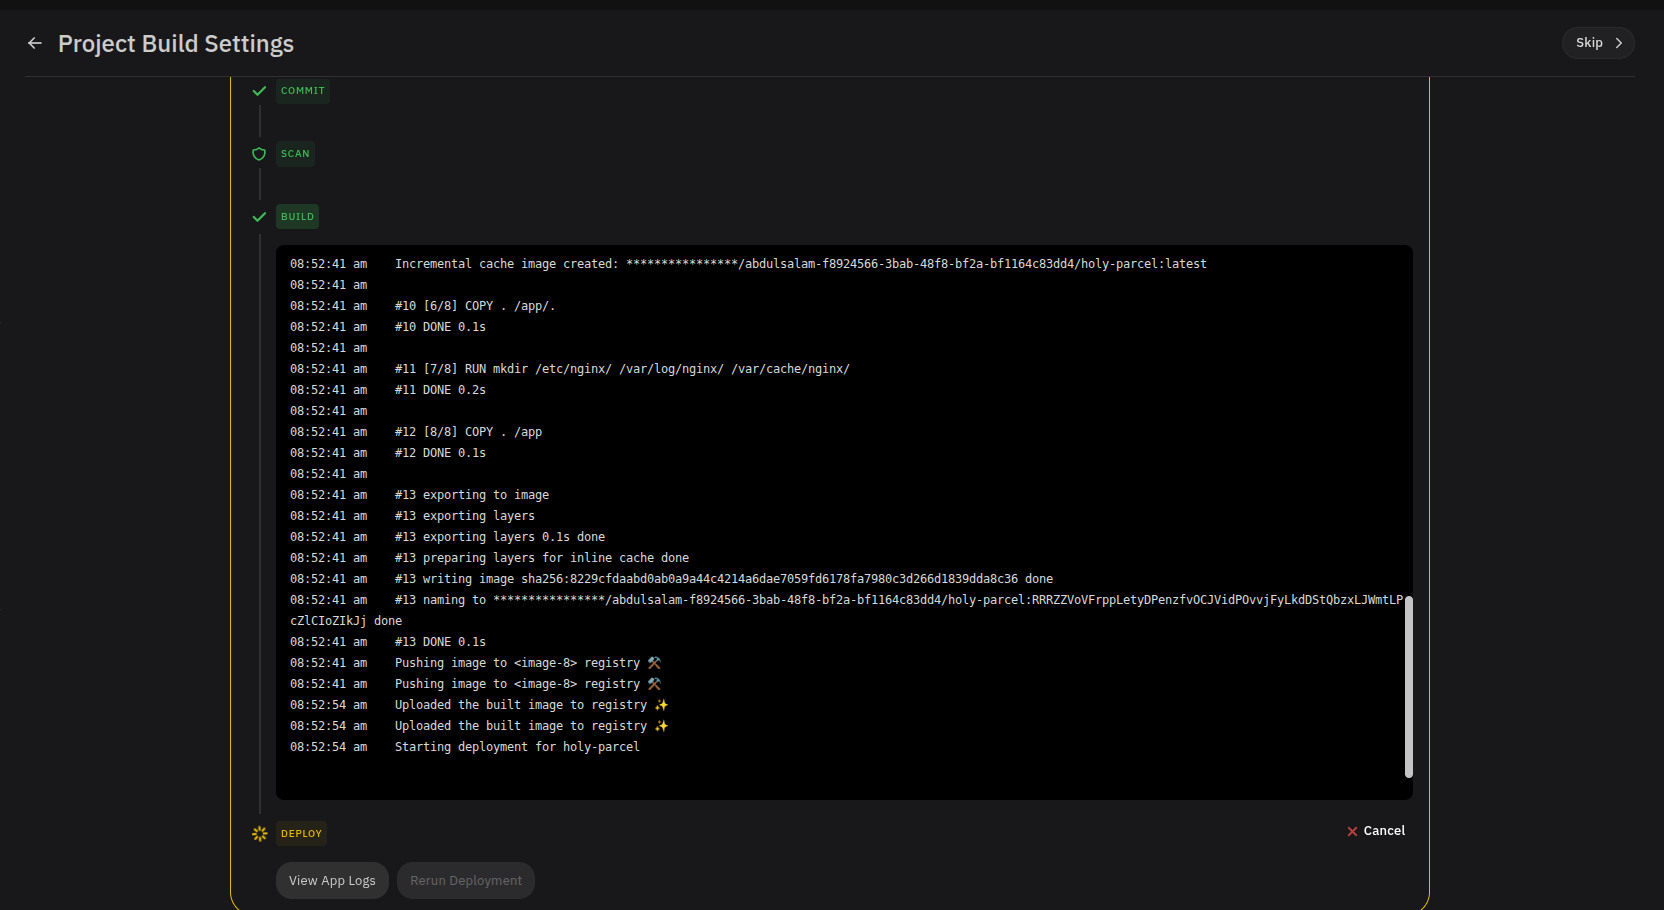
Step 10: Monitor the Deployment
Track progress in the deployment pipeline. Build logs and app logs update in real time so you can catch any issues as they happen.
Step 11: Deployment Complete
When the deployment succeeds, PipeOps confirms that your project is live.
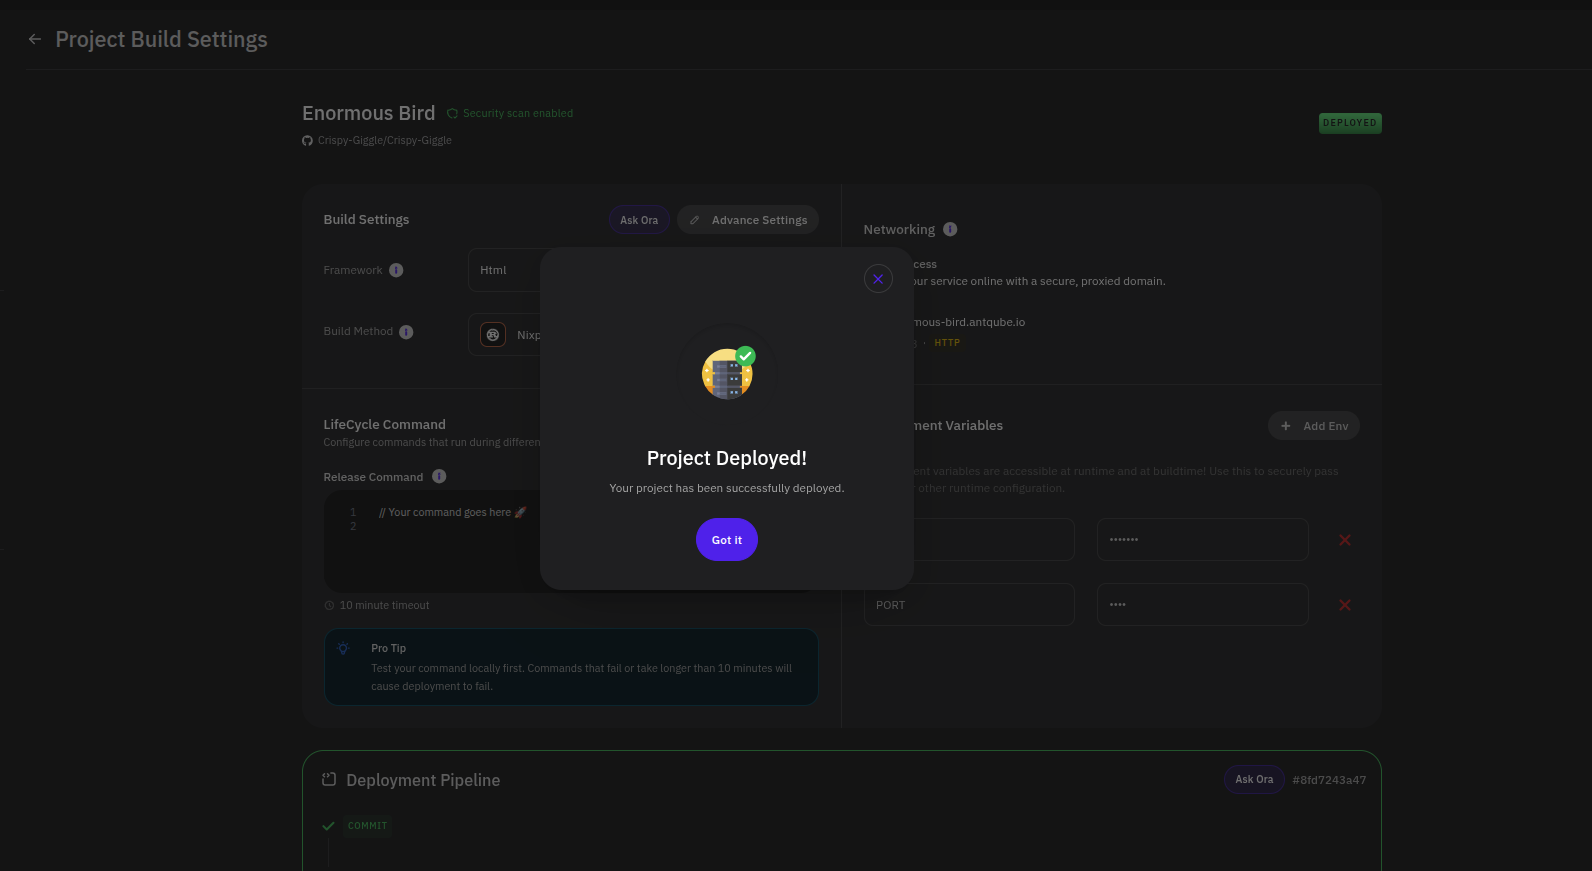
Your project is now running on your BYOS server. To manage environments, configure custom domains, or set up CI/CD triggers, see the Project Deployment guide.
Troubleshooting
Permission denied errors
Run the installation commands with sudo on Linux and WSL.
Connection timeouts
Check that your machine's firewall allows outbound connections to pipeops.dev.
For further help, see the agent documentation.