Deploying Go on PipeOps
To deploy Golang application, you must ensure that you are already Signed up on PipeOps and Signed into your PipeOps account. Use the following link to Sign Up and Sign In to PipeOps
Prerequisites:
-
Create a Workspace where the application will be deployed. You can follow the guide on how to create a Workspace here. If you already have an existing workspace you can use it
-
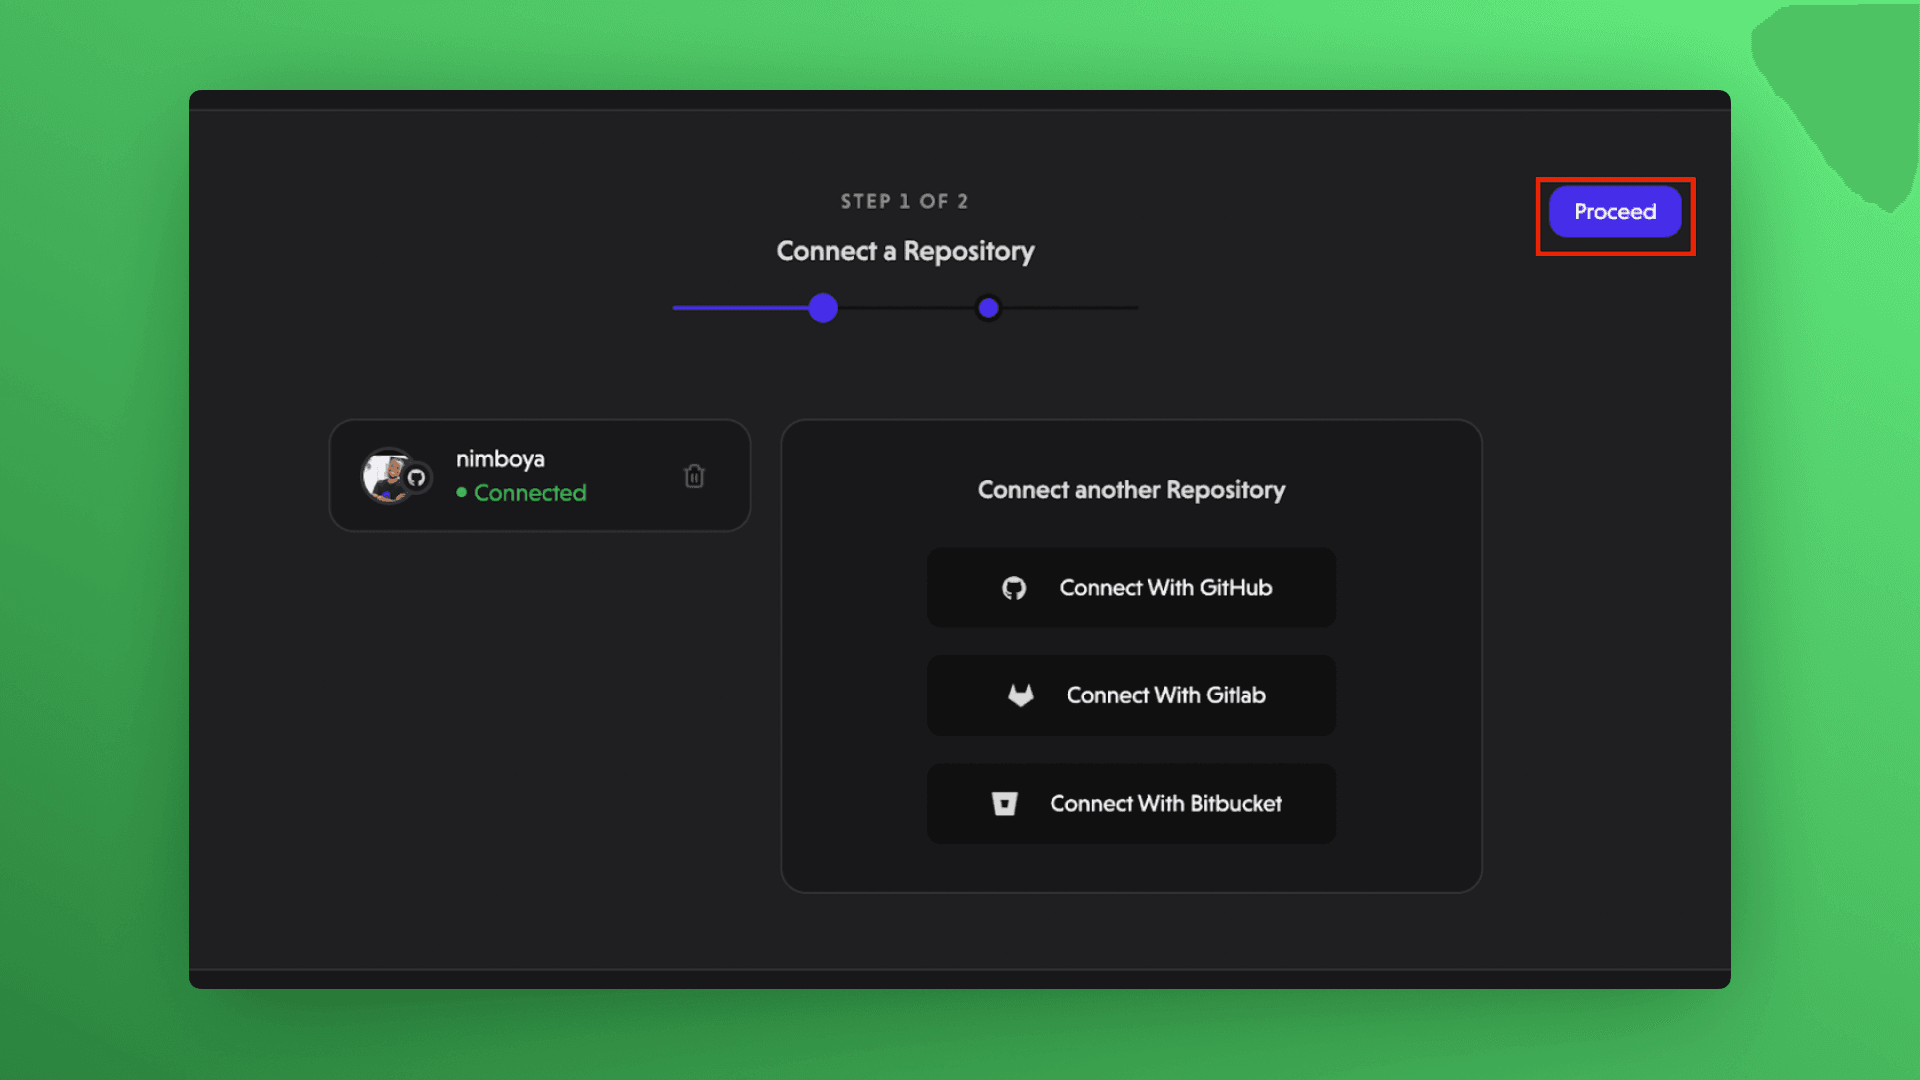
Ensure the Git (Github, Gitlab, Bitbucket) integration is done, so that PipeOps can retrieve the repositories.
-
The source code is available on the Git repository.
-
Click on the “Proceed” button to access the repository you have configured access to
-
For this example, we shall test with the template project provided, which is on the right pane of the screen. Select Pipeops Golang.
 This will lead to the next stage of configuring the deployment.
 -
PipeOps automatically generates a name for the project to be deployed (which can be edited later, see: How to Edit a Project Name). Configures a default server and environment for the project deployment.
 Click Proceed to continue to the next stage
 -
In the next stage, we shall select the Framework we are building with, and the Build method, in this case we shall choose Go and Paketo Buildpack respectively.
 Click the Deploy Project button to start the build and deploy the project.
 -
PipeOps will start the build and deployment process, and show the logs of the build and deployment process, to enable tracking of the process.

-
When the deployment is done, you get a notification stating that the deployment is complete and successful
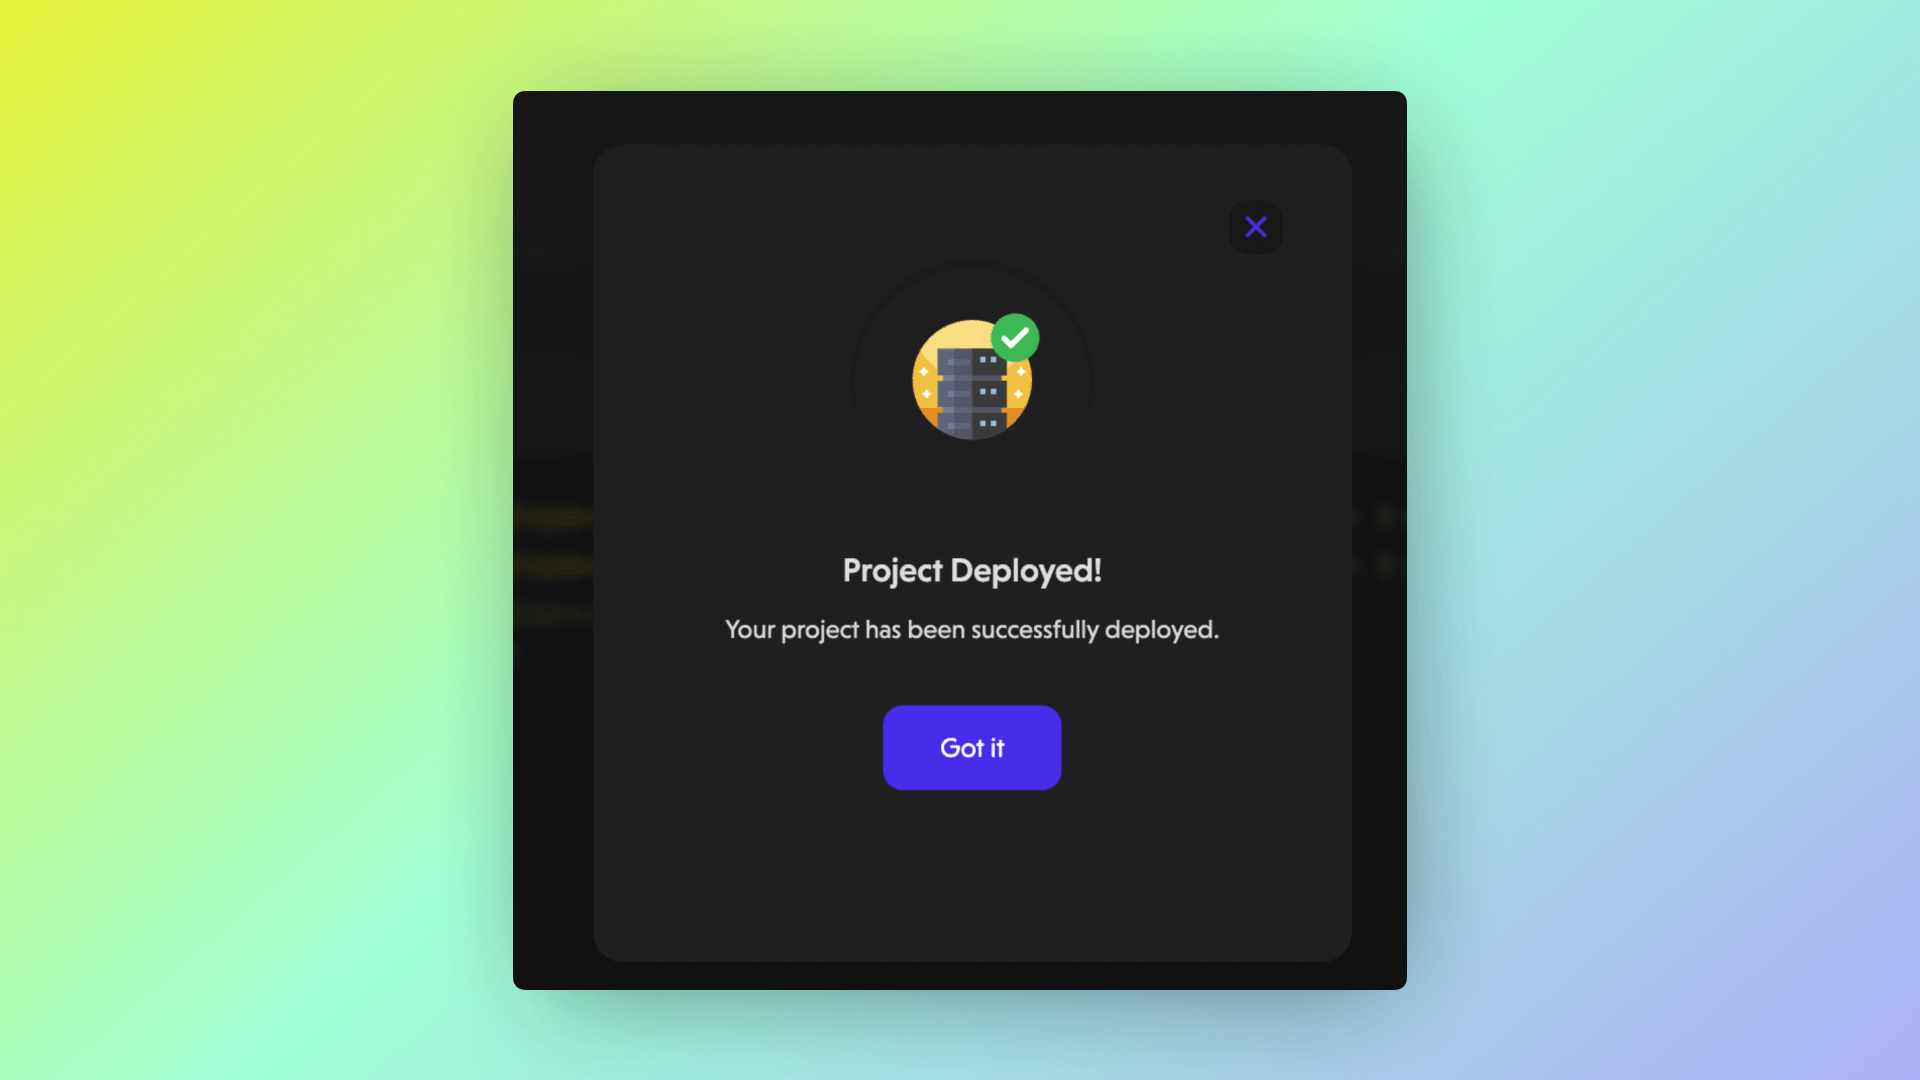 Click the Got it button to return to the project
 -
In returning to the project, we can see all the details of the project that has been configured, and some added information that tells us the status of the project.
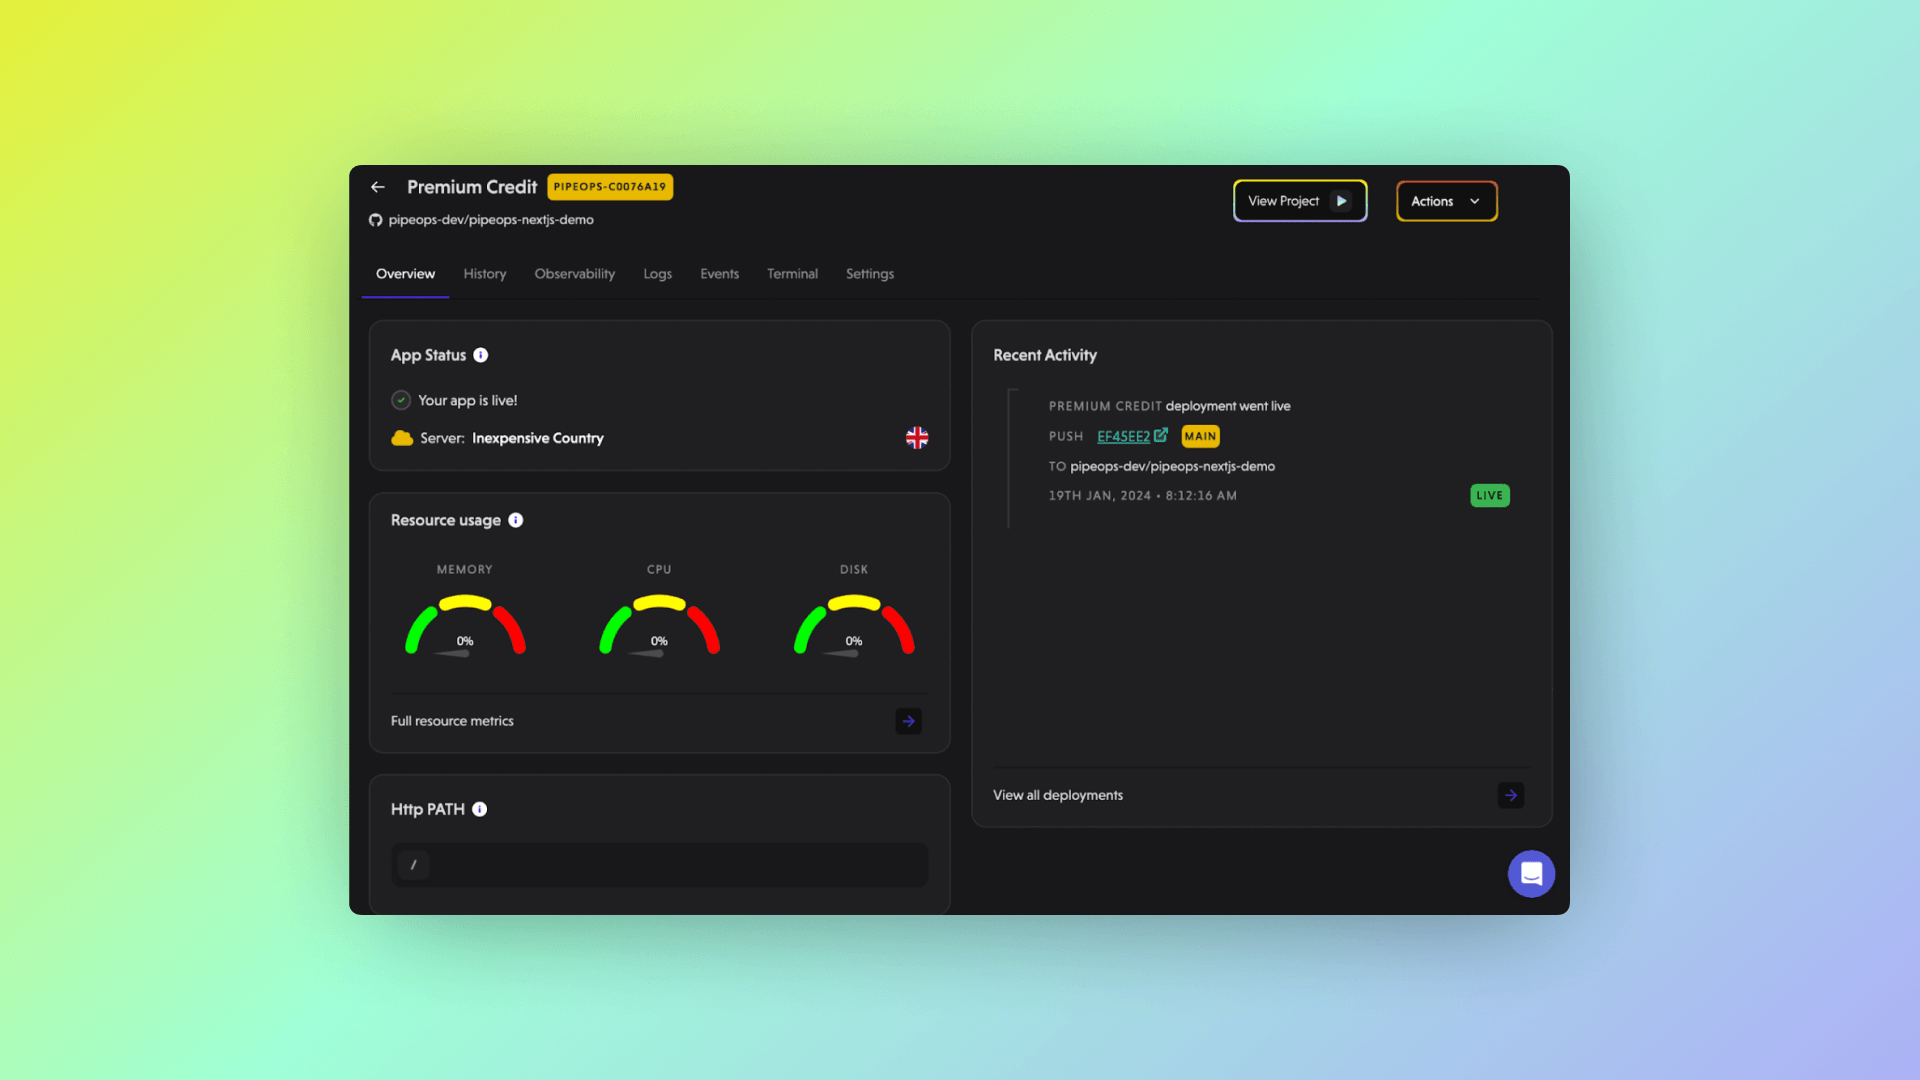
There are various; History, Metrics, Logs, Events, Terminal and Settings are used to monitor, observe, debug and re-configure the project.
-
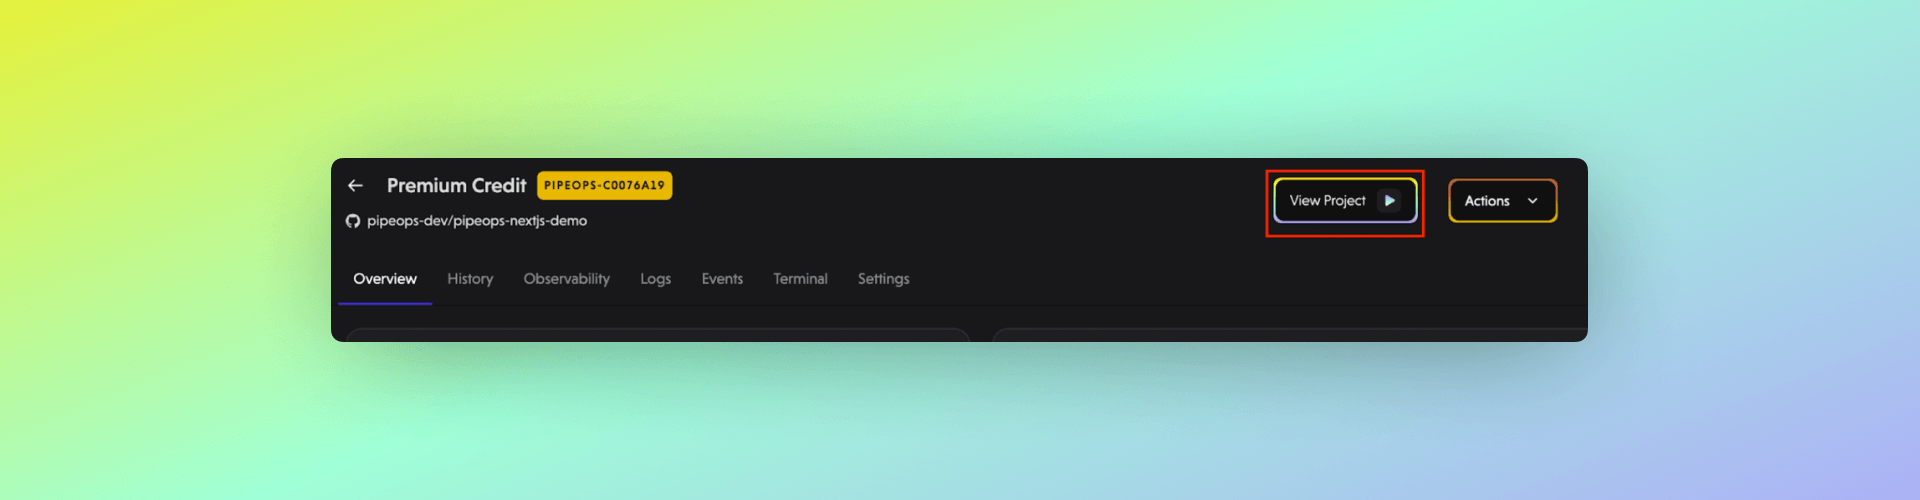
To view the application that was deployed, click the View Project link.
-
This will automatically launch the application on a new tab
-
This setup has some basic configurations applied by default
- Application Network Port
- Network Access Port ([Environment Variable])
- Single Replica with 0.1 CPU and 212MB RAM ([Scaling and Replication])
- Auto Deploy a branch when a code change is checked-in.
To delete a project, use the Delete Project guide here.