Project Actions
The Actions menu is available in the top-right corner of any project page and provides controls for managing your project's deployment lifecycle. Click the Actions button to reveal the available options.
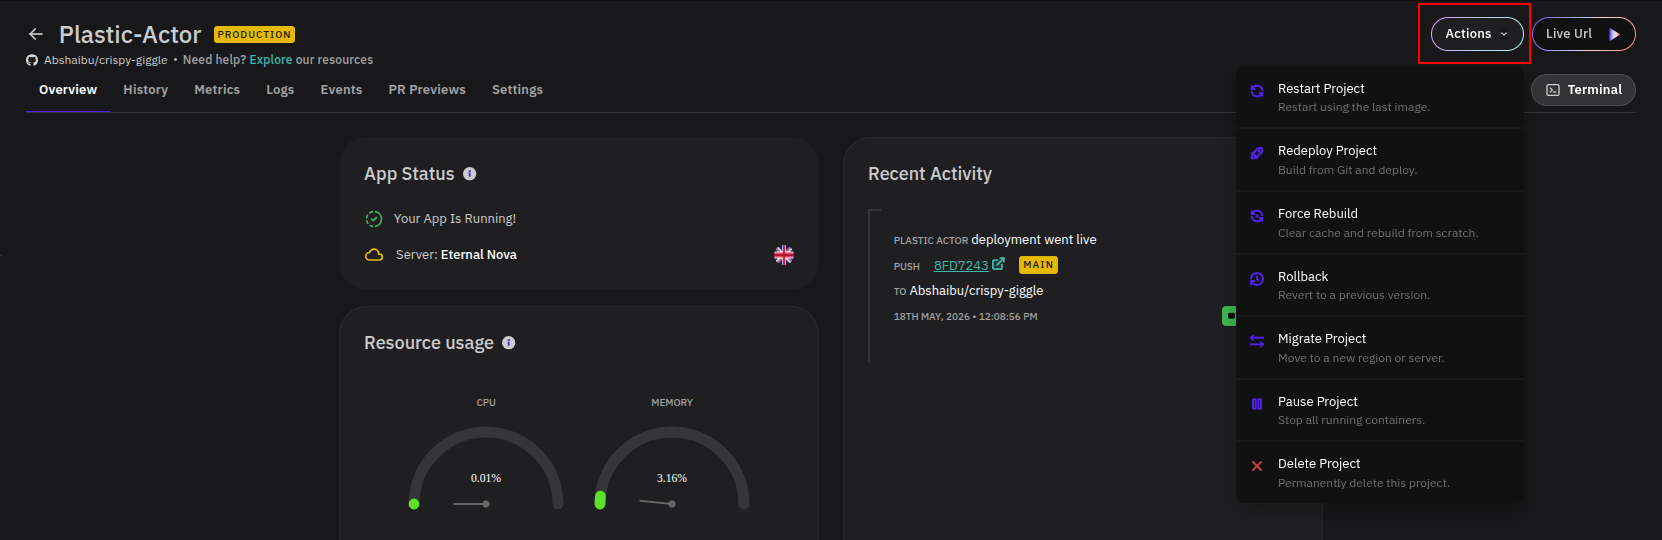
Restart Project
Restarts the application using the last deployed image without triggering a new build. Use this for a quick recovery when your application becomes unresponsive but no code changes are needed.
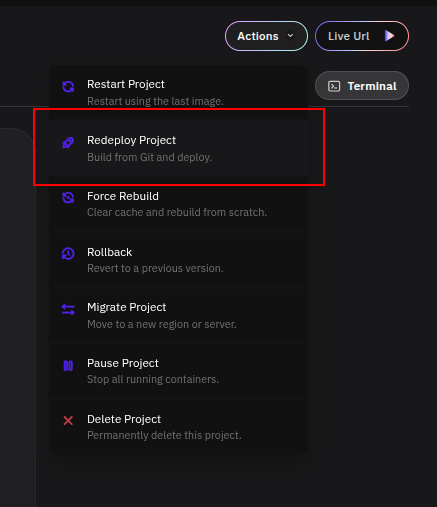
Redeploy Project
Pulls the latest code from the connected Git repository, builds it, and deploys it. Use this to roll out new commits or configuration changes.
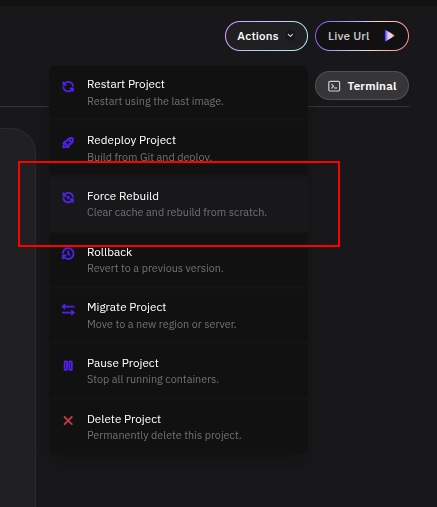
Force Rebuild
Clears the build cache and rebuilds the project from scratch before deploying. Use this when a standard redeploy is not picking up dependency changes or when a clean build is required to resolve build inconsistencies.
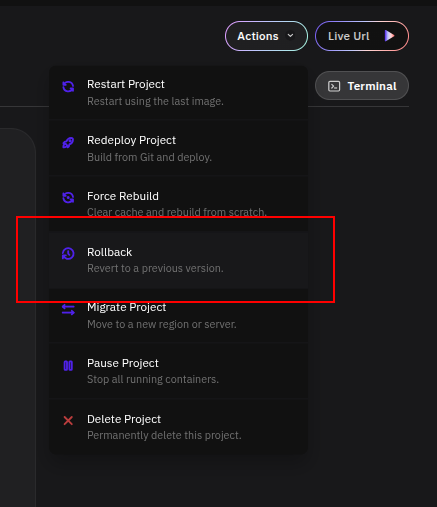
Rollback
Reverts the application to a previously deployed version. Useful for quickly recovering from a bad deployment without waiting for a new build.
For a full walkthrough, see the Rollback guide.
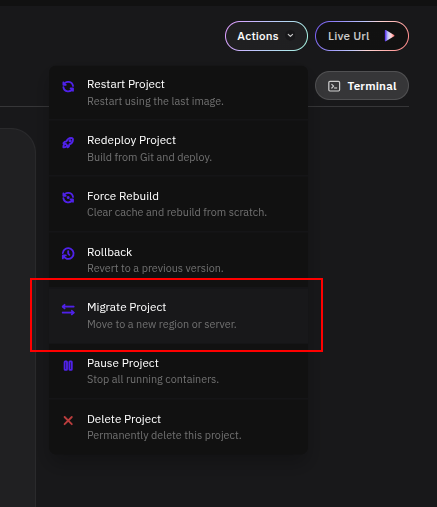
Migrate Project
Moves the project to a different server or region. Use this to change your infrastructure without recreating the project from scratch.
For a full walkthrough, see the Migration guide.
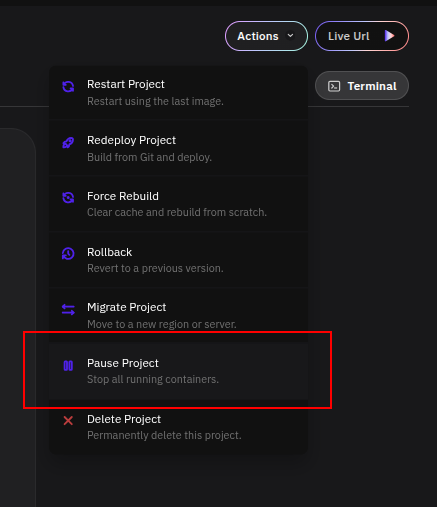
Pause Project
Stops all running containers without deleting the project or its configuration. Use this to suspend the application during periods of inactivity or to reduce resource usage while performing maintenance.
Delete Project
Permanently removes the project and all its associated resources from PipeOps. A confirmation modal will prompt you to type the project name before deletion can proceed.
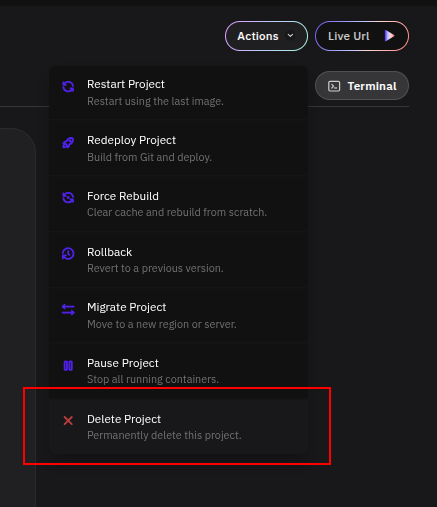
This action is irreversible. Ensure you have backed up any necessary data before confirming deletion.