Customizing Your PipeOps Default Domain Name
When you deploy your application on PipeOps, it comes with a randomly generated project name, such as familiar-team-thoughtless.pipeops.app. But wouldn't it be great to have a custom and memorable domain like https://shopmart.pipeops.app? With PipeOps, you can easily set a unique domain for your project.
Steps to Customize Your PipeOps Default Domain
Follow these simple steps to set a custom PipeOps name for your project:
-
Navigate to Your Project
- Log in to your PipeOps dashboard and select the project for which you want to change the domain name.
-
Access Project Settings
- Click on the
Settingstab of your project.
- Click on the
-
Open General Settings
- From the settings menu, select
General Settings.
- From the settings menu, select
-
Rename Your Project
- Enter your desired name.

- Enter your desired name.
-
Save and Redeploy
- Save your changes and wait for the project to redeploy with the new name.
Custom Domain Name
PipeOps also allows you to set a custom domain name (e.g., yourcompany.com) for your application. This makes it easy to access your application from a user-friendly web address. Your custom domain name will direct traffic to your deployment's HTTPS load balancer endpoint.
Follow these steps to set a custom web address:
-
Navigate to your project and click on the "Settings" tab.
-
From the settings menu, select
Domains.
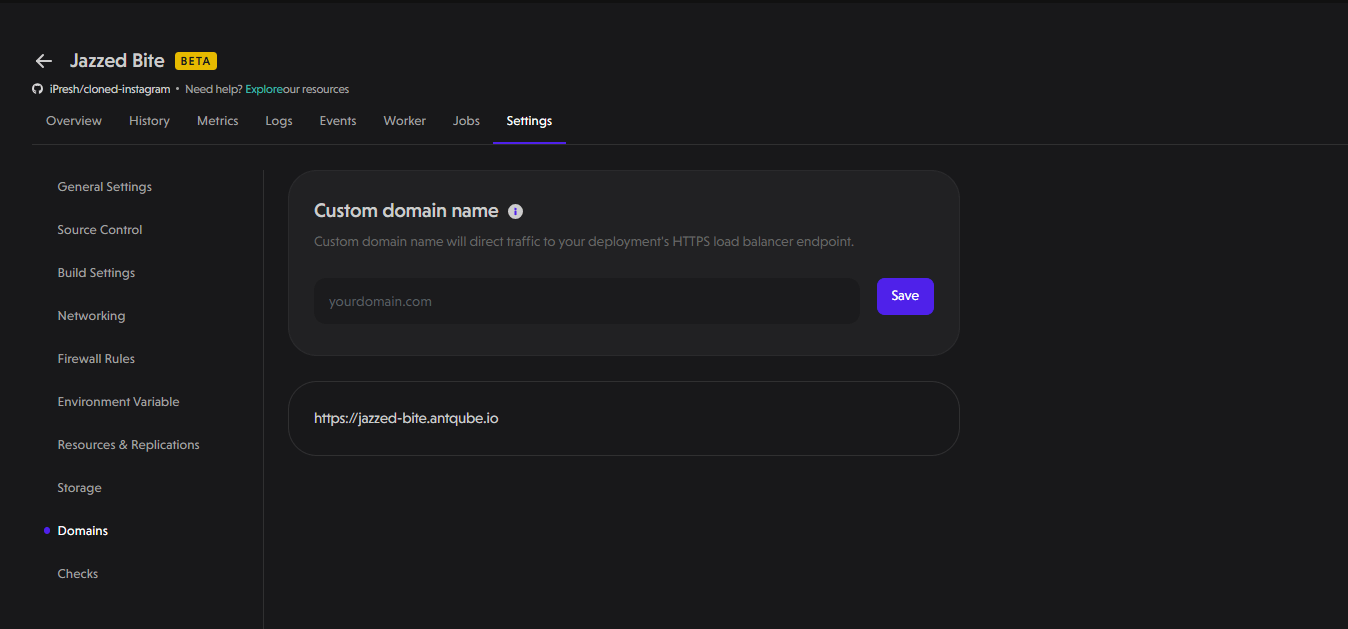
- Enter your custom web address and click "Save".
Conclusion
That's it! Now your project is accessible via your personalized URL. Enjoy the convenience and branding benefits of having a custom domain for your PipeOps project.