Workers and Jobs
The Worker and Jobs tabs let you run background processes and scheduled tasks alongside your main application. Workers handle long-running or asynchronous processes, while Jobs run commands on a defined schedule.
Workers
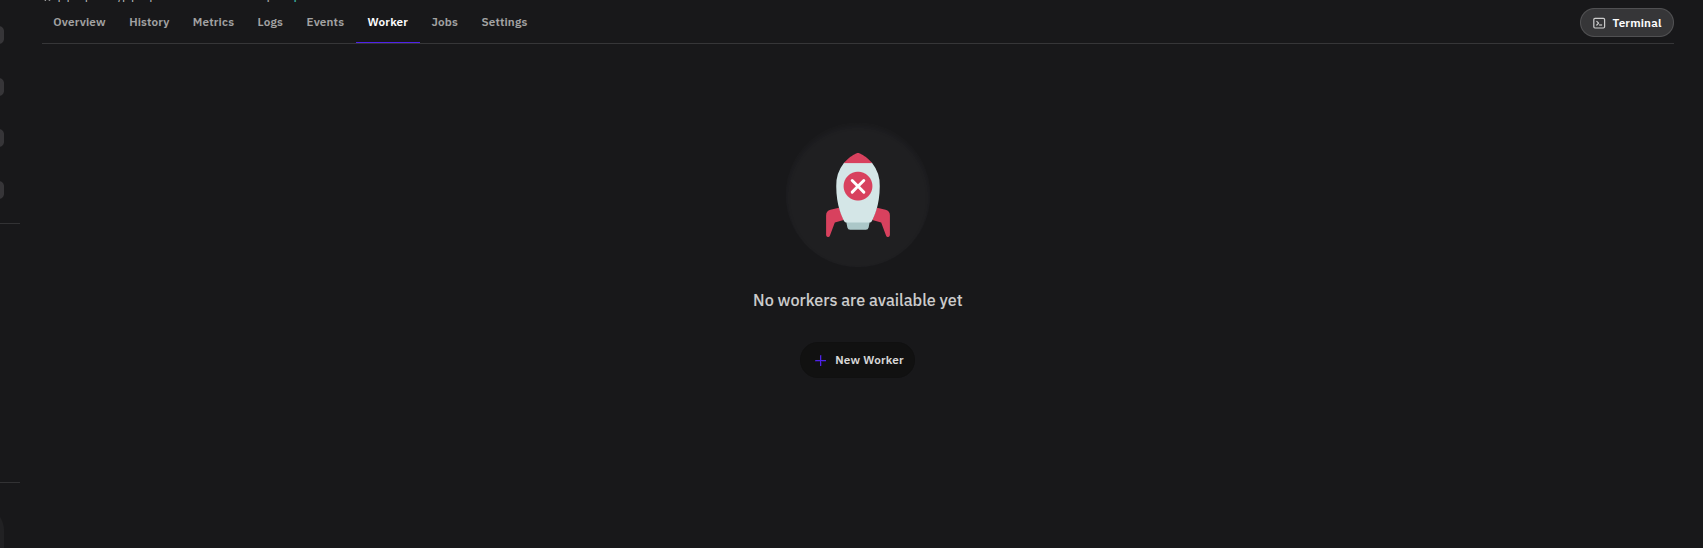
Navigate to your project and click the Worker tab. If no workers exist yet, you'll see a No workers are available yet message.
Creating a Worker
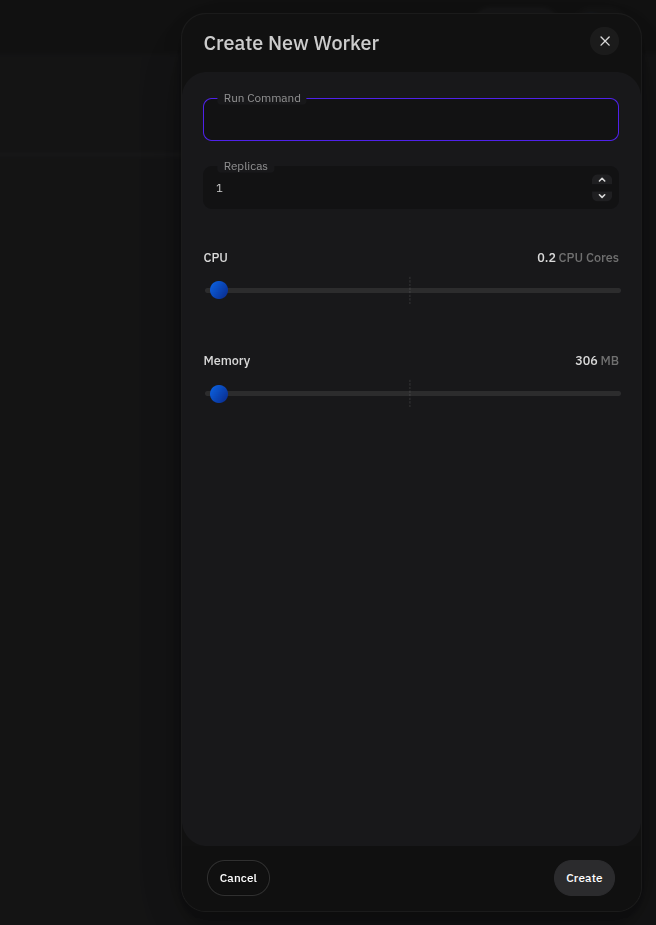
- Click + New Worker.
- A panel opens with the following fields:
| Field | Description |
|---|---|
| Run Command | The shell command the worker will execute (e.g. npm run start). |
| Replicas | The number of concurrent worker instances to run. |
| CPU | CPU cores allocated to each worker instance. |
| Memory | Memory allocated to each worker instance (in MB). |
- Click Create to deploy the worker.
Managing Workers
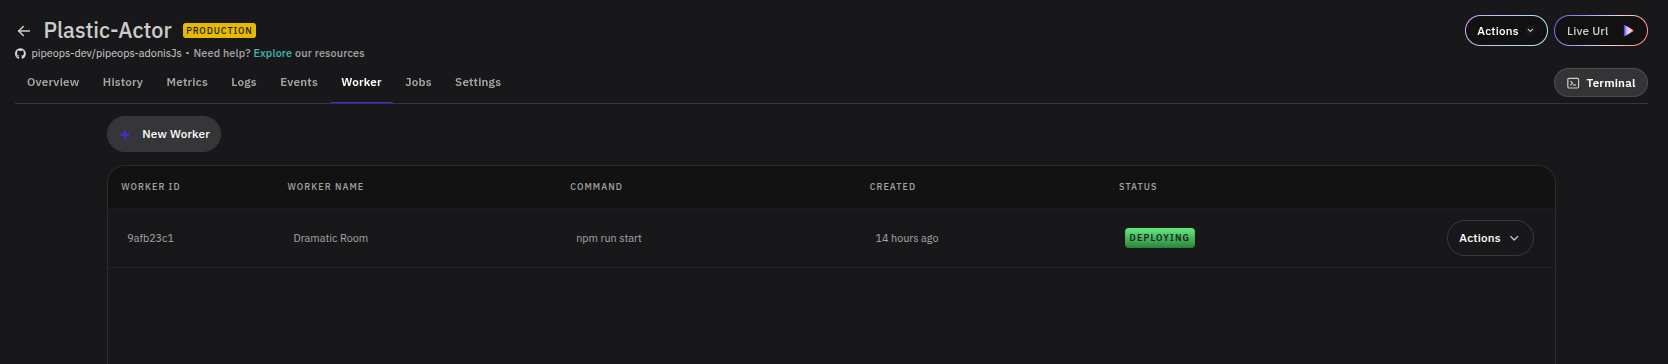
Once created, each worker appears as a row in the workers table with the following columns: Worker ID, Worker Name, Command, Created, and Status.
Click the Actions button on any row to access the following options:
| Action | Description |
|---|---|
| Edit | Update the worker's run command, replicas, or resource allocation. |
| View Logs | Open the log output for the worker. |
| Delete | Permanently remove the worker. |
Jobs
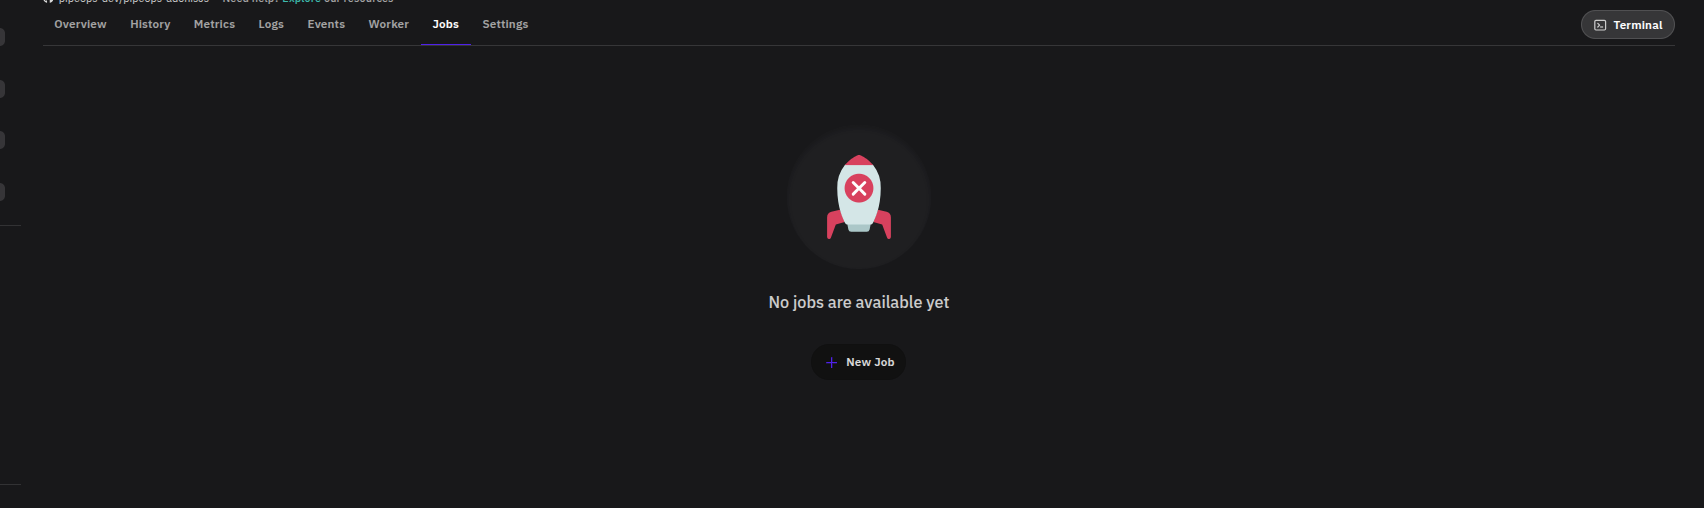
Navigate to your project and click the Jobs tab. If no jobs exist yet, you'll see a No jobs are available yet message.
Creating a Job
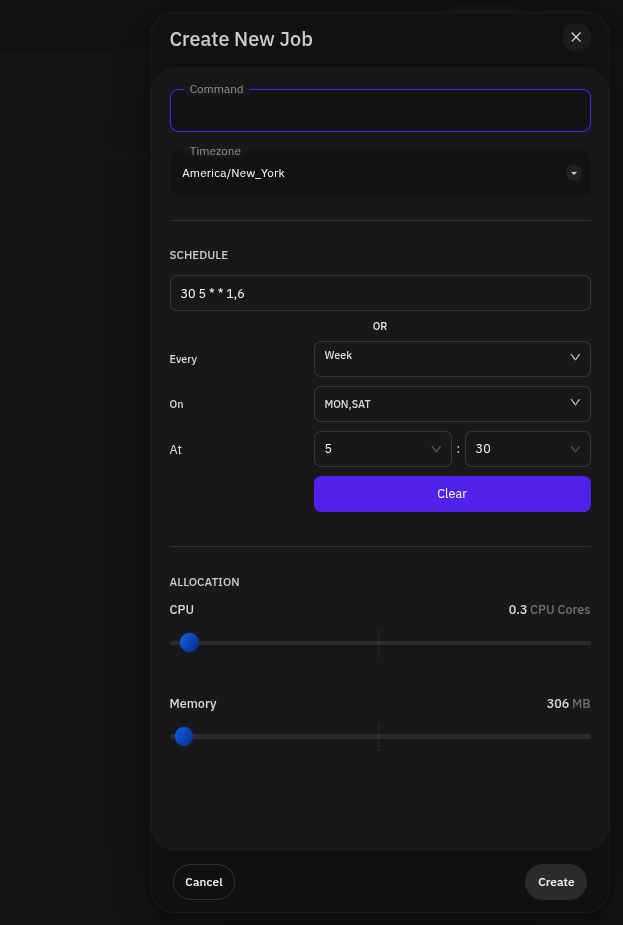
- Click + New Job.
- A panel opens with the following fields:
| Field | Description |
|---|---|
| Command | The shell command to run on each execution (e.g. npm audit). |
| Timezone | The timezone used to evaluate the schedule. |
| Schedule | Define when the job runs — either as a cron expression or using the visual builder. |
| CPU | CPU cores allocated to the job. |
| Memory | Memory allocated to the job (in MB). |
Schedule options:
- Cron expression — Enter a cron string directly (e.g.
30 5 * * 1,6runs at 5:30 AM every Monday and Saturday). - Visual builder — Use the Every, On, and At dropdowns to build the schedule without writing cron syntax. Click Clear to reset the visual builder.
- Click Create to deploy the job.
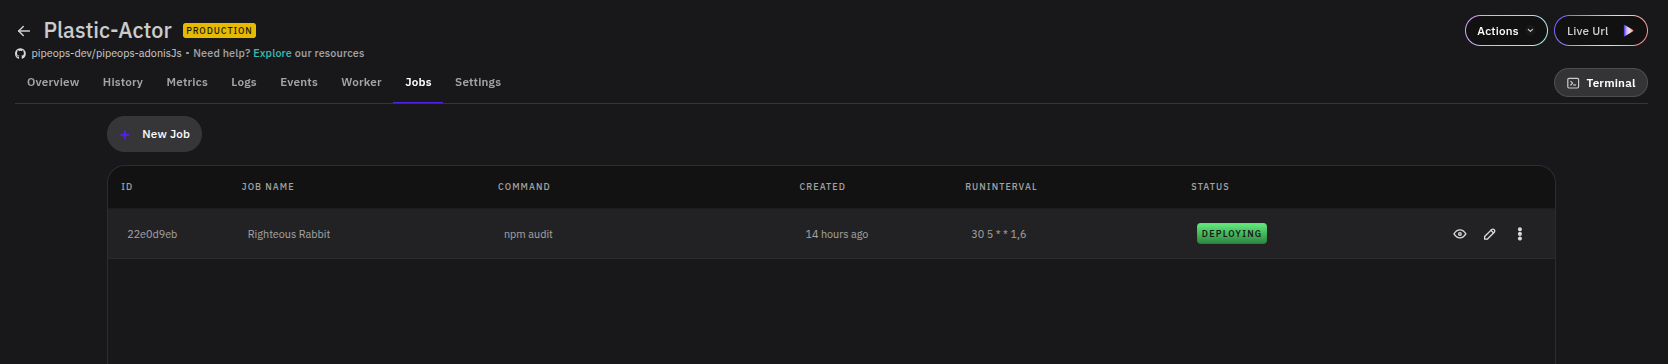
Managing Jobs
Once created, each job appears as a row in the jobs table with the following columns: ID, Job Name, Command, Created, RunInterval, and Status.
Each row provides three inline controls:
| Control | Description |
|---|---|
| View logs icon | Opens the log output for the job. |
| Edit icon | Update the job's command, schedule, or resource allocation. |
| ⋯ menu | Expands to reveal Pause (temporarily suspend the job) and Delete (permanently remove it). |