Project Terminal
The Terminal gives you direct shell access to your project's container without leaving the PipeOps dashboard. Use it to inspect files, check running processes, monitor resource usage, and perform administrative tasks.
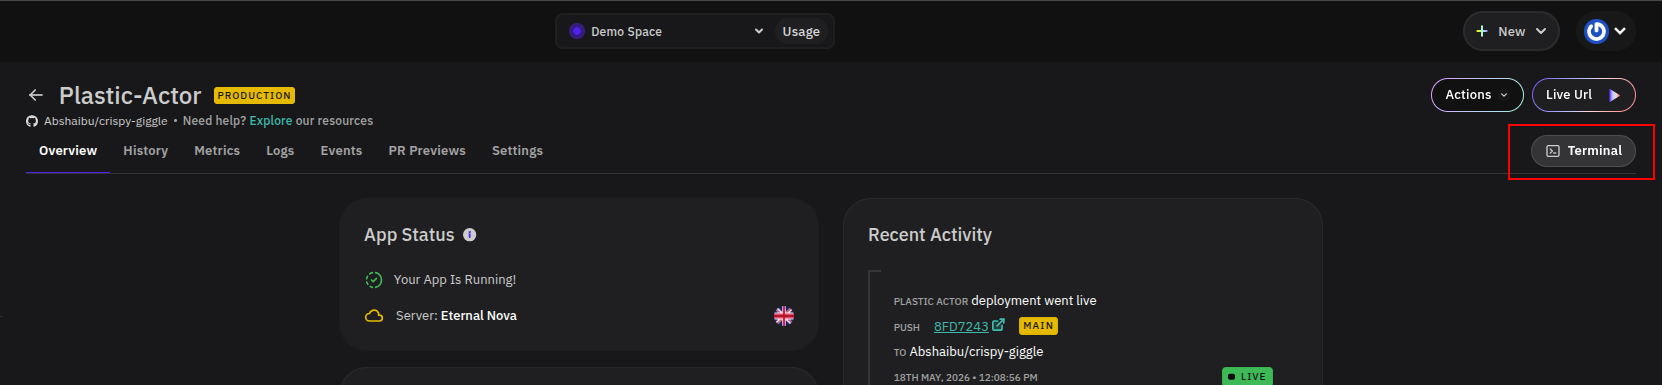
Opening the Terminal
The Terminal button is available in the top-right corner of any project page, regardless of which tab is active. Click it to open the terminal as an overlay panel.
Once open, you'll see a welcome message confirming which pod you're connected to:
Welcome to PipeOps terminal!
Connecting to pod: snowy-pond-eternal-nova-production-0
A green Interactive Terminal indicator in the bottom-right corner of the panel confirms the session is active.
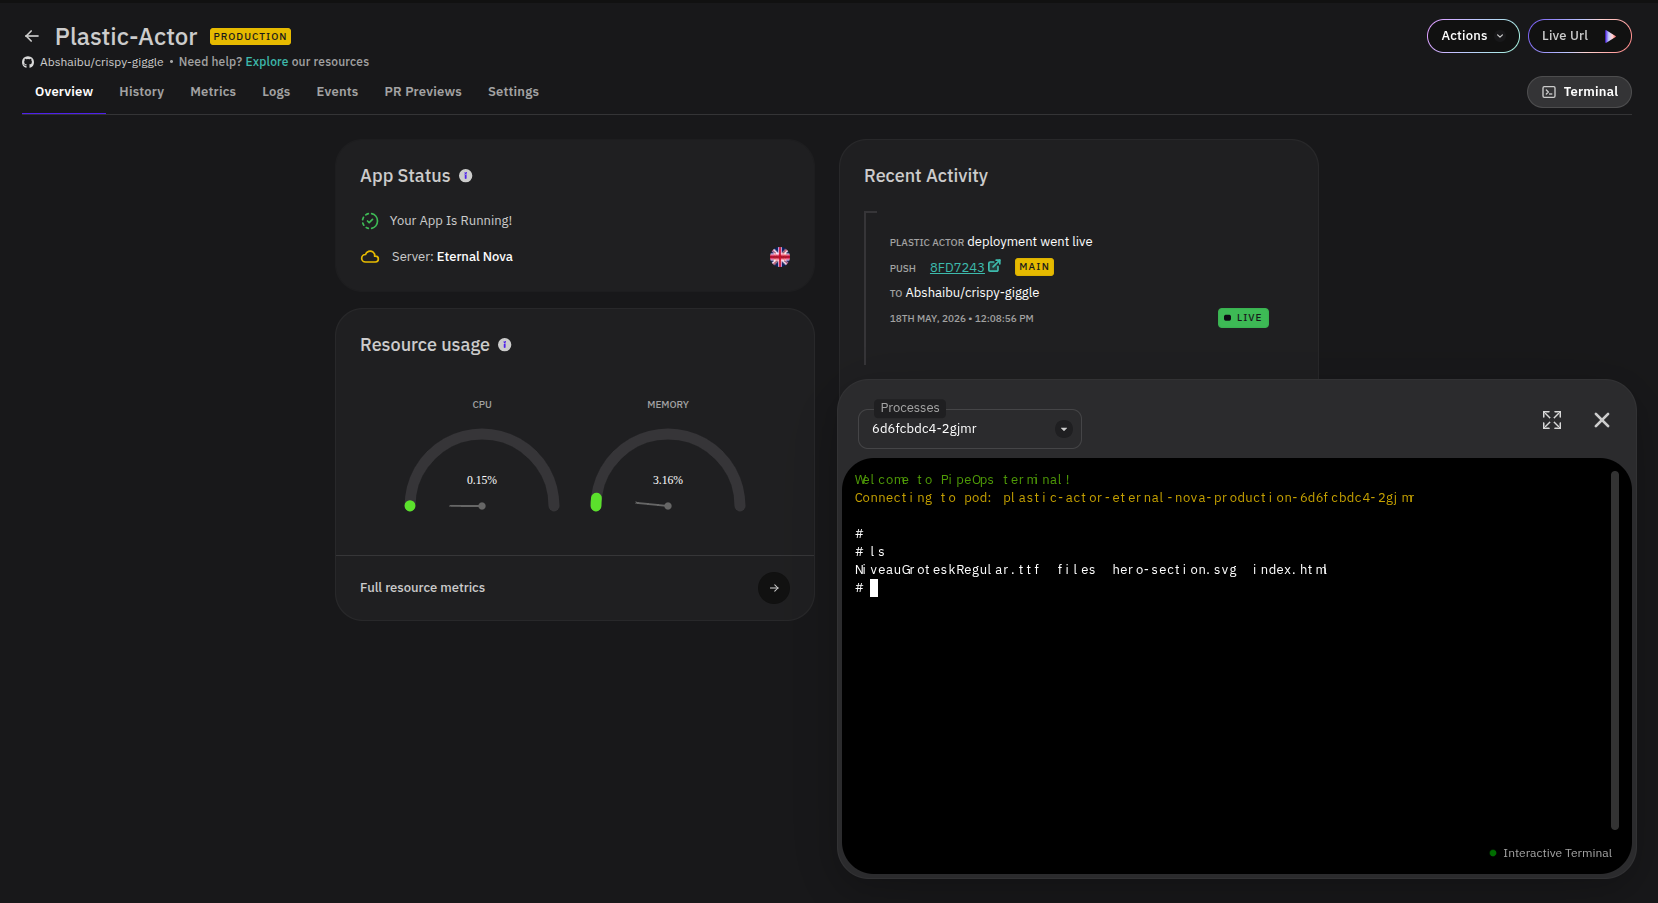
Selecting a Process
Use the Processes dropdown at the top of the terminal panel to switch between available pods (e.g. production-0). This is useful when your project runs multiple replicas and you need to target a specific instance.
Panel Controls
| Control | Description |
|---|---|
| Processes dropdown | Switch between pods |
| Fullscreen | Expand the terminal to fill the screen |
| ✕ | Close the terminal panel |